Bathroom Makeover pt 5: The Finishing Touches: Decorating My Bathroom (and Honoring the Board That Took My Toenail)
this post contains affiliate links. Your support is appreciated!
After the big projects were finished—the painted vanity, custom storage cabinet, wallpaper, and new lighting, it was finally time for my favorite part of any makeover: details.
This is where a room stops looking like a renovation and starts feeling like a home.
The Lizard Hooks That Started It All
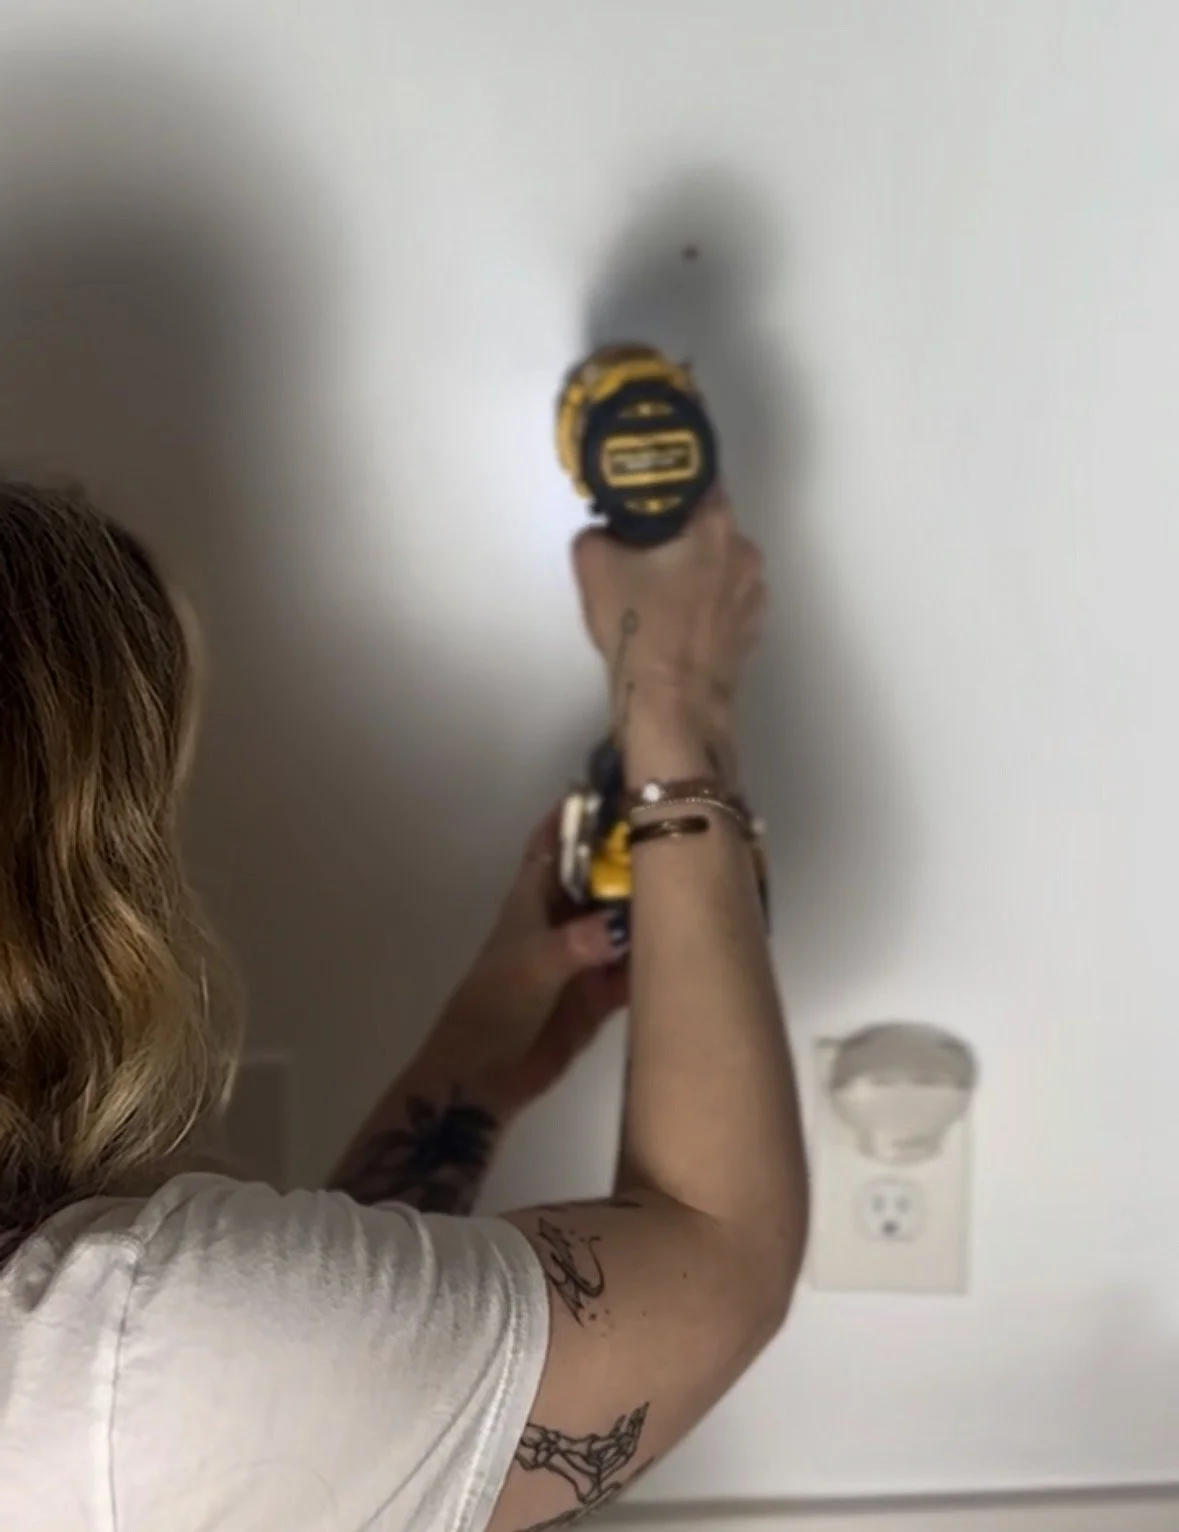
If you watched the video, you probably noticed a couple of random, off-center screw holes in the wall and wondered what on earth I was doing.
I promise I hadn’t completely lost it.
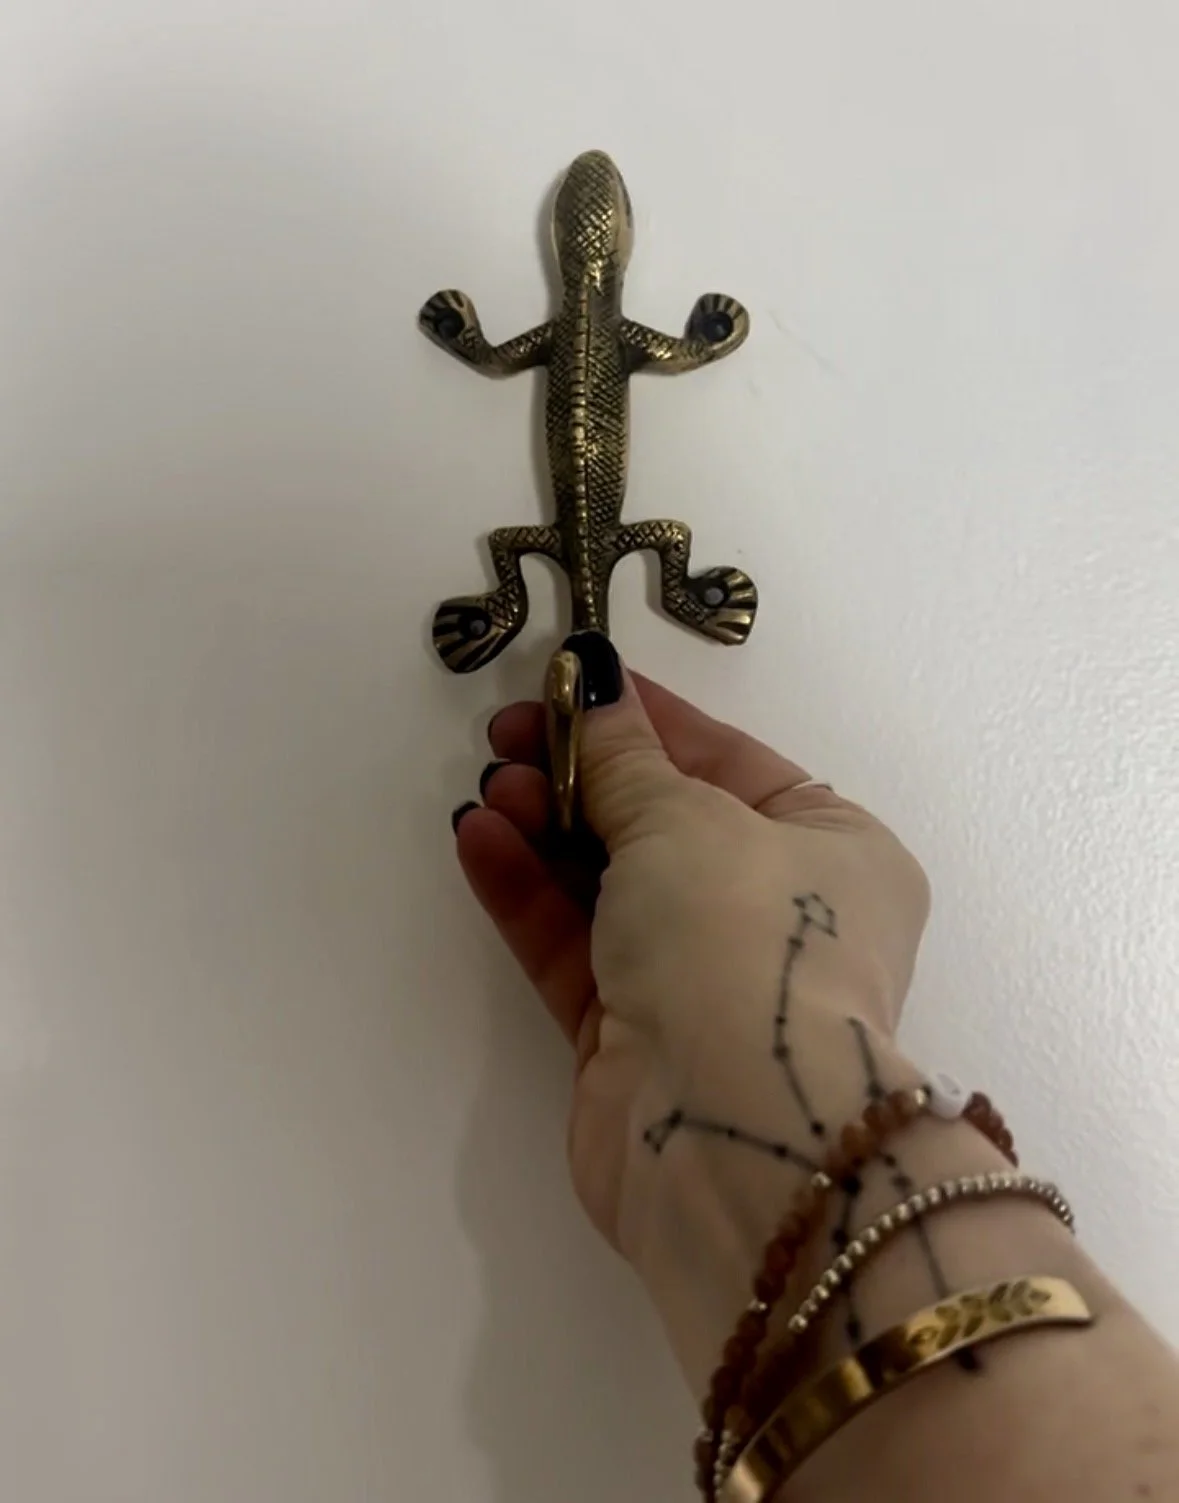
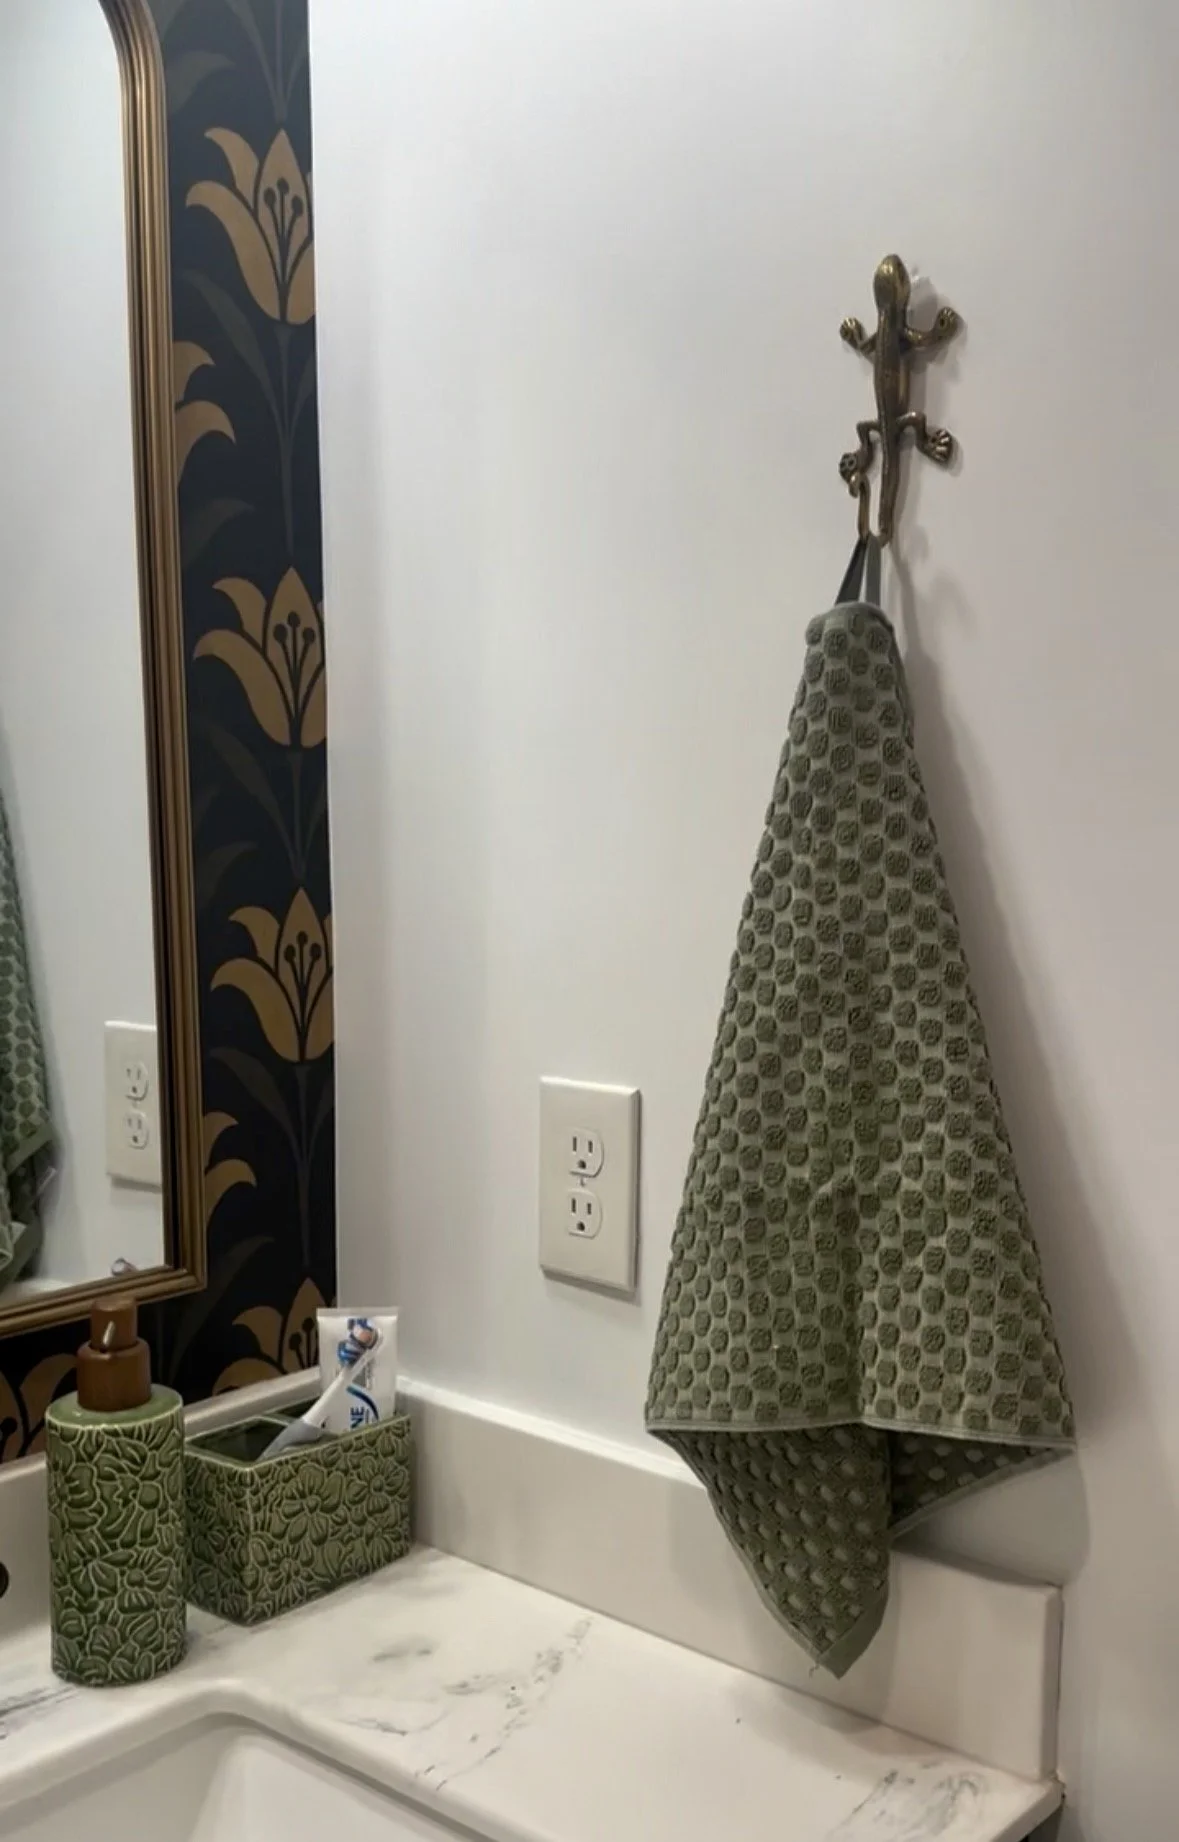
Those holes were for the coolest lizard hand towel hooks, and they instantly became one of my favorite details in the entire bathroom. They’re unexpected, a little quirky, and exactly the kind of thing that makes people do a double take.
Sometimes it’s the smallest details that give a room the most personality.
A Shelf With Quite the Backstory
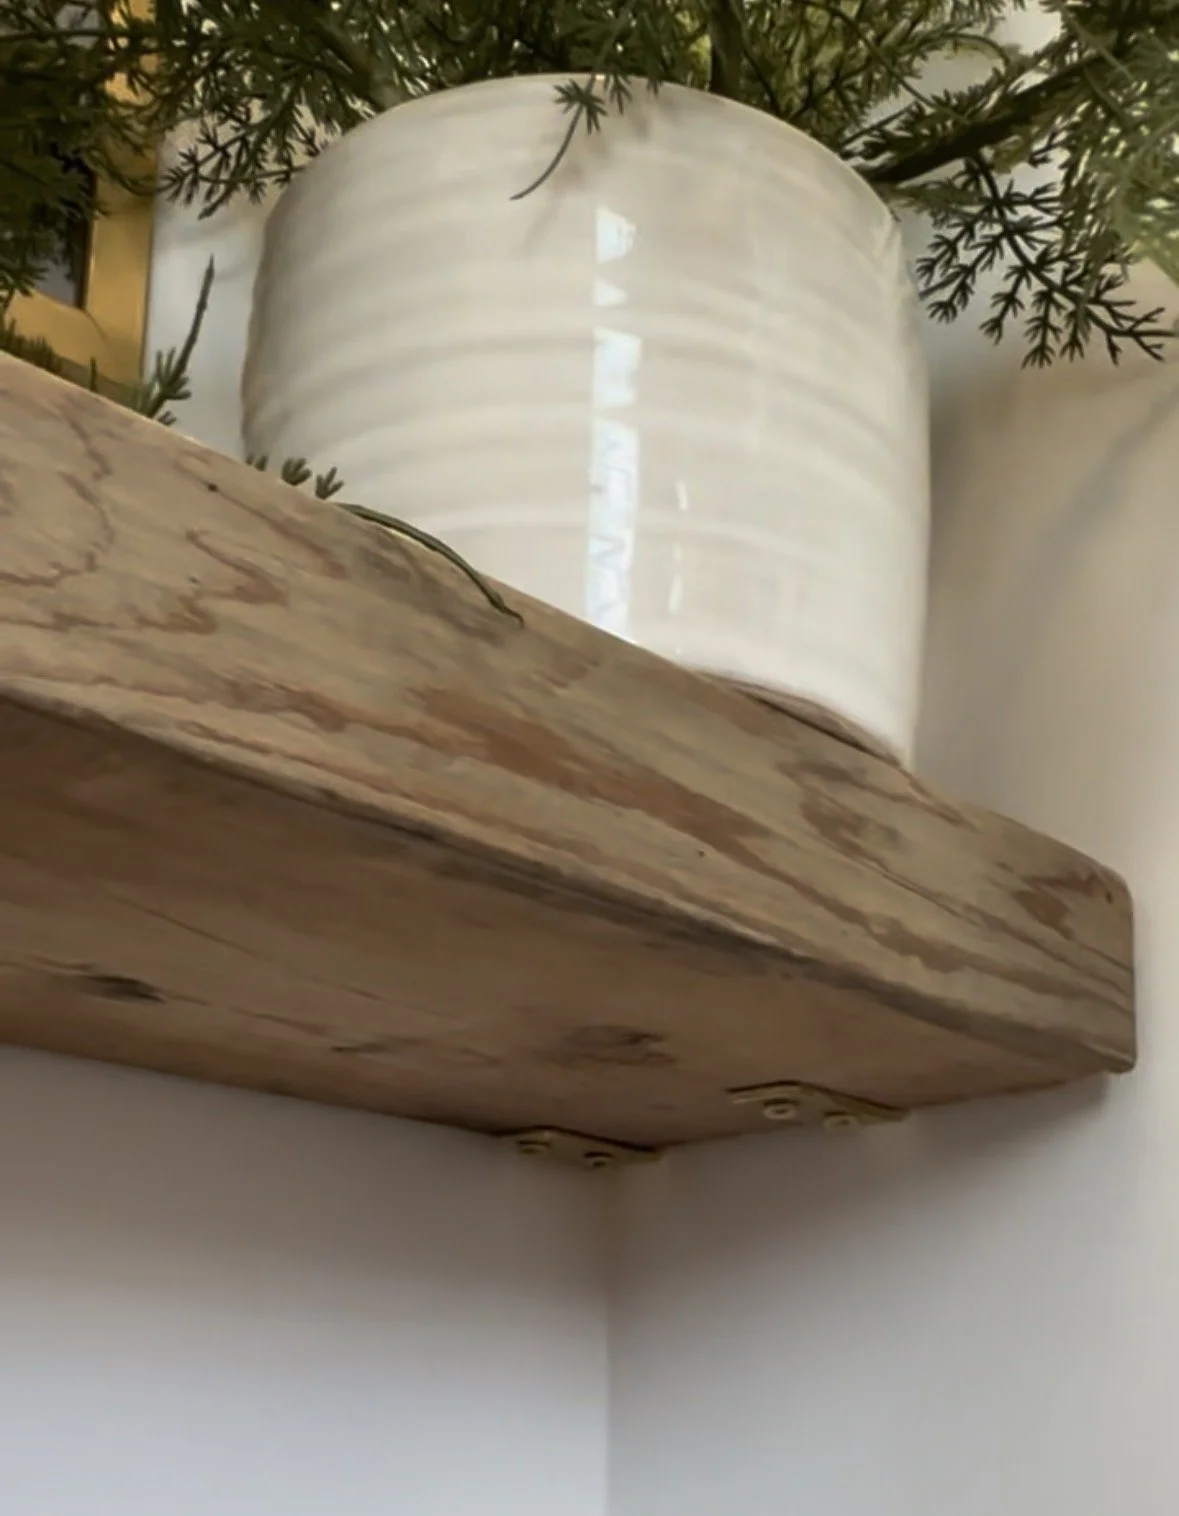
Next came a simple floating shelf.
Rather than buying new lumber, I cut one from a scrap 2x6 I already had in my giant wood pile.
If you’re following me on Instagram, you know that this is the board I was too lazy to put boots on for. I dropped it directly on my toe, did enough damage to have to have the toenail removed, and somehow still decided that finishing this bathroom was a good idea.
So, this shelf technically cost one toenail. And whatever the podiatrist is gonna charge me. Plus a couple bucks for the corner braces I used to hang it.
Is that commitment… or questionable decision-making?
Creating a Funky Gallery Wall
One of my goals for this bathroom was to make it feel fun instead of looking like every other builder-grade bathroom.
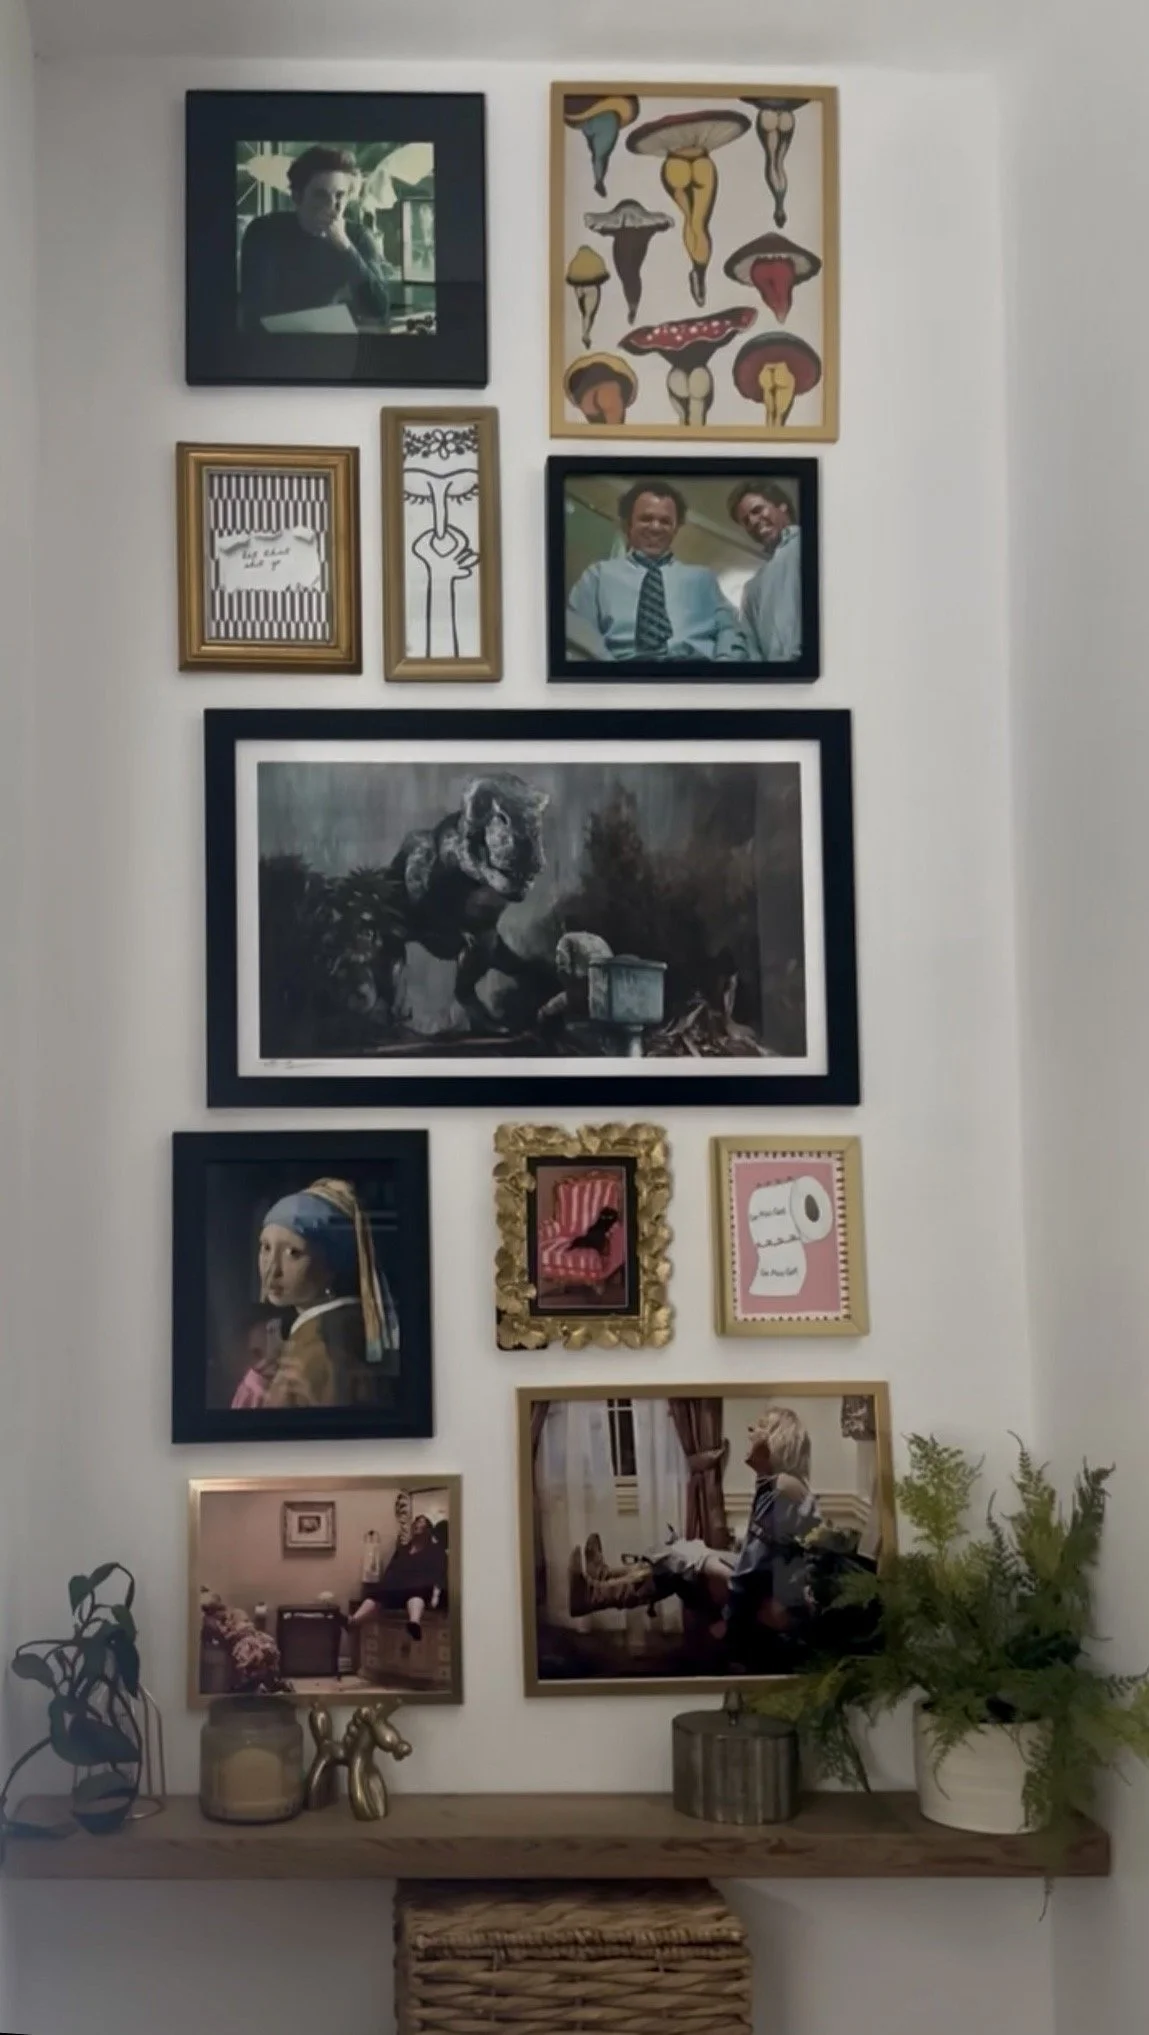
So I went down an Etsy rabbit hole and found a collection of prints featuring iconic bathroom scenes from movies and other things that make me smile. (Linked all below)
After framing them with mostly thrifted frames, I created a gallery wall above the toilet.
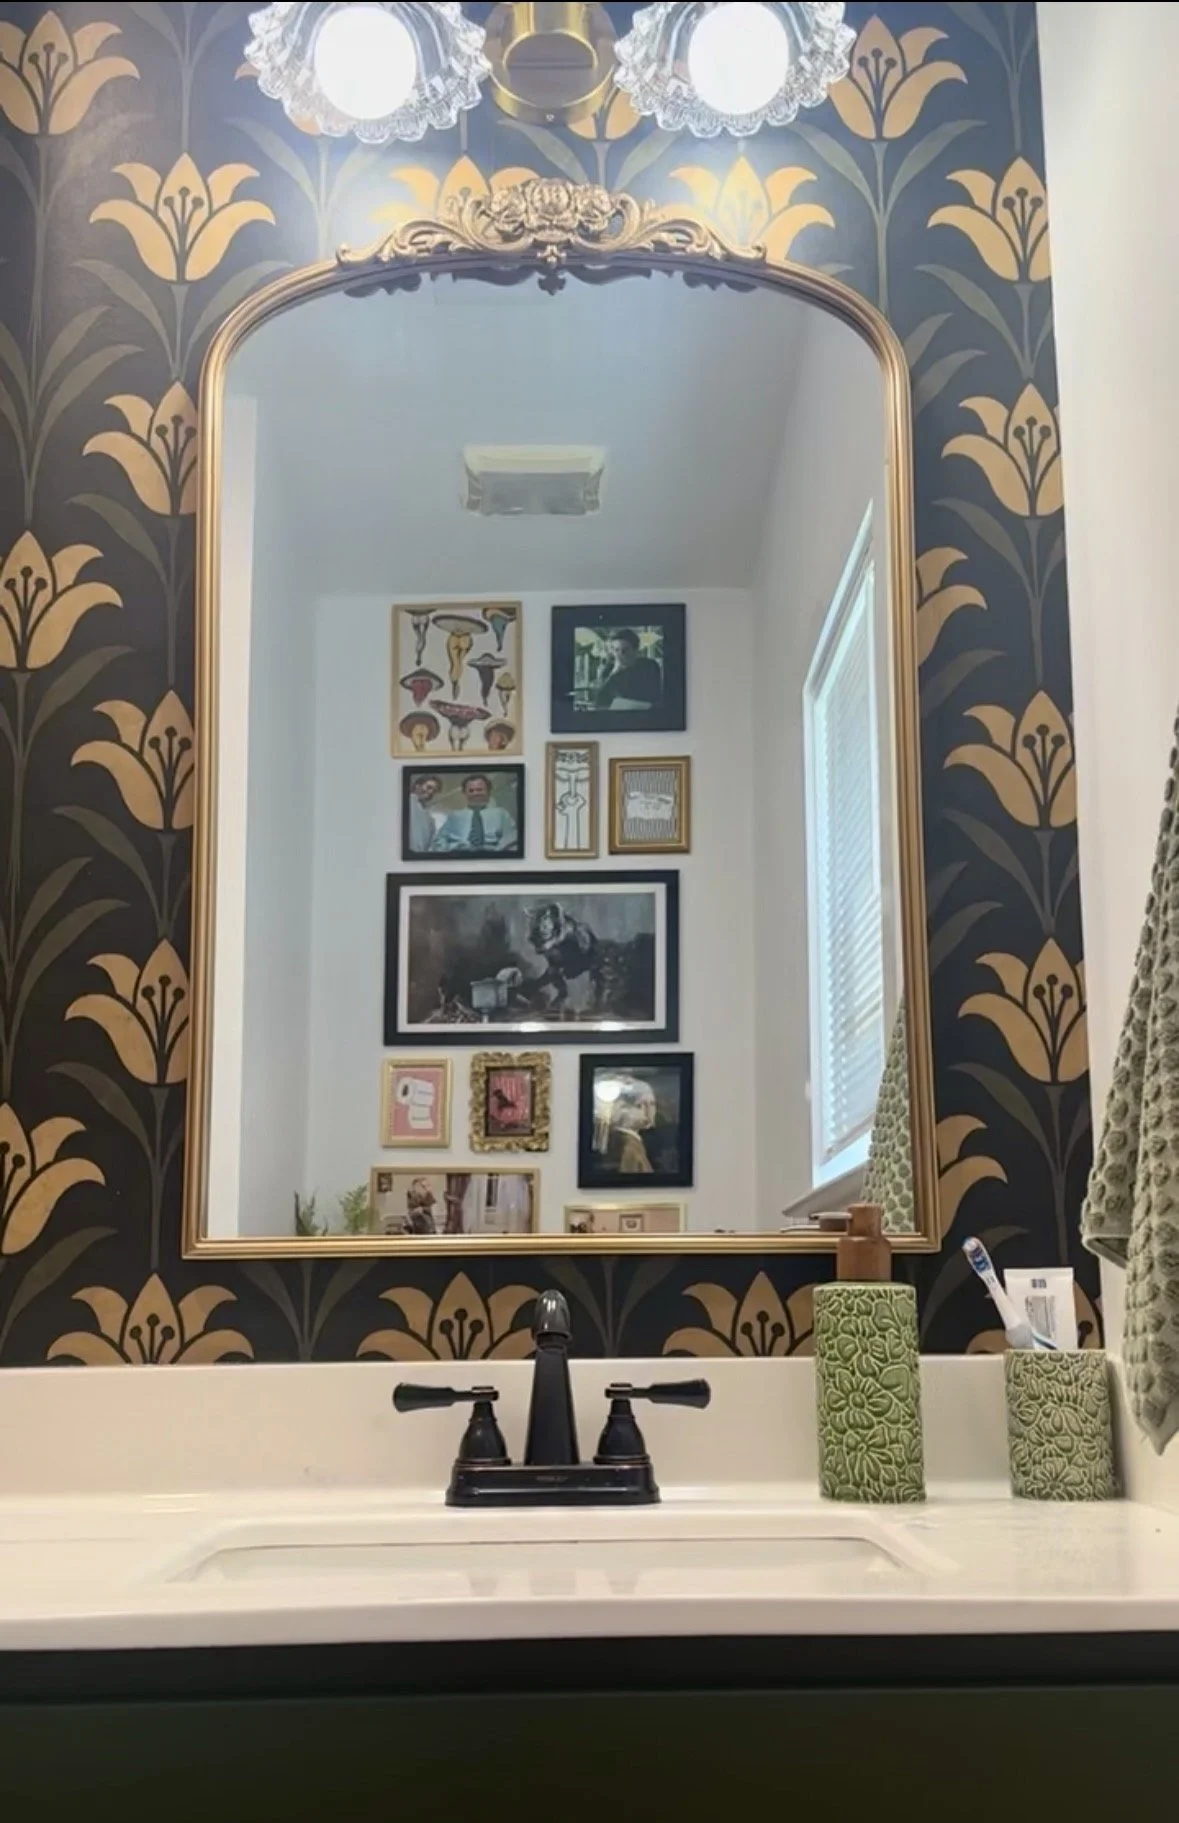
It’s probably my favorite wall in the room because it’s unexpected. Plus you can see it in the mirror when you sit on the toilet so it gives you something to look at while you’re… busy.
Mission accomplished.
Links to all artwork sources:
Lady with the pearl earring and nose clip
Cat on a chair- gift from my mom, linked exact match
Line drawing- hand drawn, found inspo on Pinterest. Linked similar.
Making the Cabinet Look Built-In
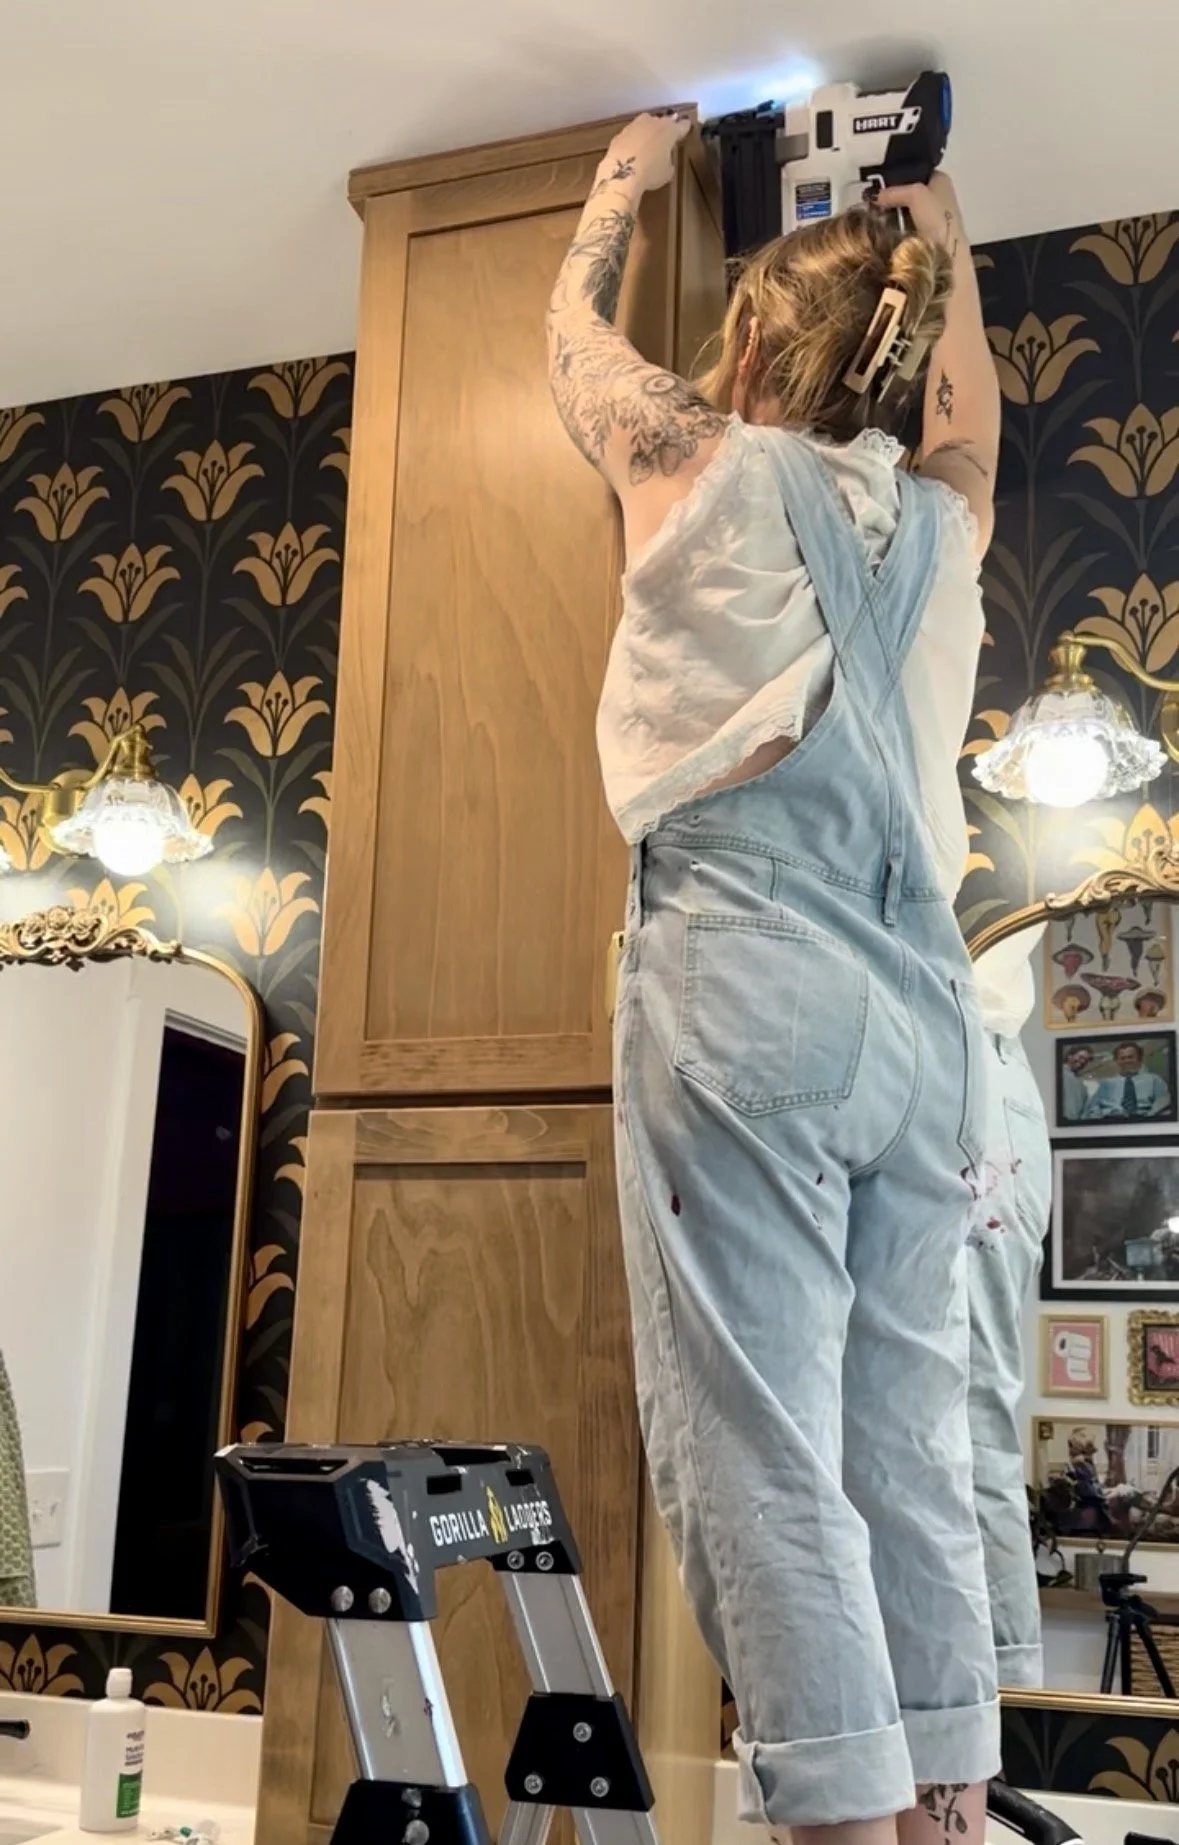
The storage cabinet was functional, but I wanted it to look like it had always been there.
I went over this in the post about the full cabinet build but this is when I actually did this part.
To finish it off, I added decorative trim across the top, scribe moulding along both sides, and half-inch square dowels along the bottom edge.
Those little details made a huge difference and gave the cabinet a much more custom appearance.
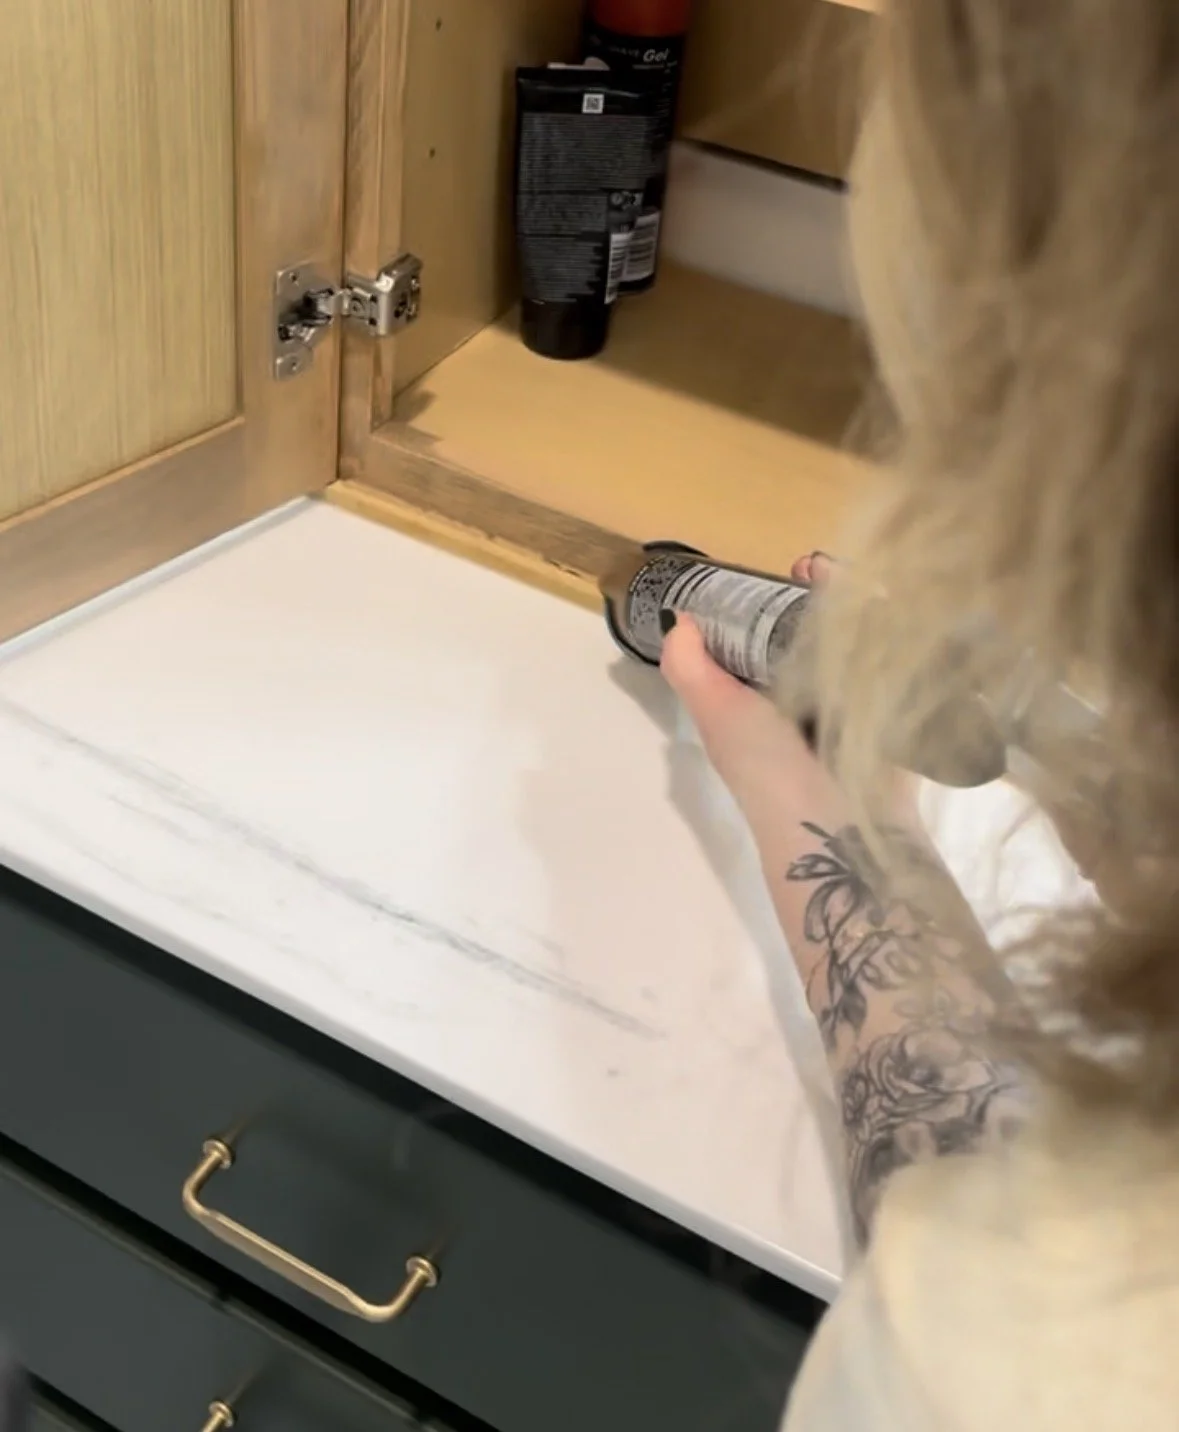
After that, I caulked every seam and added silicone where the cabinet meets the countertop to help protect it from water.
It’s one of those finishing steps that isn’t glamorous, but it makes the final result look polished and professionally installed.
One Last Thing…
As much as I loved how the bathroom was coming together, one thing still bothered me.
The black faucets.
They suddenly looked completely out of place surrounded by gold mirrors, gold lighting, and all of the other warm finishes.
So naturally… they have to go.
Next up: replacing the faucets and putting the finishing touch on this bathroom makeover.
This project has been such a fun reminder that a room doesn’t need to be huge, or require a complete gut renovation, to make a big impact. Sometimes all it takes is a few bold choices, a little creativity, and maybe sacrificing a toenail to the DIY gods.