
Bathroom makeover part 2: Building a Custom Storage Cabinet
*this post contains affiliate links. your support is appreciated*
This was the project I was most excited about. It’s been way too long since I’ve truly built something.
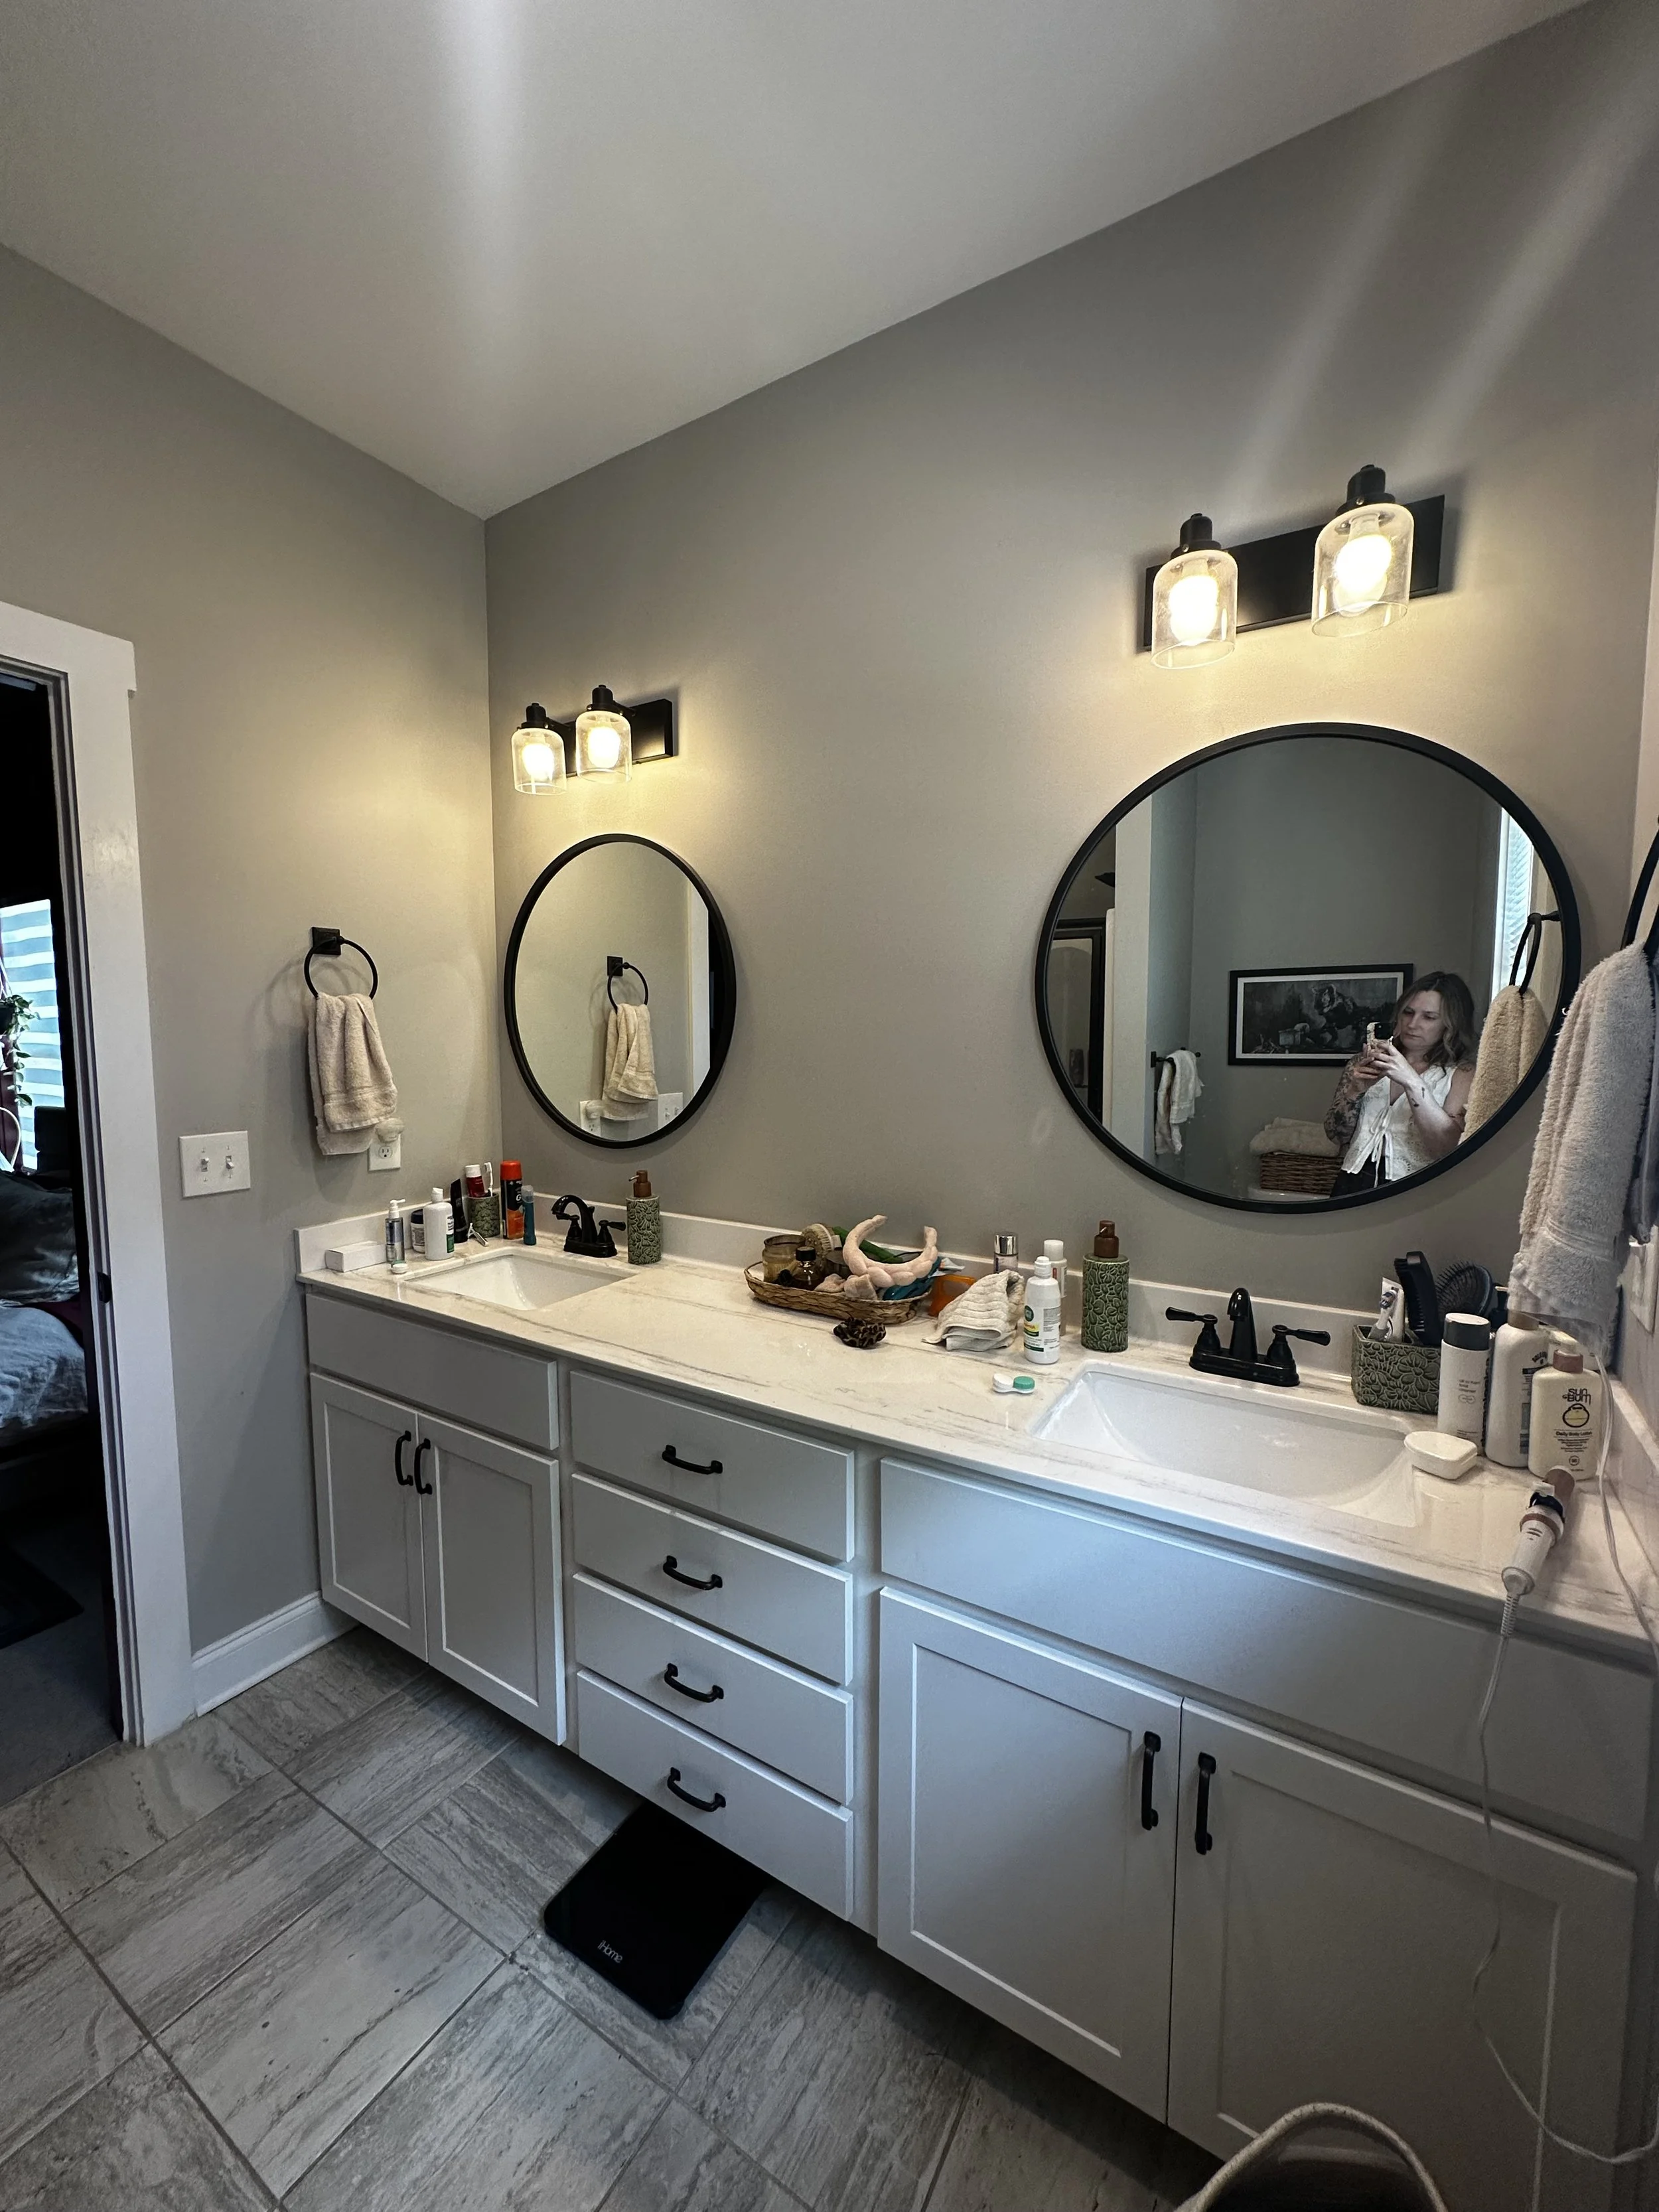
The area between the mirrors was completely unused, so I designed a custom storage tower to maximize the space.
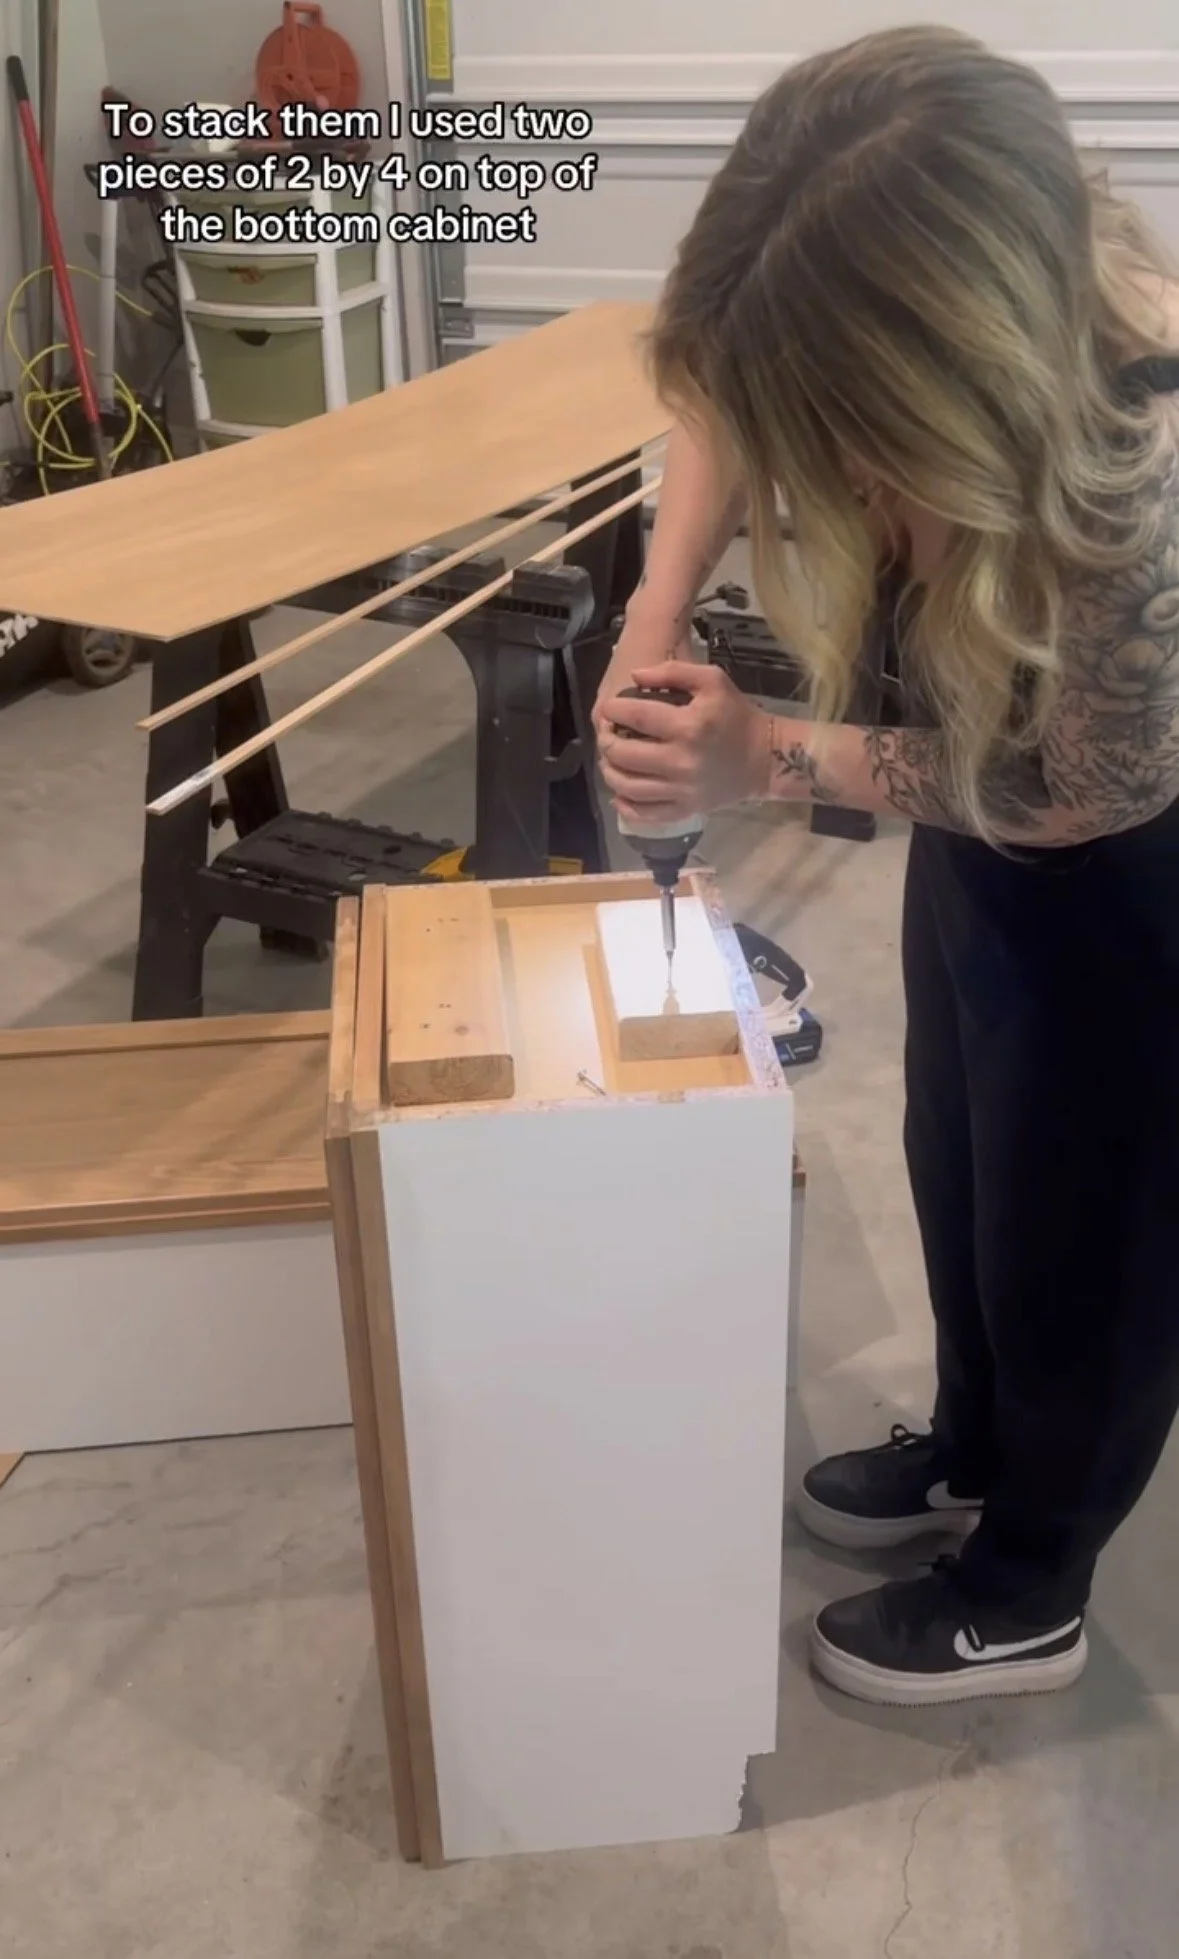
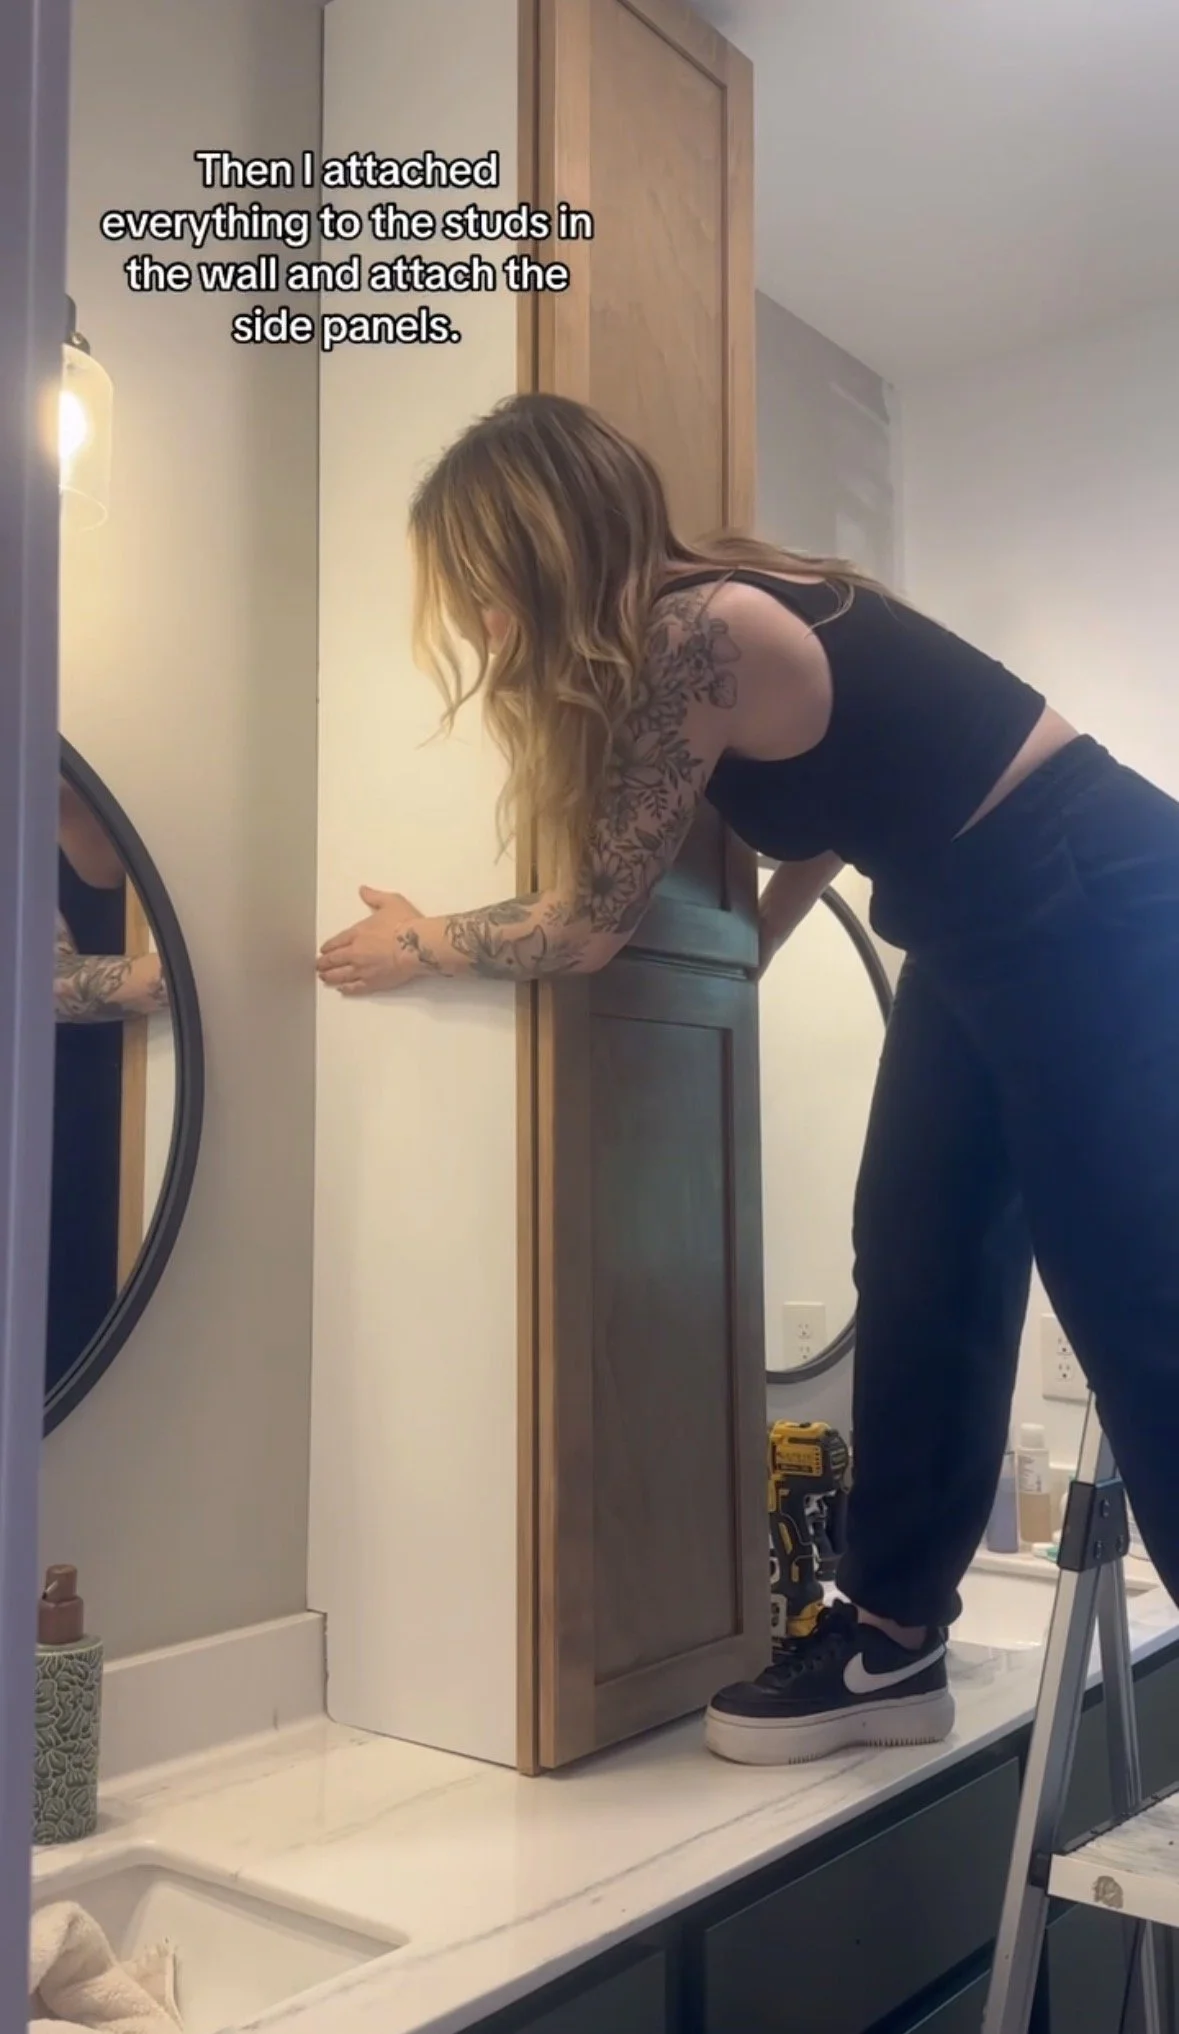
To create it, I stacked a 30-inch cabinet and a 42-inch cabinet on top of each other, both from Home Depot. I used a couple of scrap 2x4 pieces in between to have something to a screw into and make it more stable.
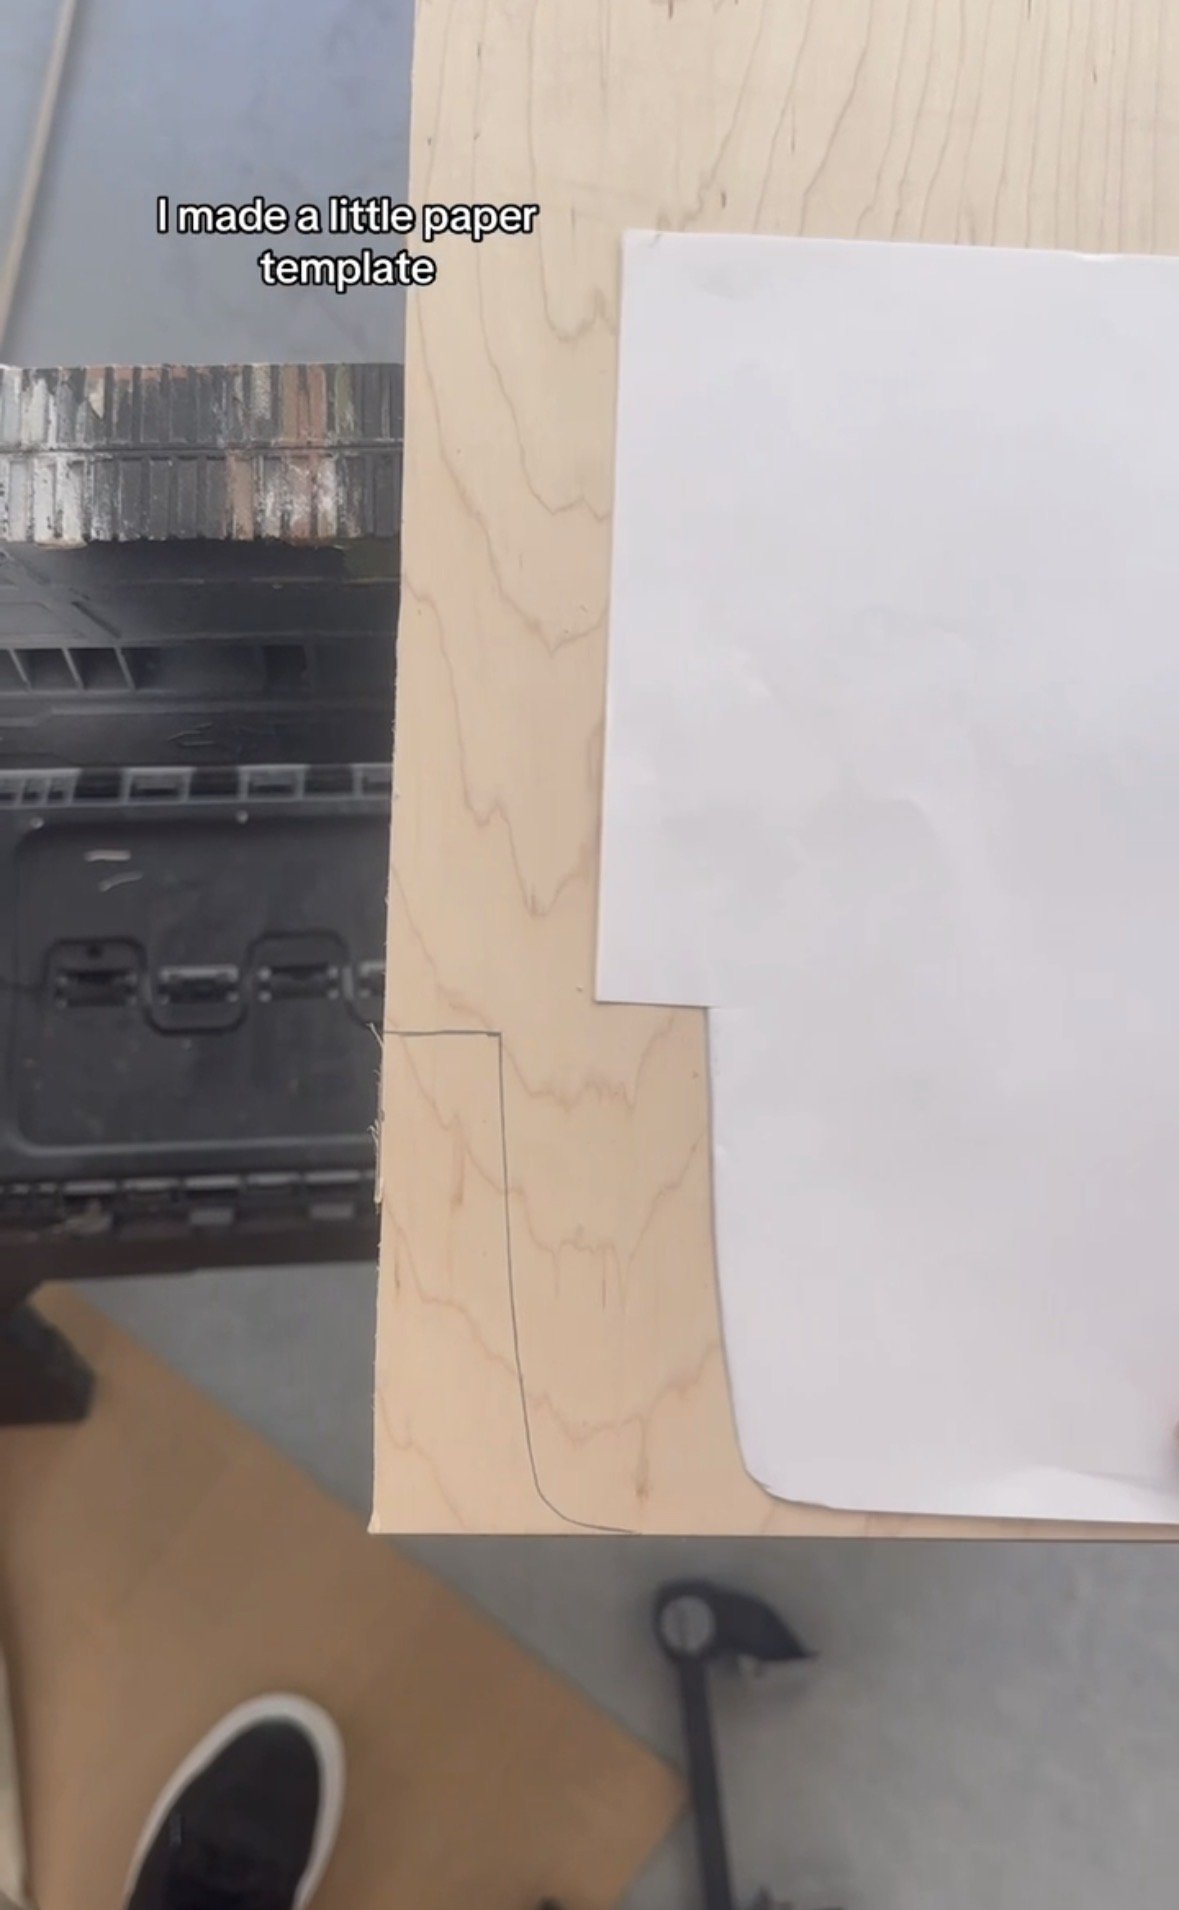
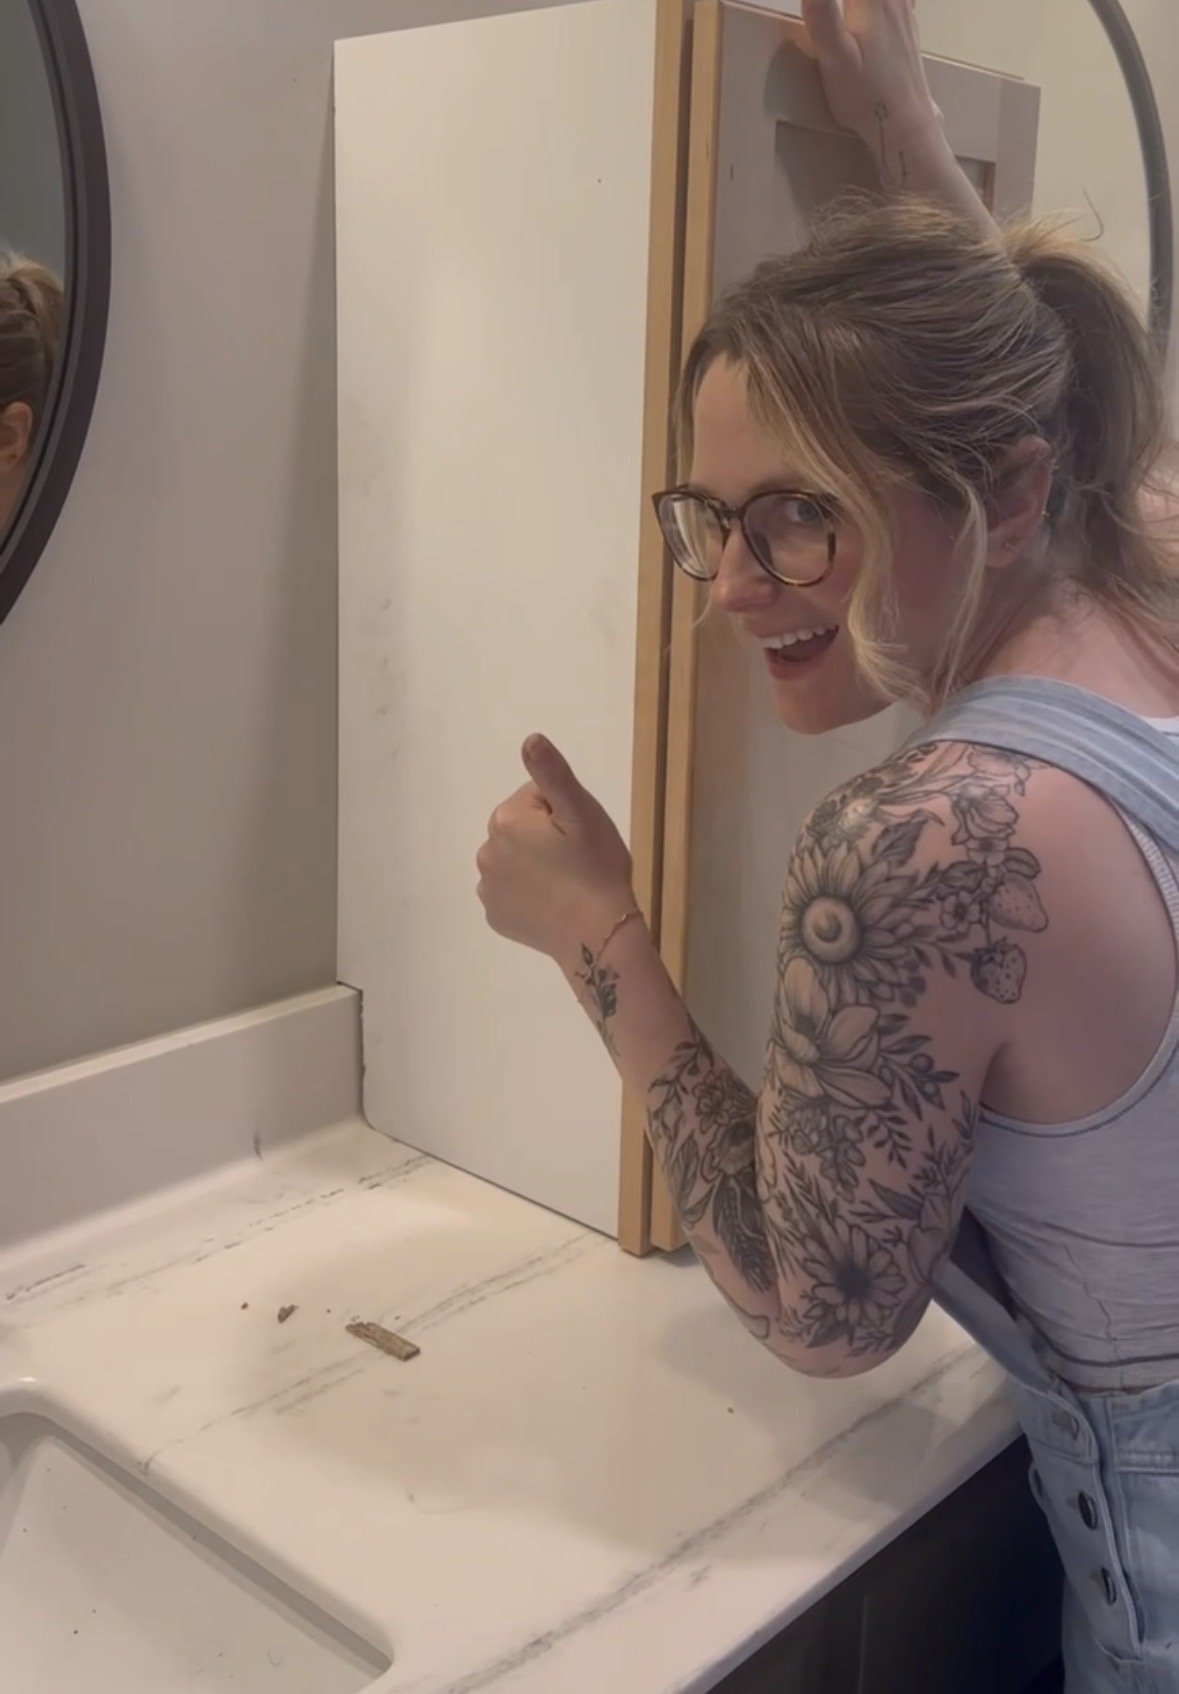
Because of the countertop backsplash, I had to cut the lower cabinet to fit properly. I created a paper template first, which helped transfer the shape accurately. My first attempt wasn’t perfect, but the second one fit exactly the way I needed it to.
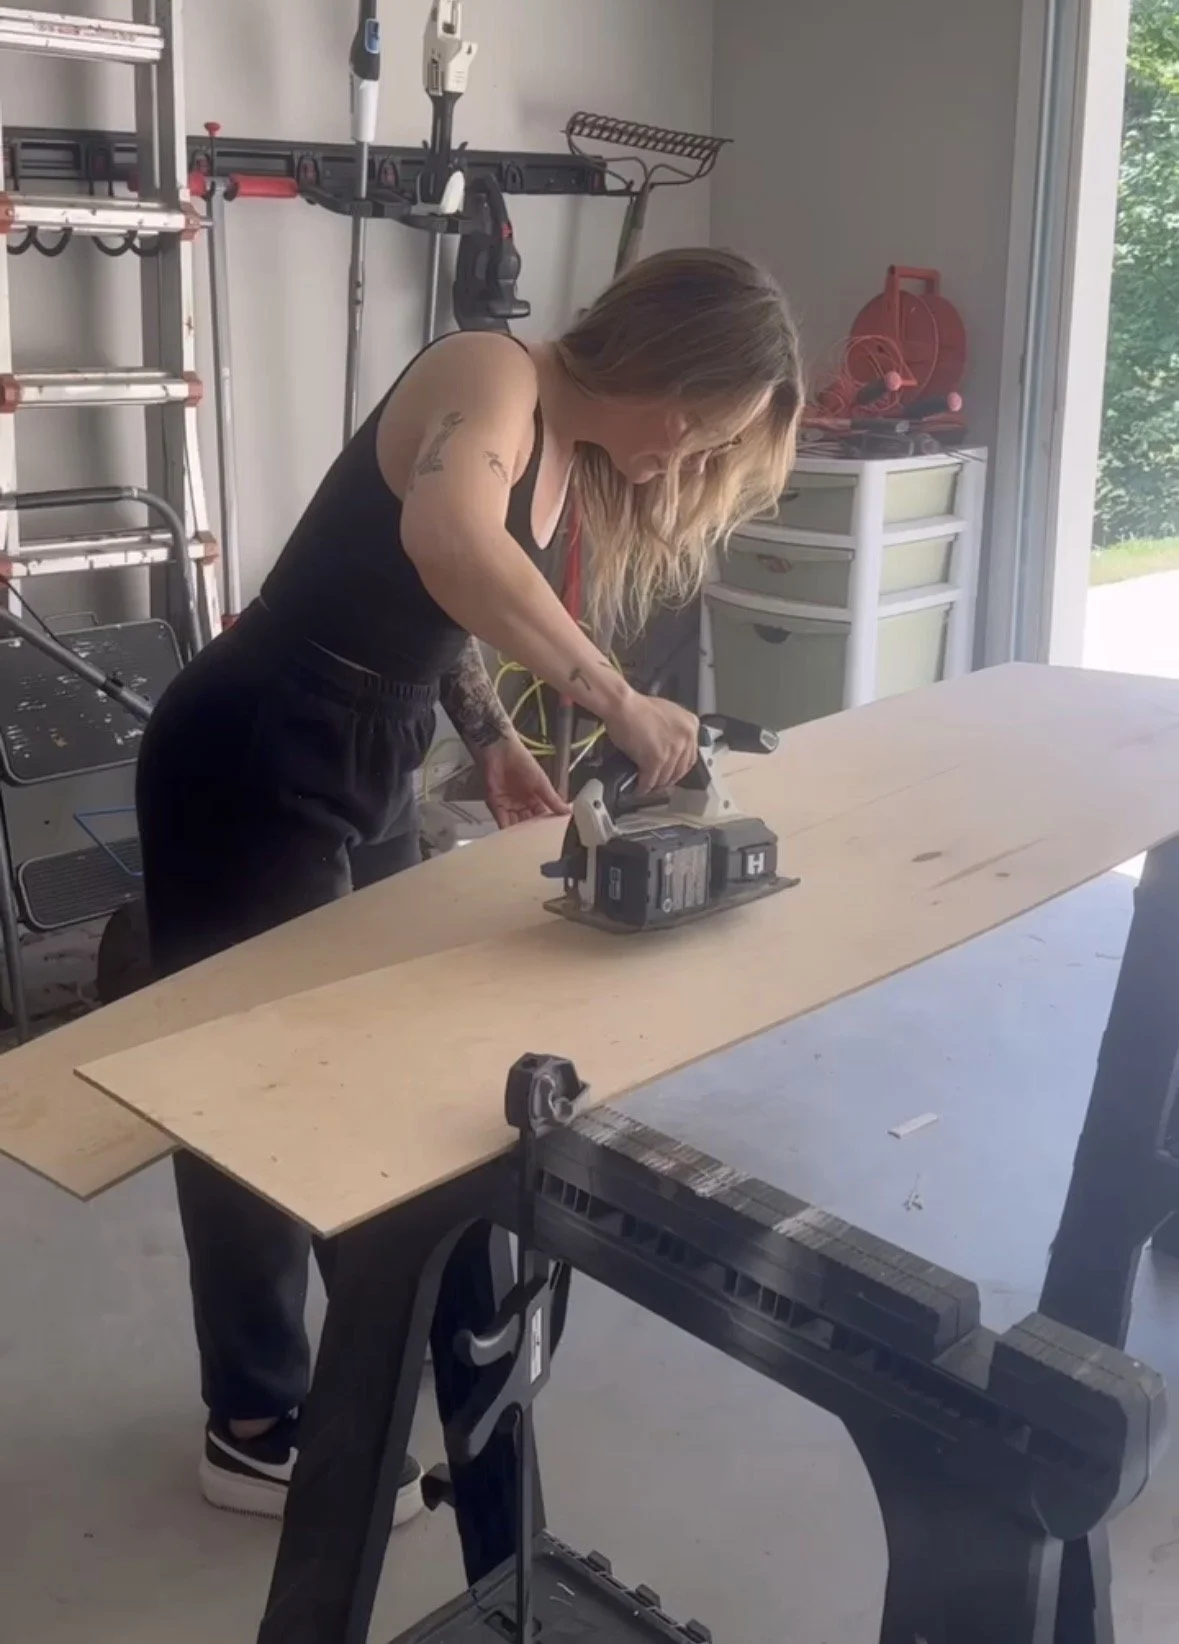
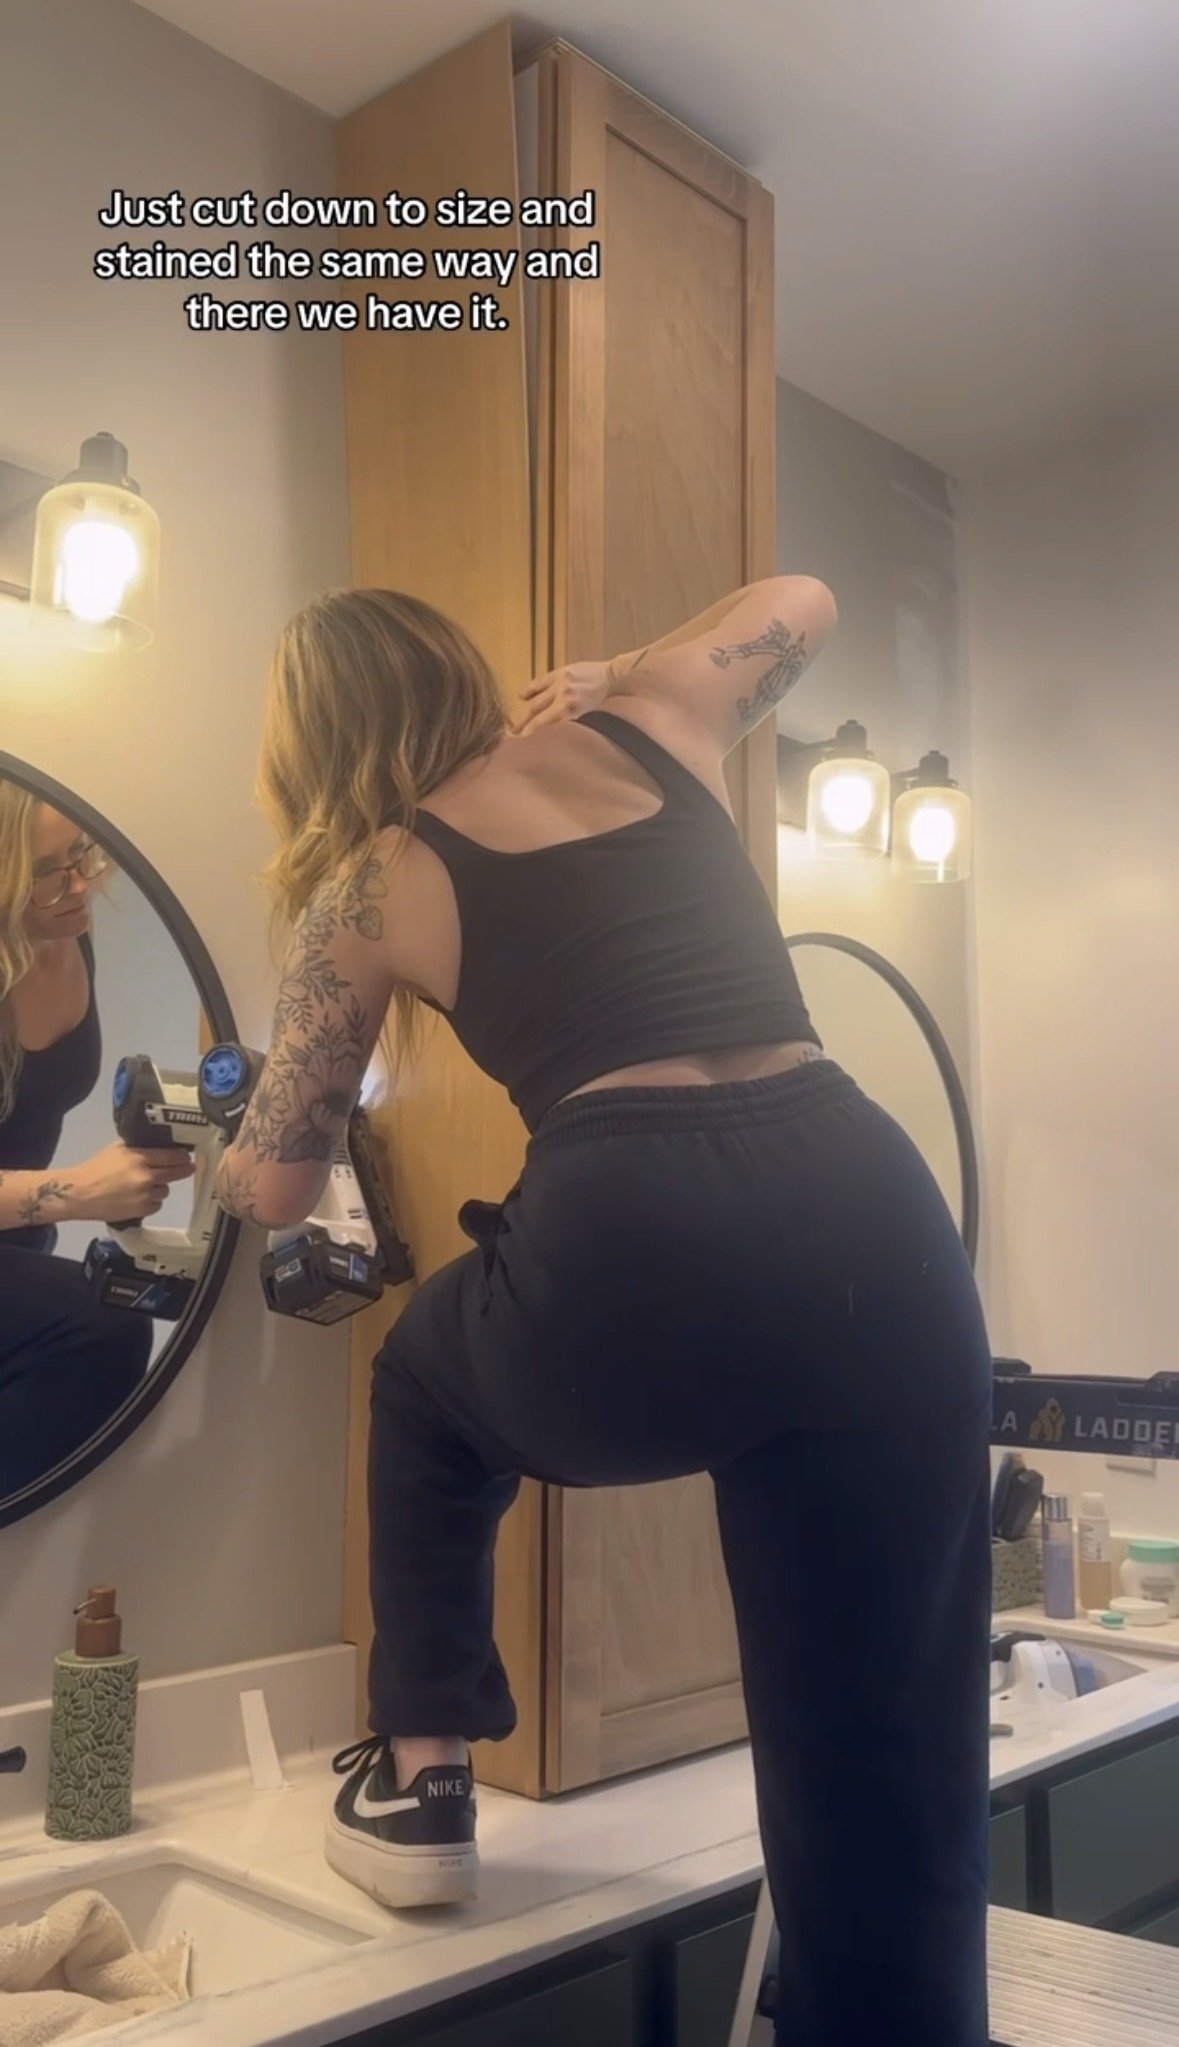
For the sides of the cabinet, I used a refrigerator cabinet side panel and cut it down to size, and stained it the same way.
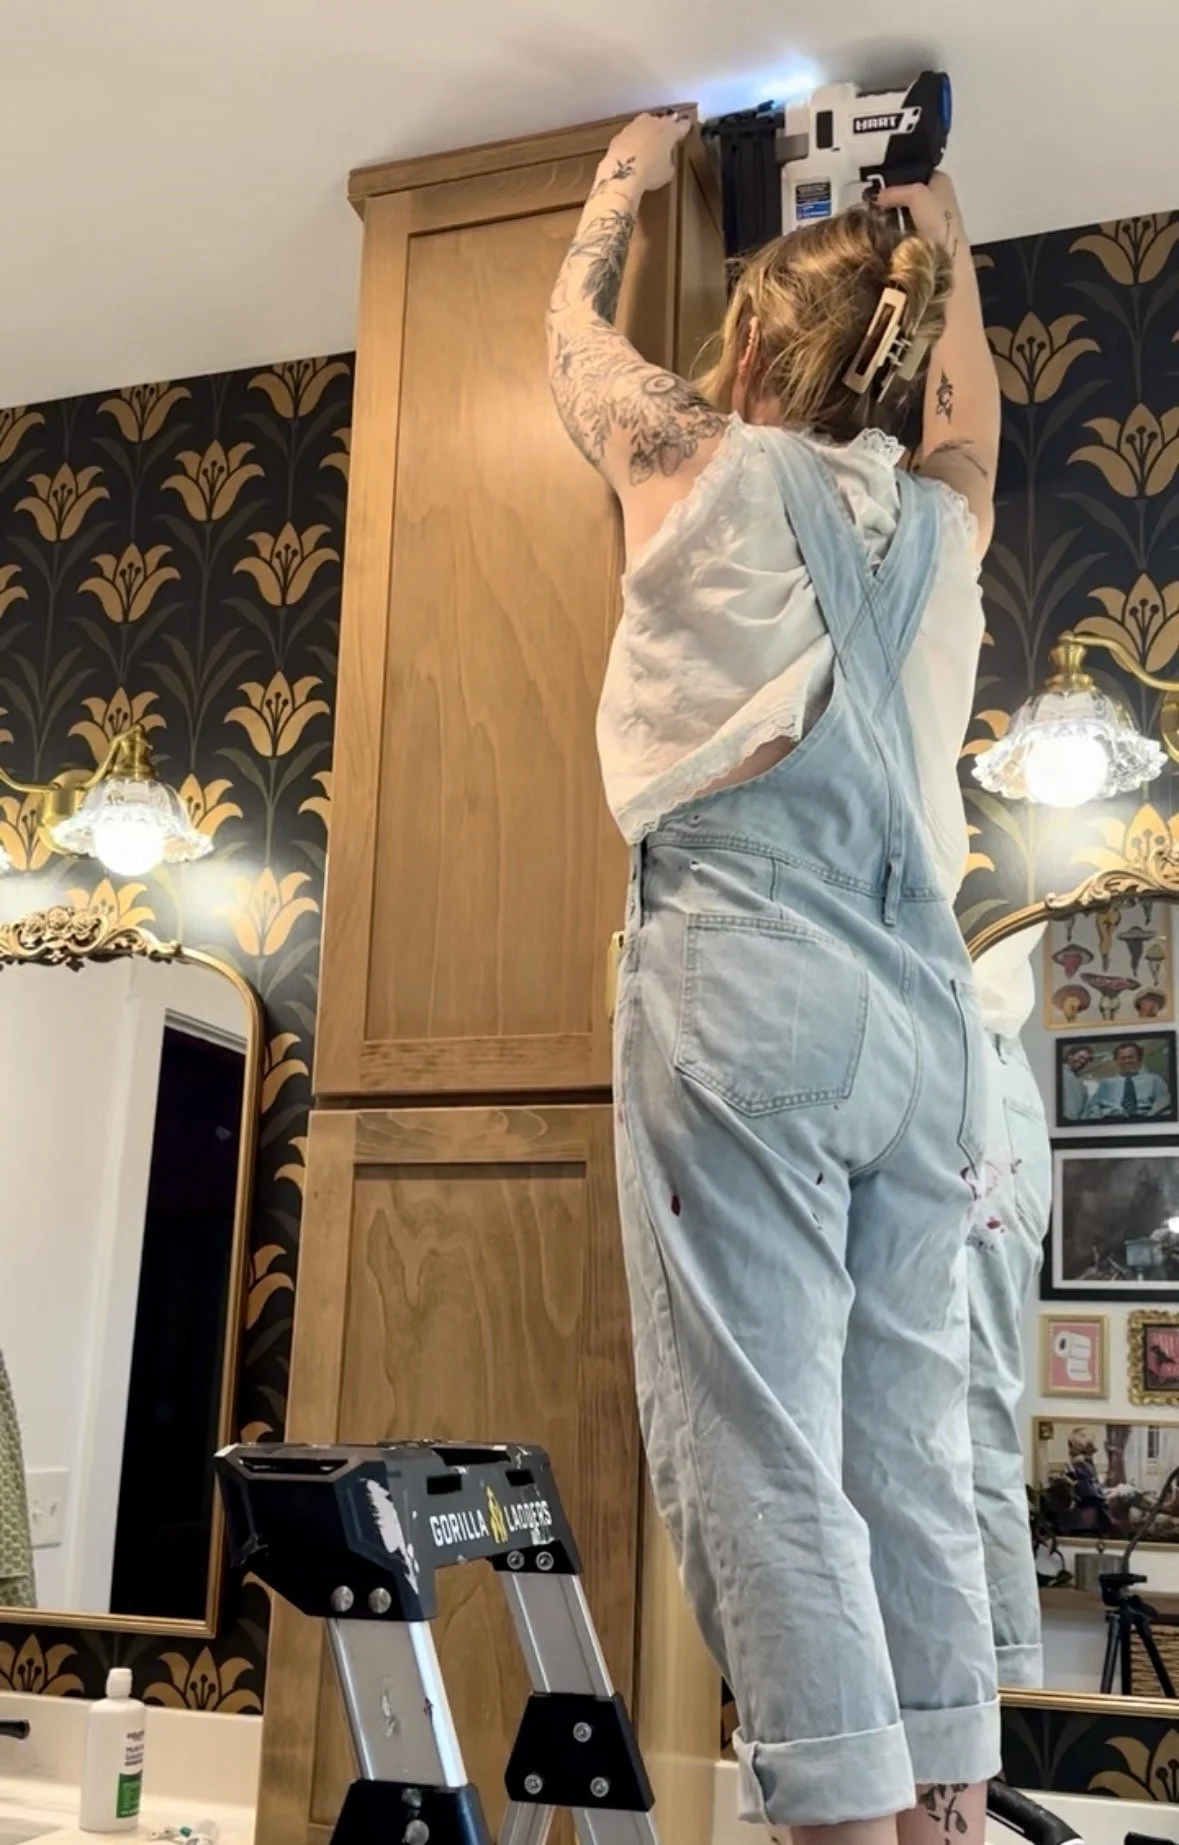
Once assembled, I secured it to the wall studs and it looked like it had always been part of the bathroom.
Creating a White Oak Finish
I wanted the cabinet to have the look of white oak without the price tag of custom cabinetry.
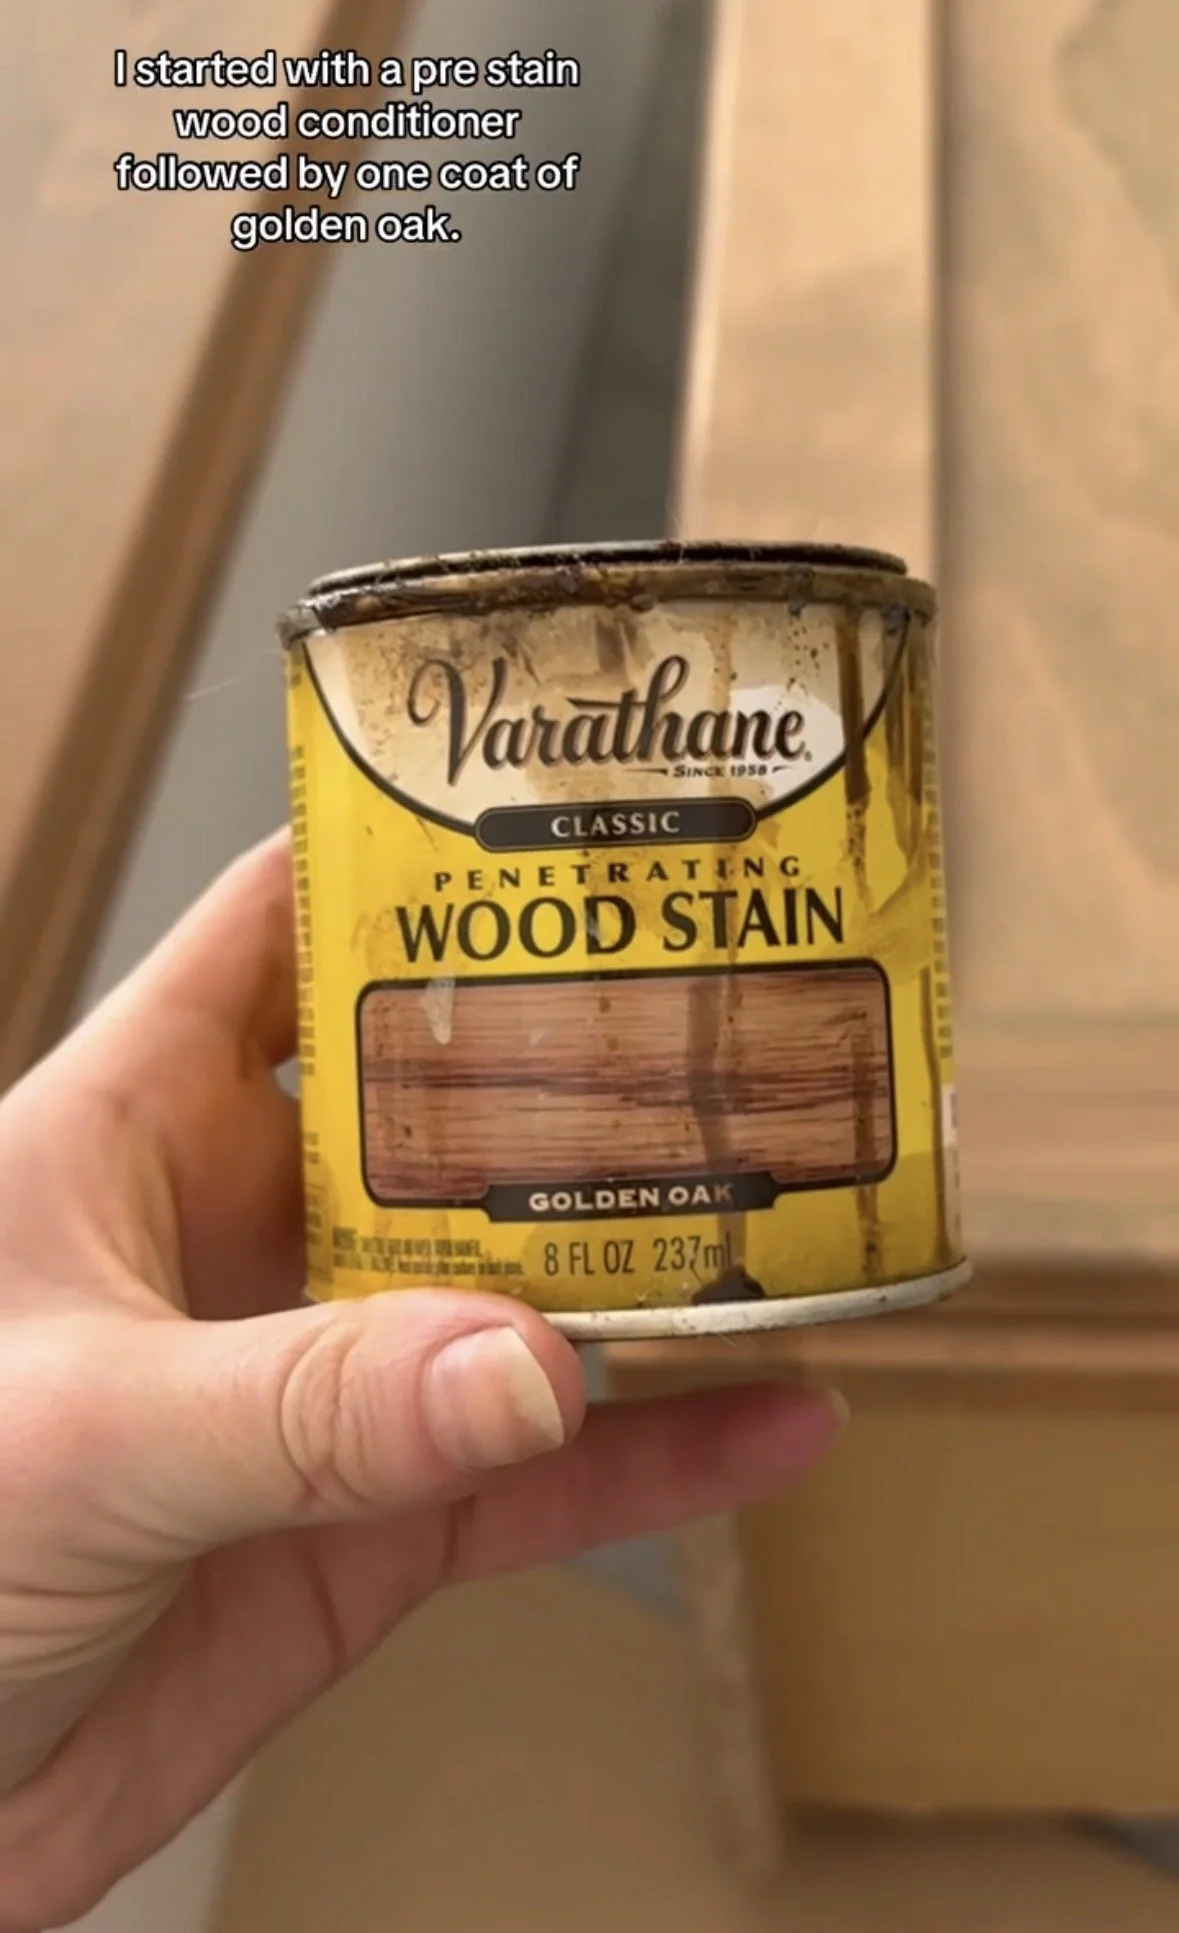
To achieve the color, I started with a pre-stain conditioner and then layered two stains:
● Golden Oak
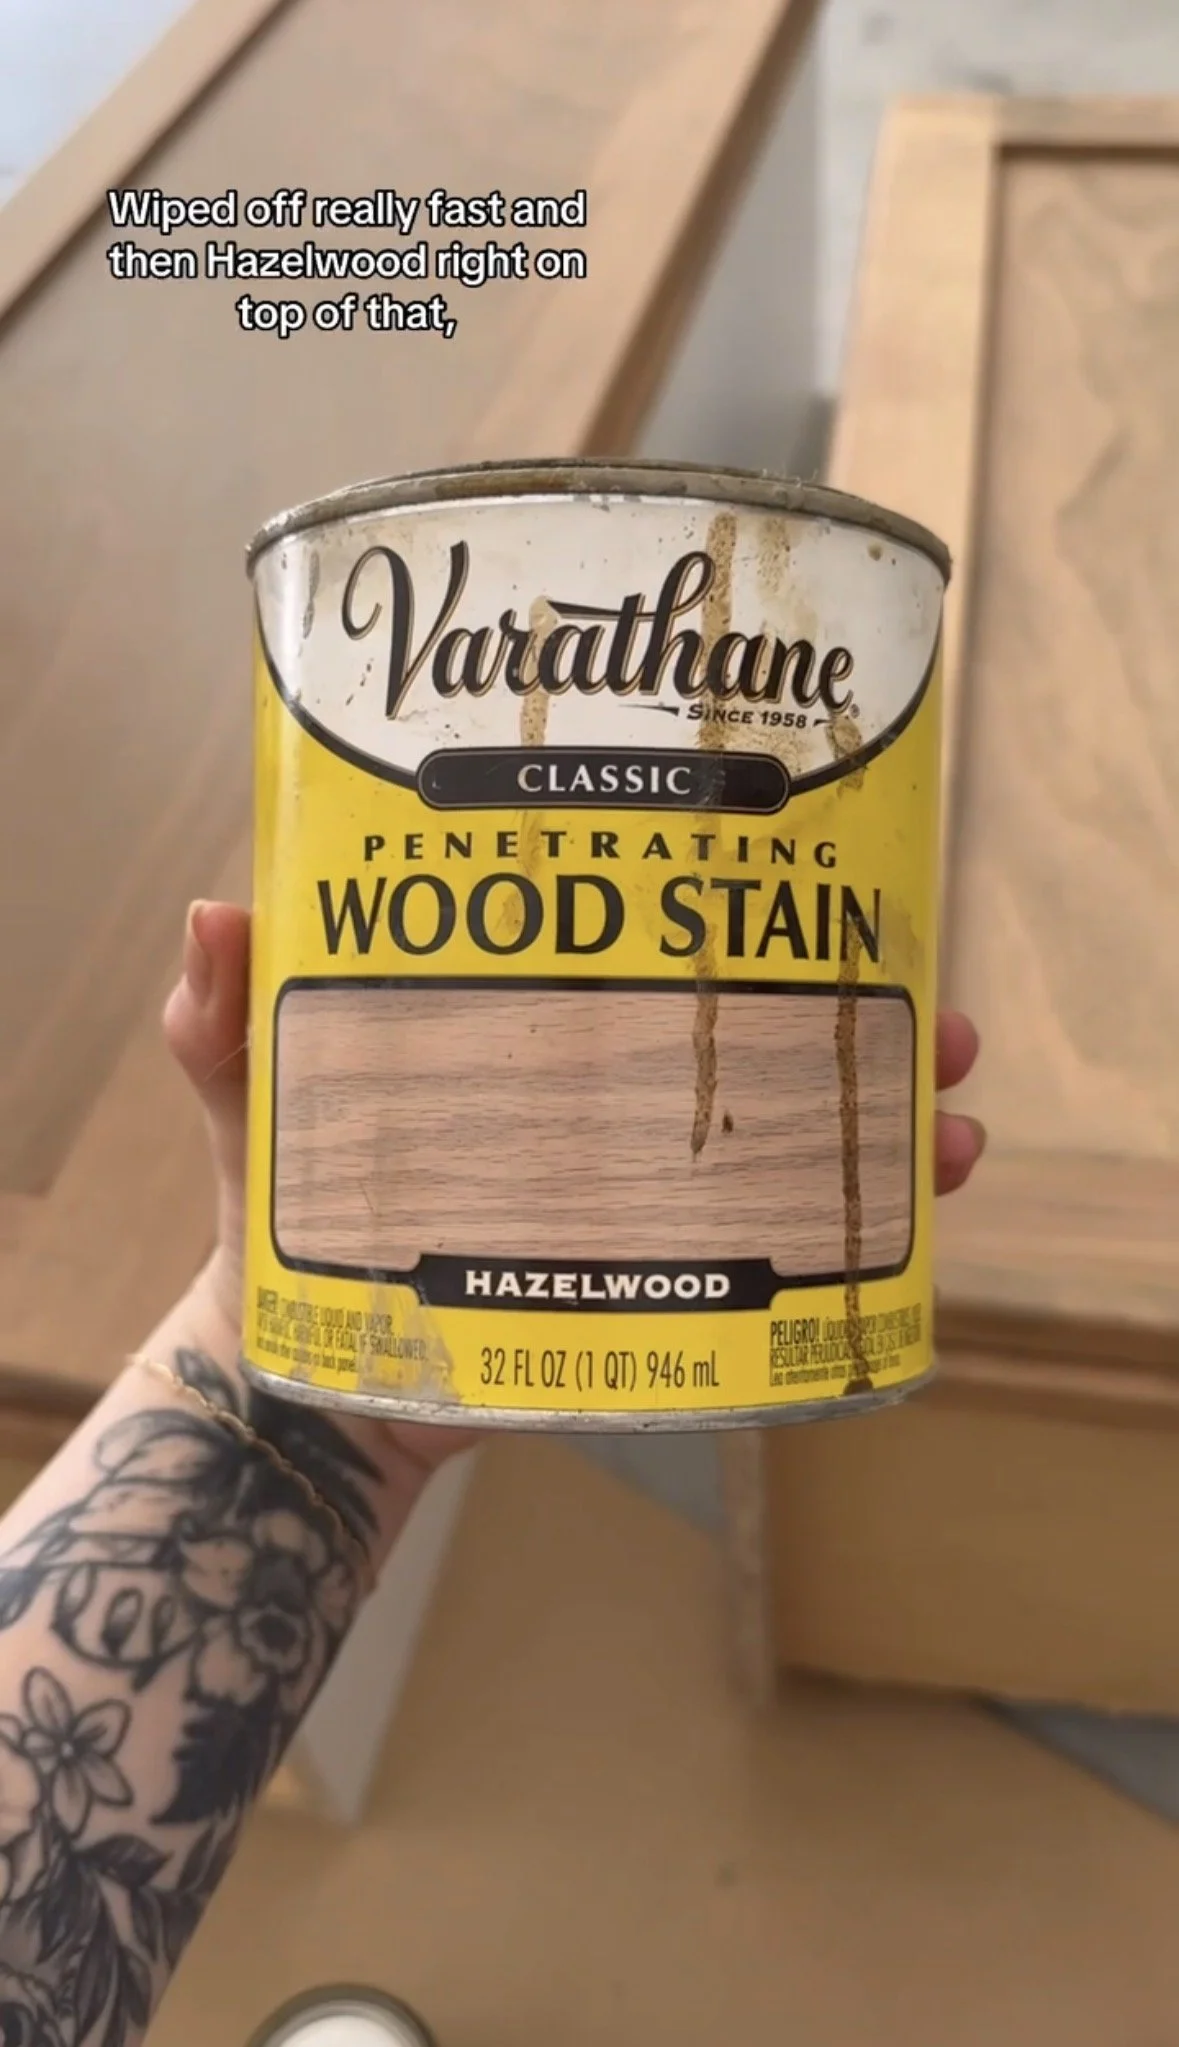
● Hazelwood
I applied a light coat of Golden Oak, wiped it off, and immediately followed it with a light coat of Hazelwood. Together they created a soft, natural wood tone that closely resembles white oak.
A few areas ended up slightly redder than I wanted. Instead of sanding and starting over, I used a little color theory.
Since green neutralizes red, I mixed a small amount of green craft paint with water and lightly applied it to the affected areas. After letting it sit briefly and wiping it off, the red tones were noticeably reduced.
It’s one of those simple tricks that can save a project.
To protect the finish, I applied three coats of water-based polyurethane.
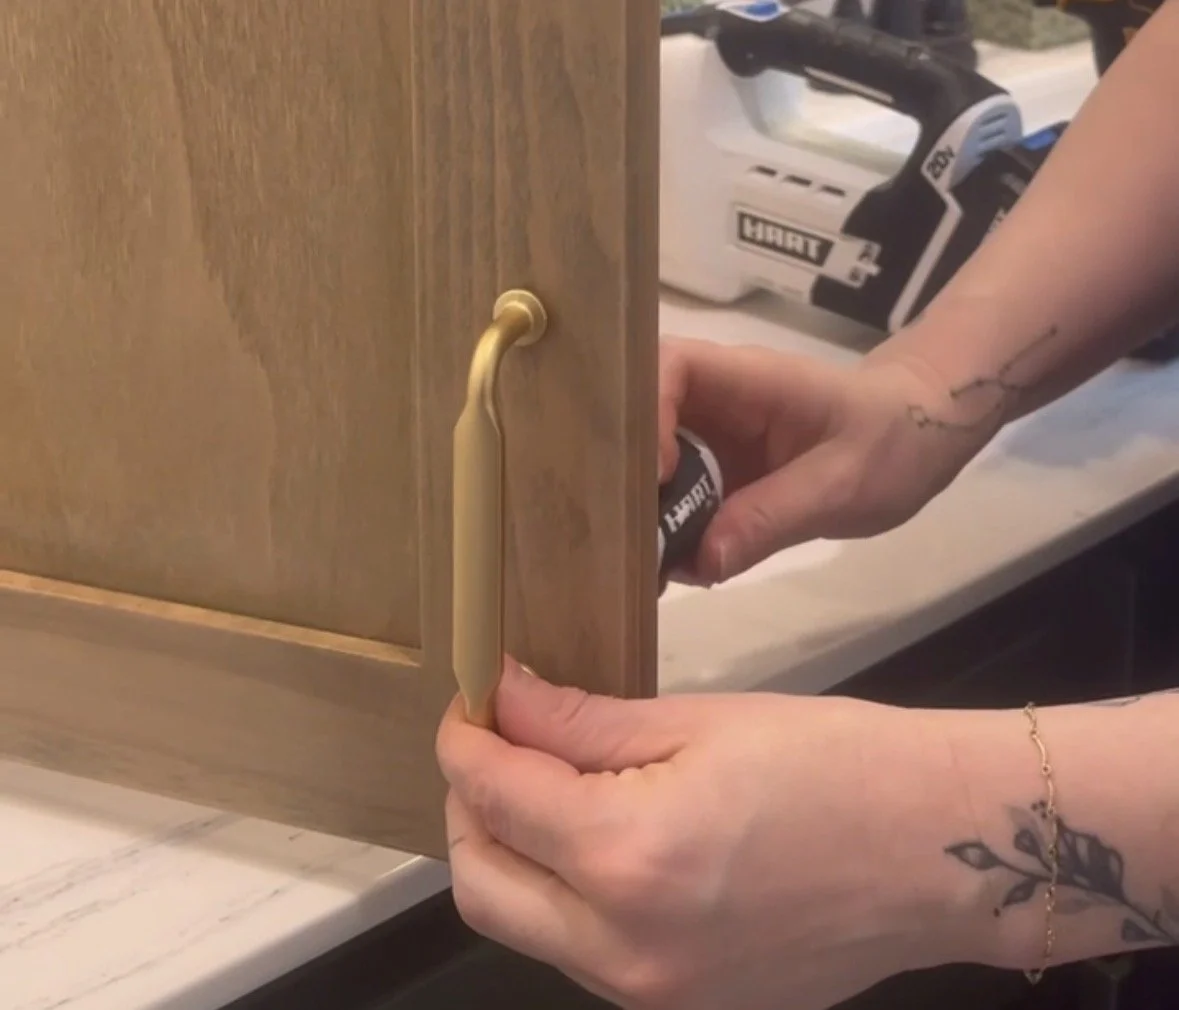
I got these gorgeous cabinet pulls also.
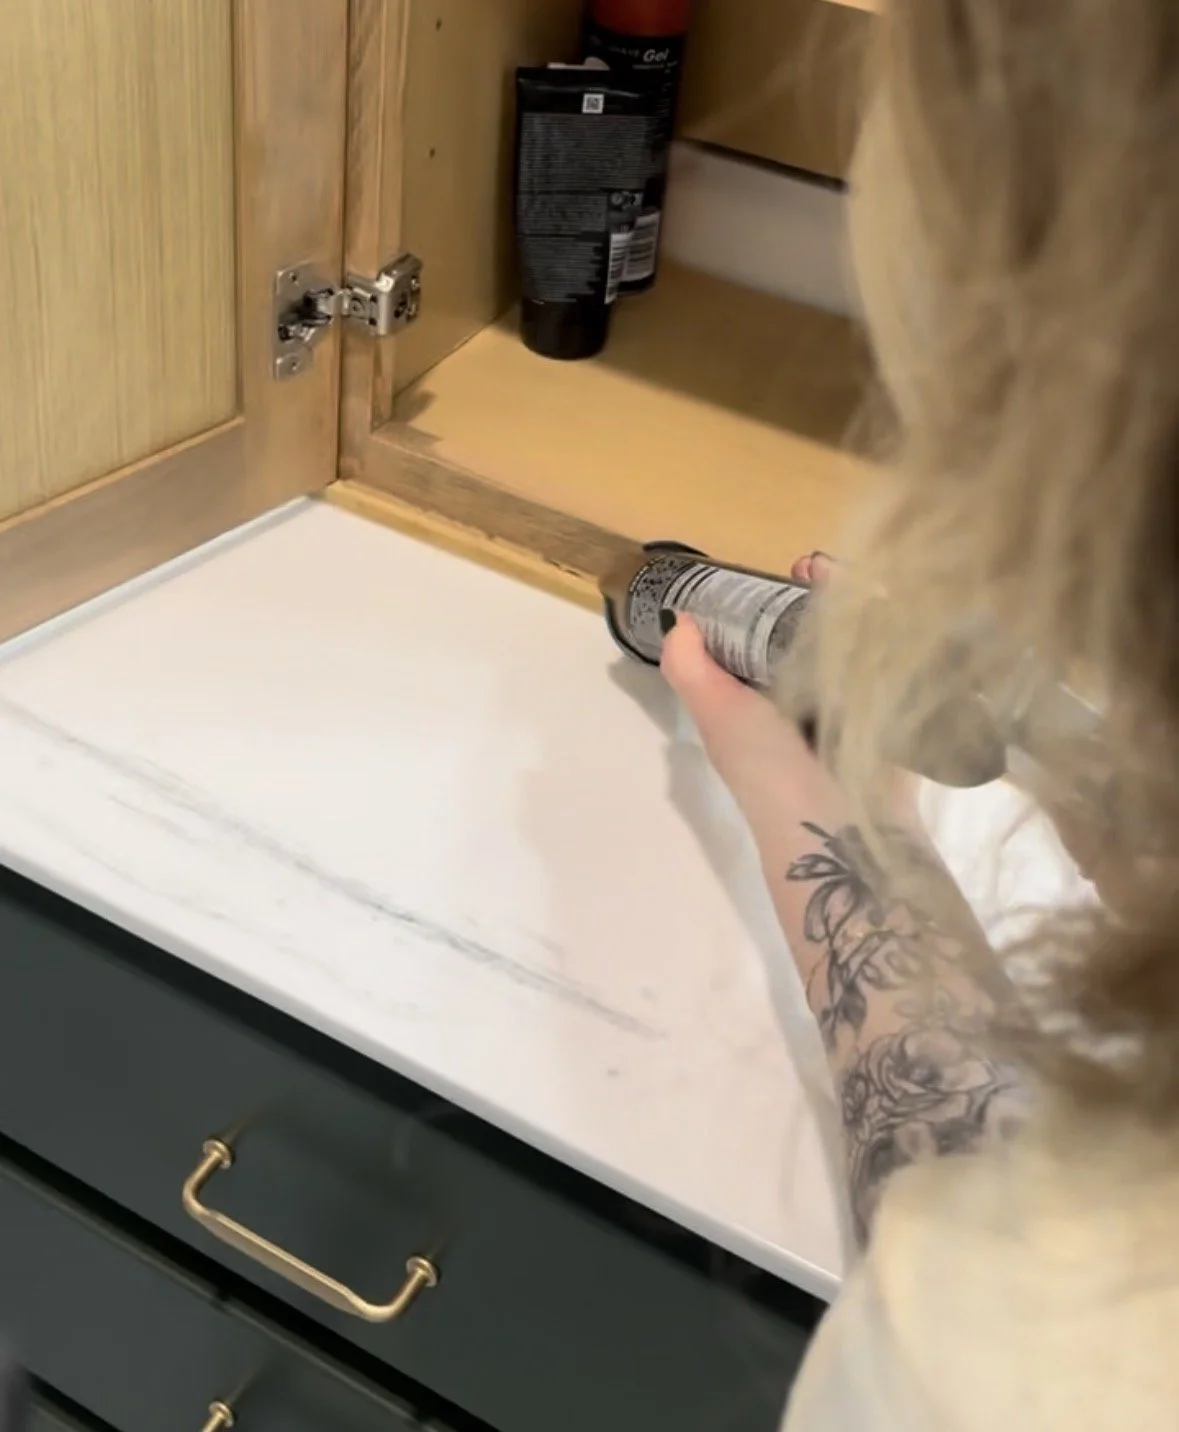
After installing wallpaper: For the trim I used 2 pieces of scribe moulding for each side, a piece of 1.5” decorative moulding at the top and 1/2” square dowels at the bottom where it meets the counter (all stained with the same combo and sealed). I then siliconed the edges where the cabinet meets the counter and the wallpaper and caulked any cracks with this cedar tan color caulk from Dap.
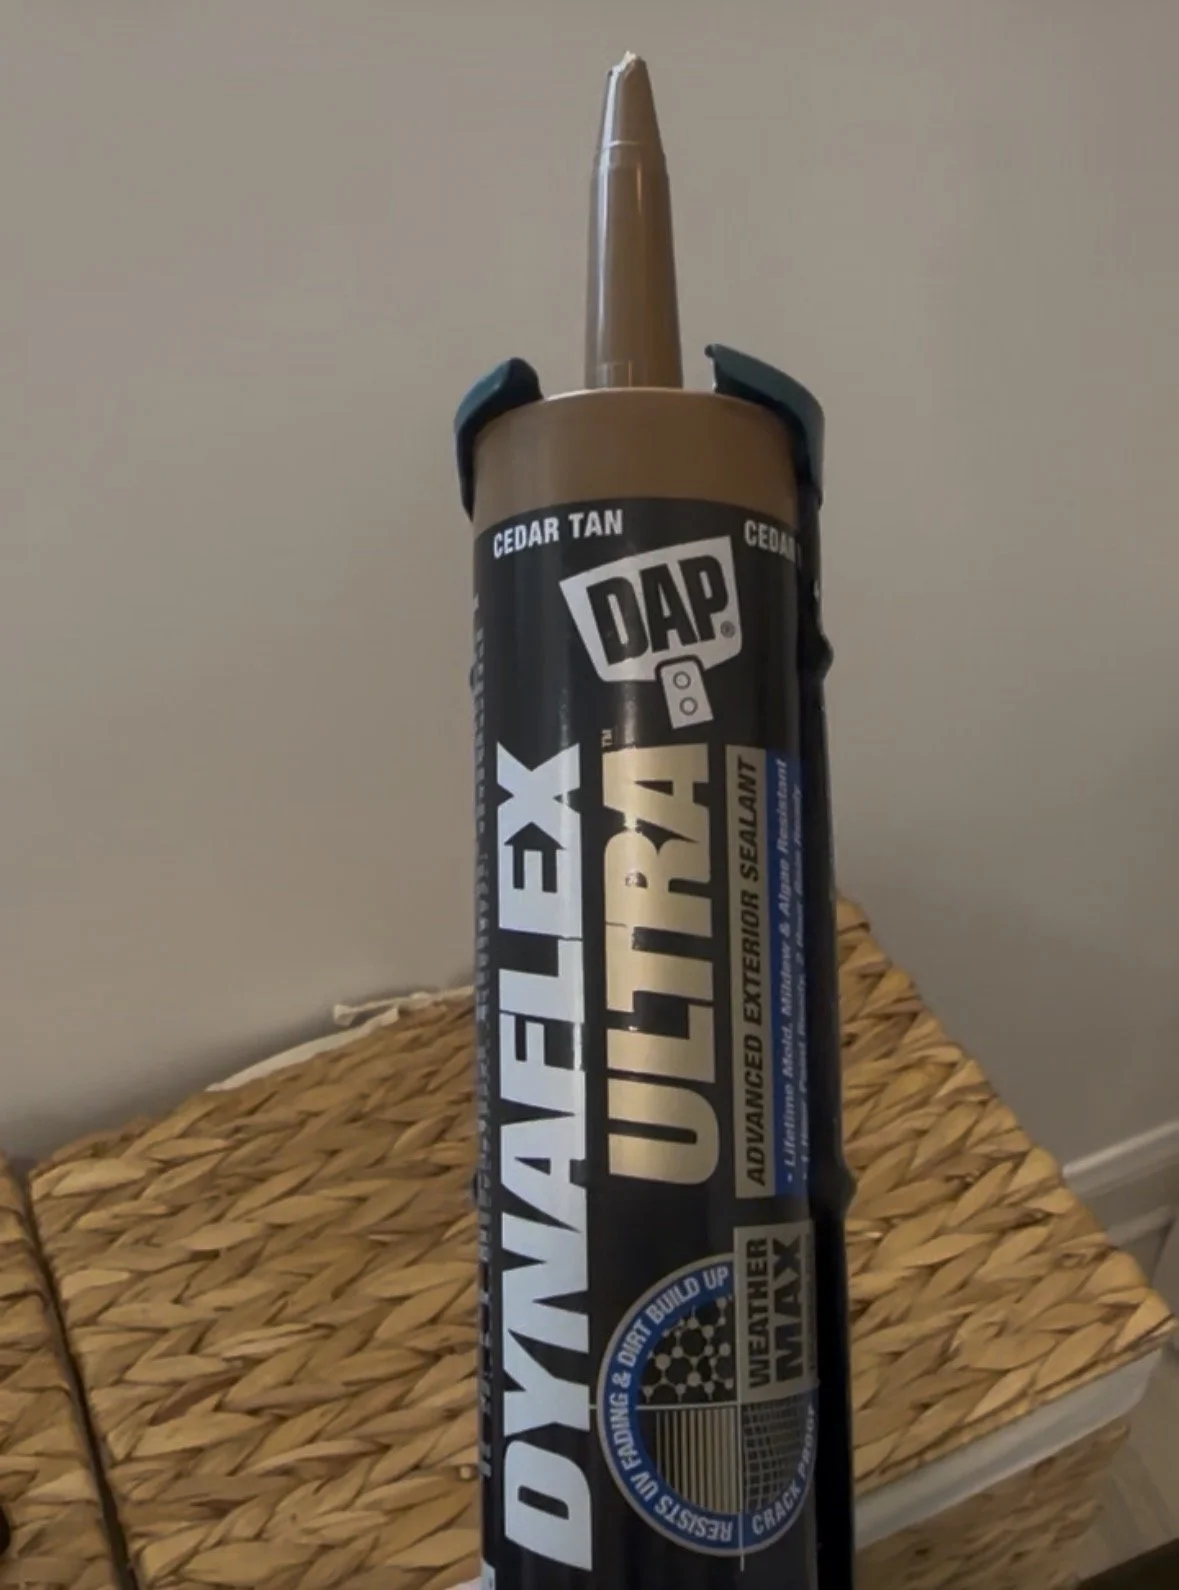
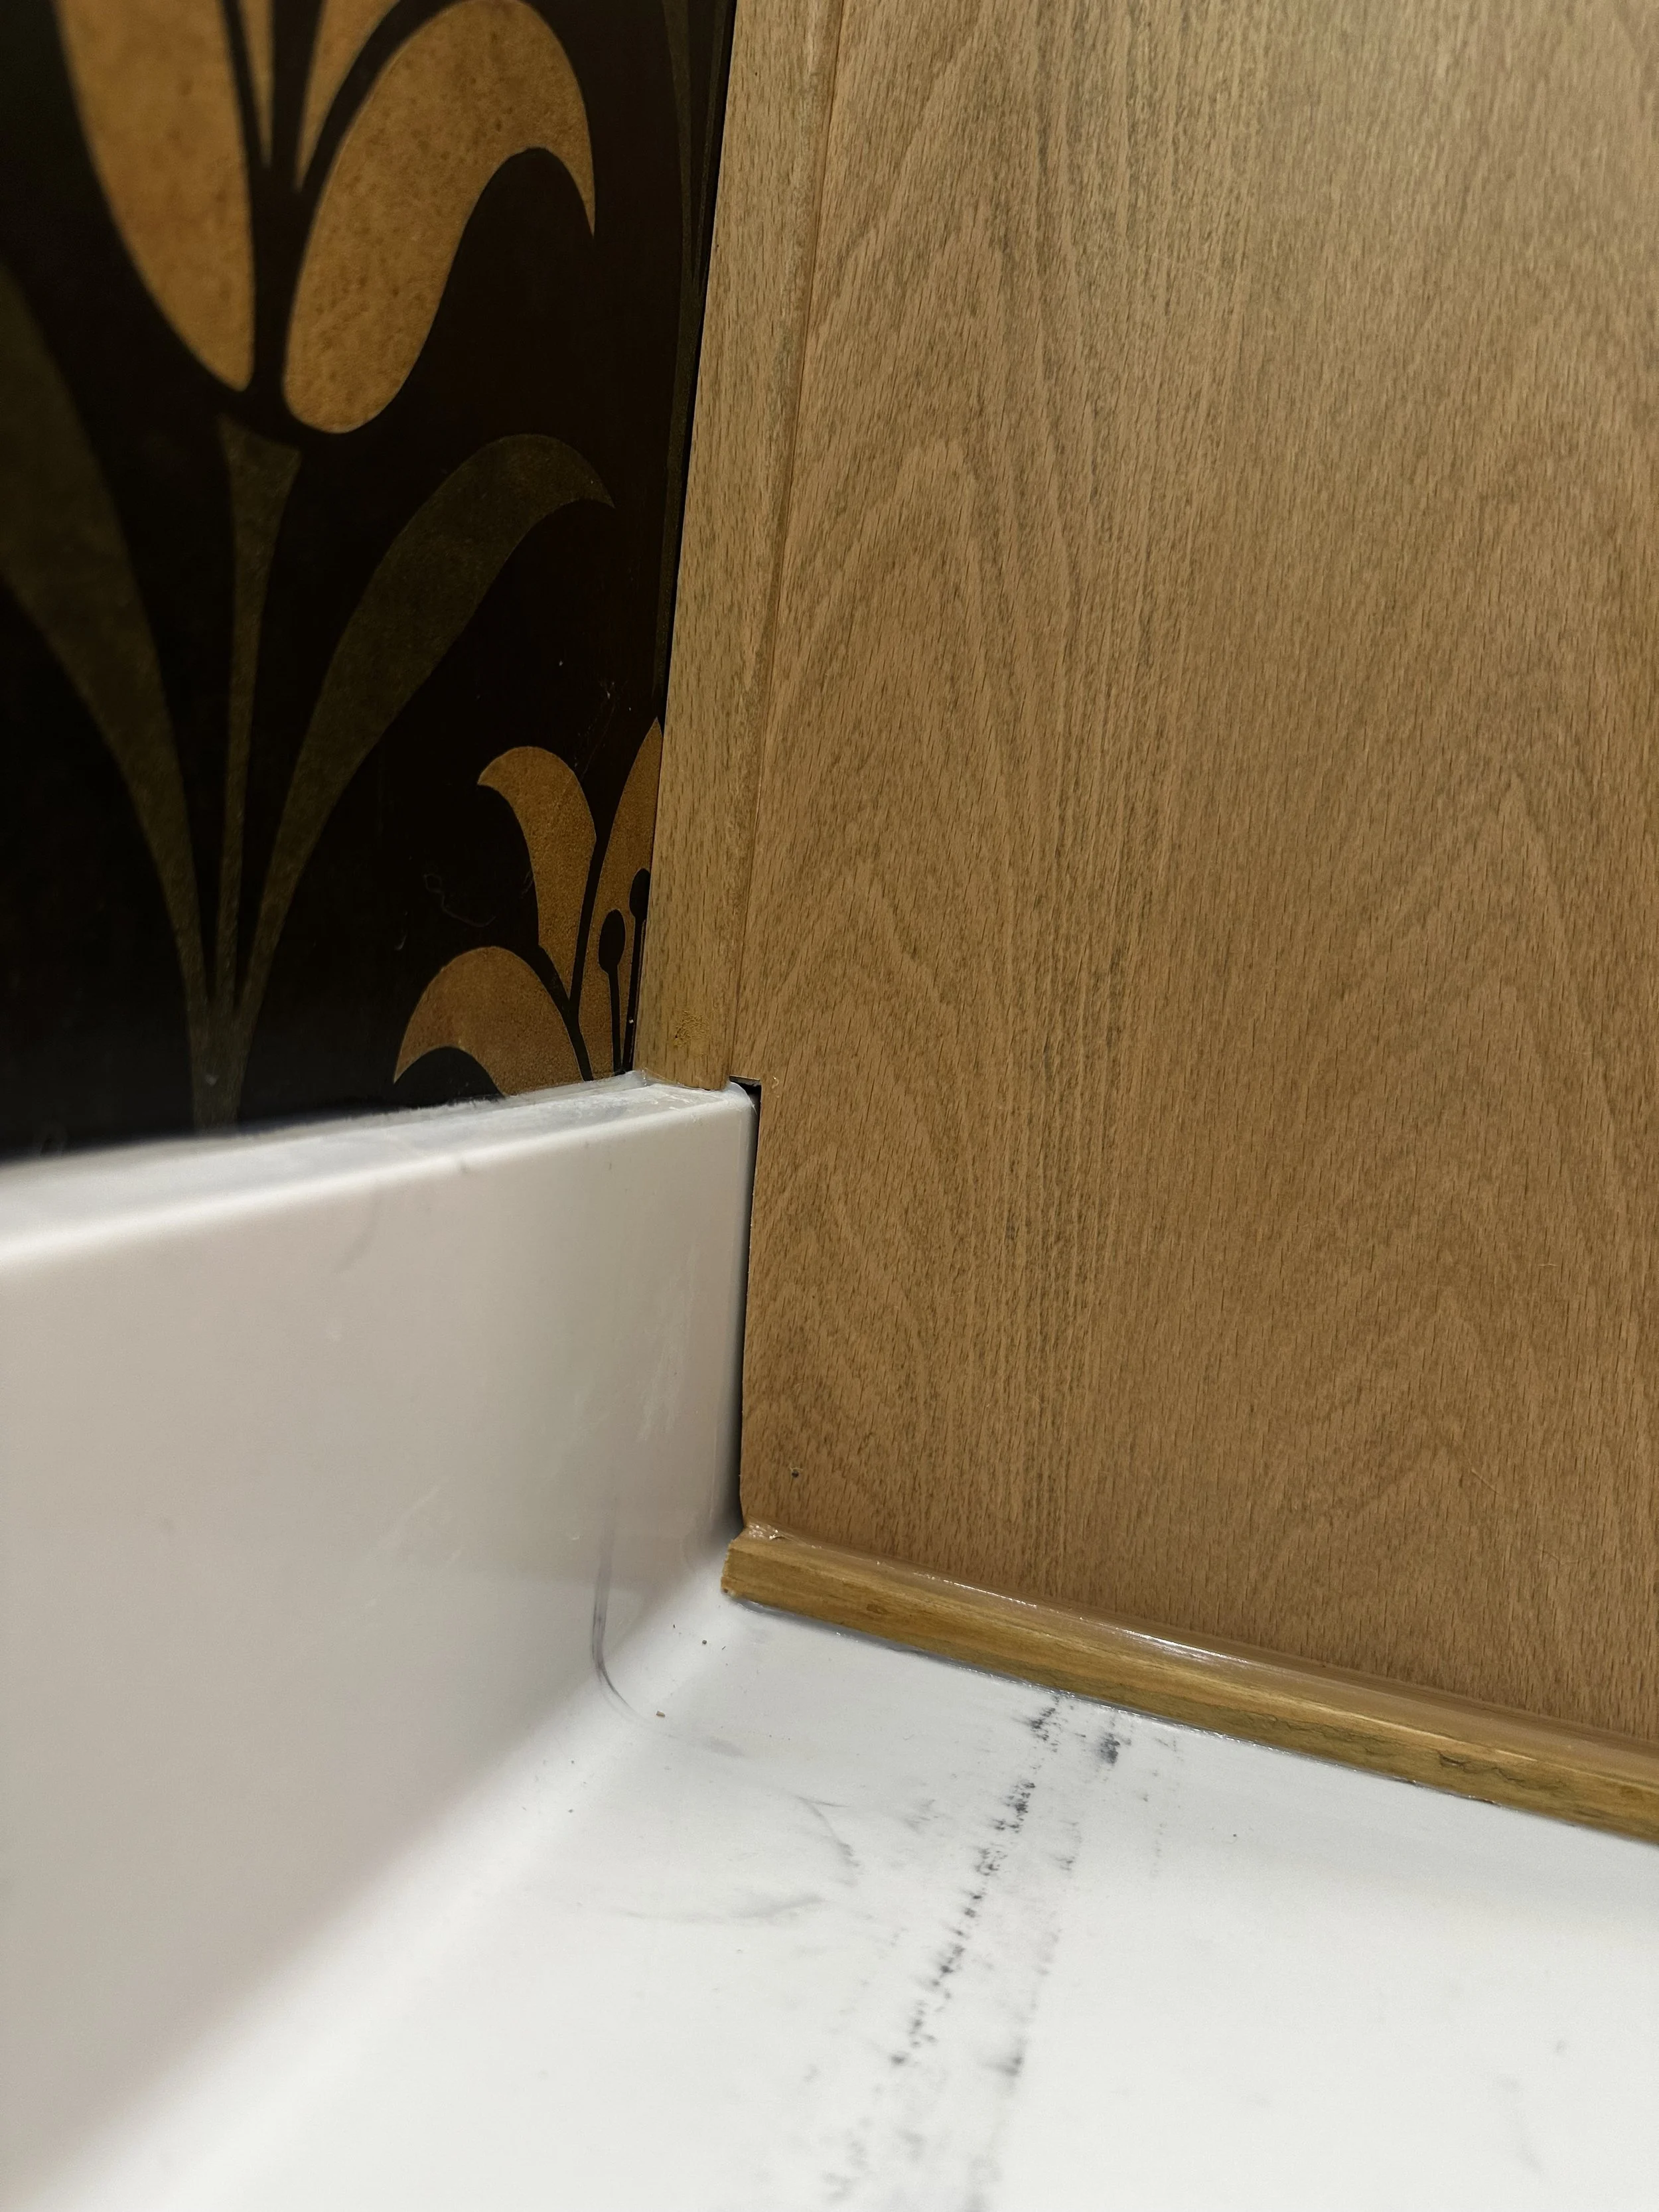
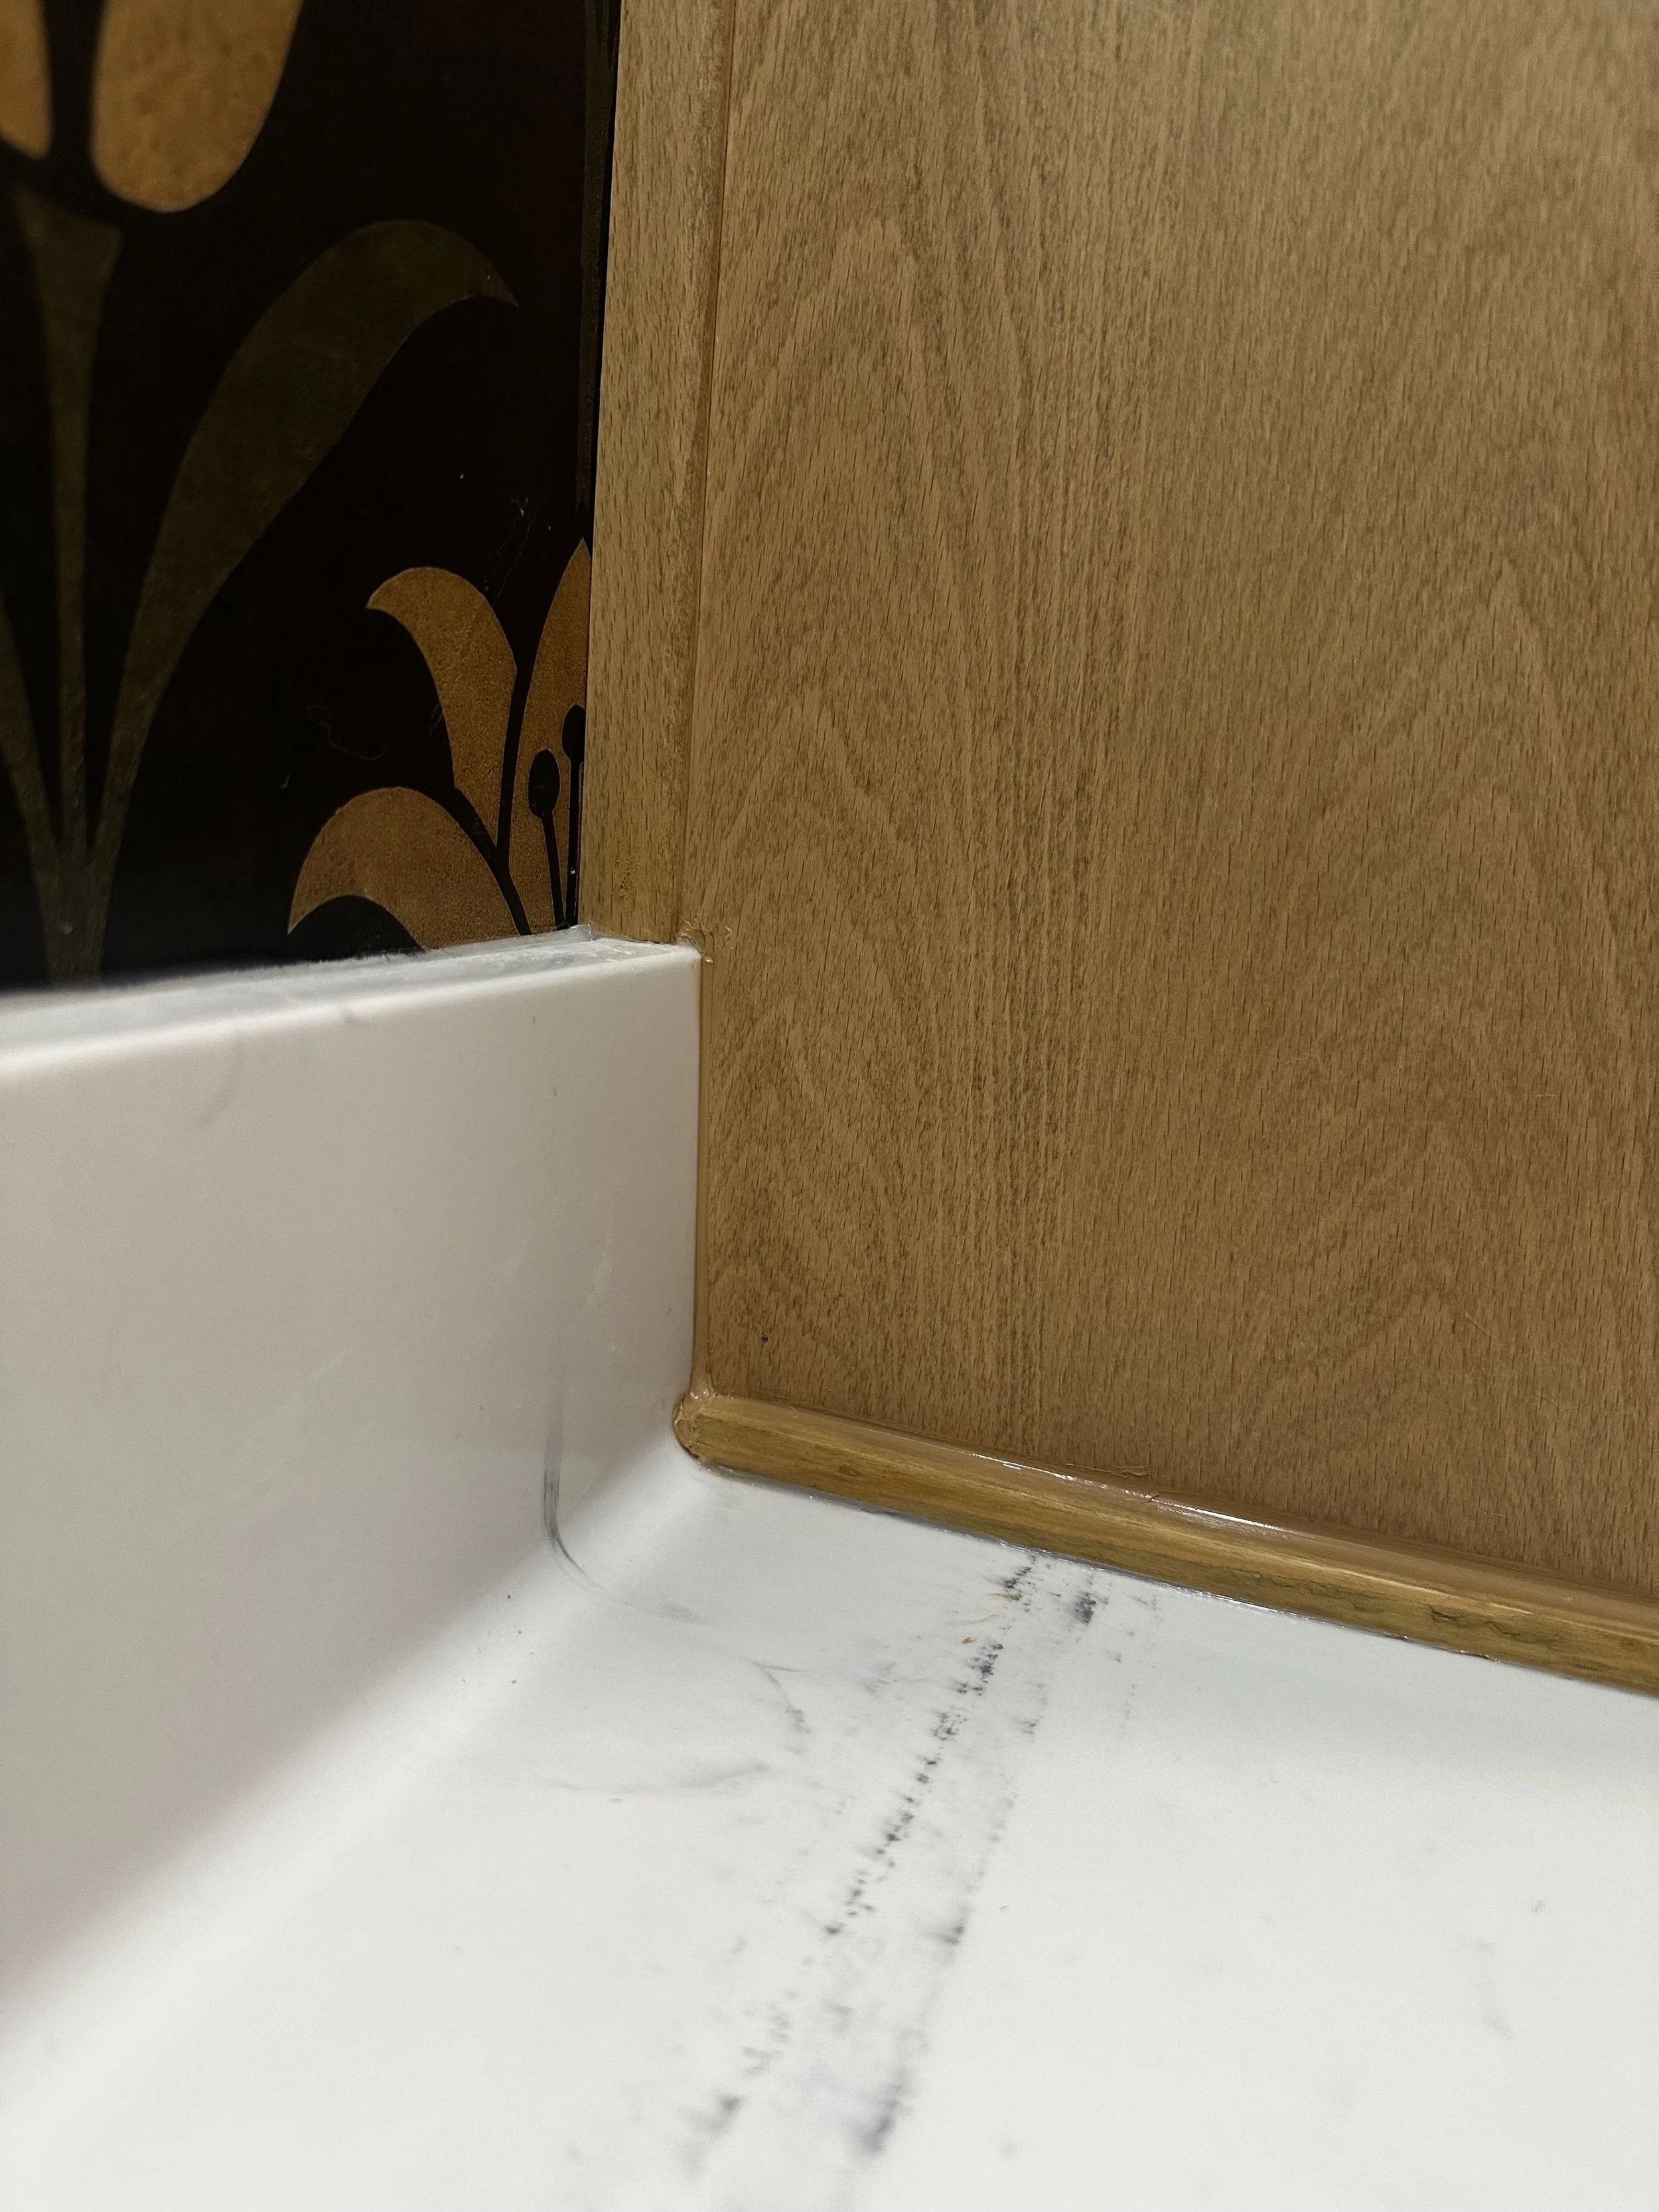
heads up- it did dry darker than this. I may find a lighter color to go over it.
What’s Next
With the vanity painted and the storage cabinet complete, the bathroom was already looking significantly better.
But the really fun part was still ahead.
Next up: wallpaper, new mirrors, updated lighting, faucets, and all the finishing details that would finally give this bathroom the personality it was missing.