
Bathroom makeover pt 3: Installing Wallpaper Above My Bathroom Vanity: The Easiest Wallpaper Project I’ve Ever Done
this post contains affiliate links. your support is appreciated!
There’s something magical about the moment a room starts to develop a personality. For this bathroom makeover, that moment happened when I installed wallpaper above the vanity.
The bathroom started out feeling very builder-grade and uninspired. The mirrors were plain, the light fixtures lacked character, and the entire space felt like it was waiting for someone to make a decision. So, naturally, I decided wallpaper was the answer.
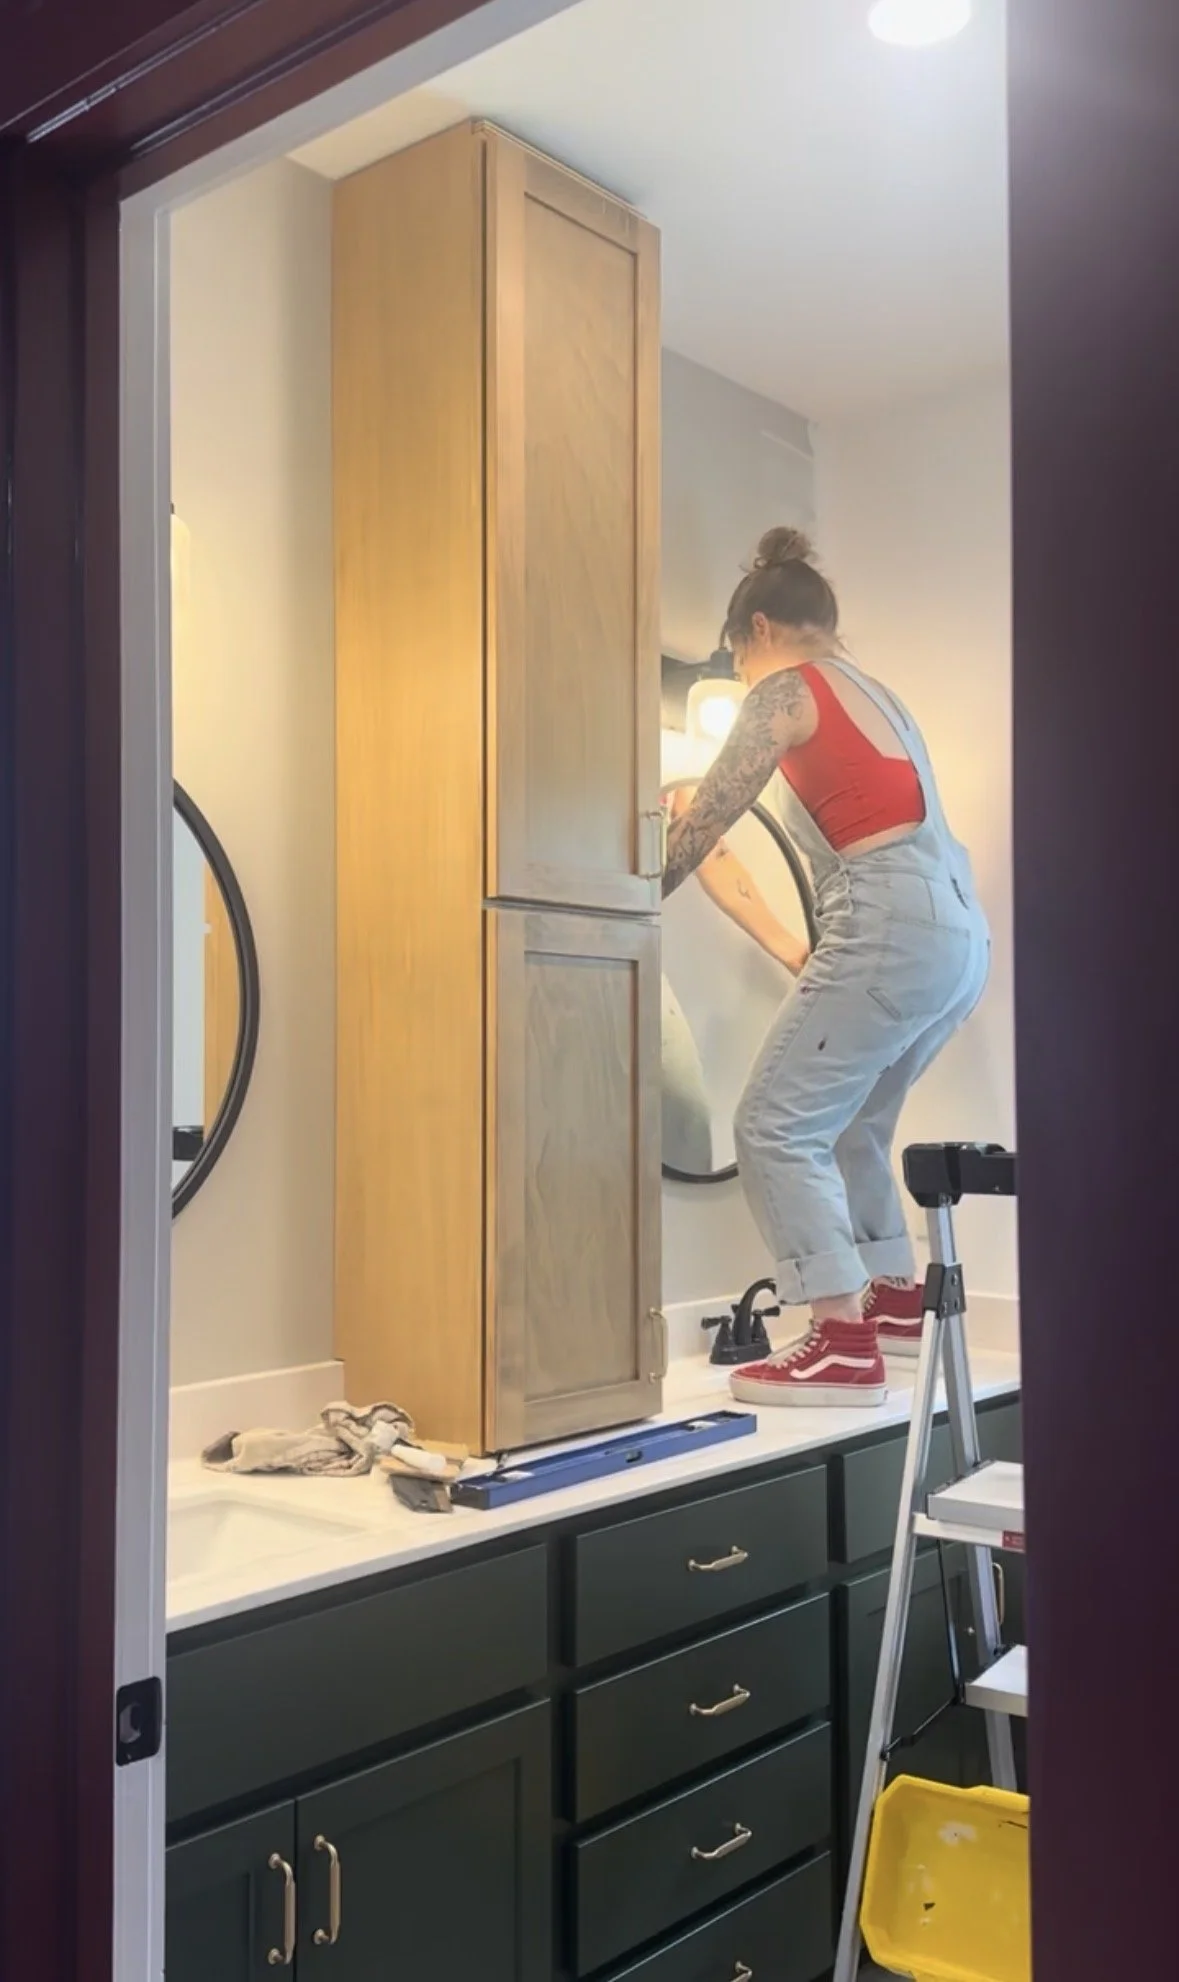
Removing the Old Fixtures
Before I could begin, I removed the existing mirrors and light fixtures. Taking everything down gave me a clean slate and made the space feel instantly bigger. It also helped me visualize the design direction I was aiming for.
With the wall cleared, it was finally time for the fun part.
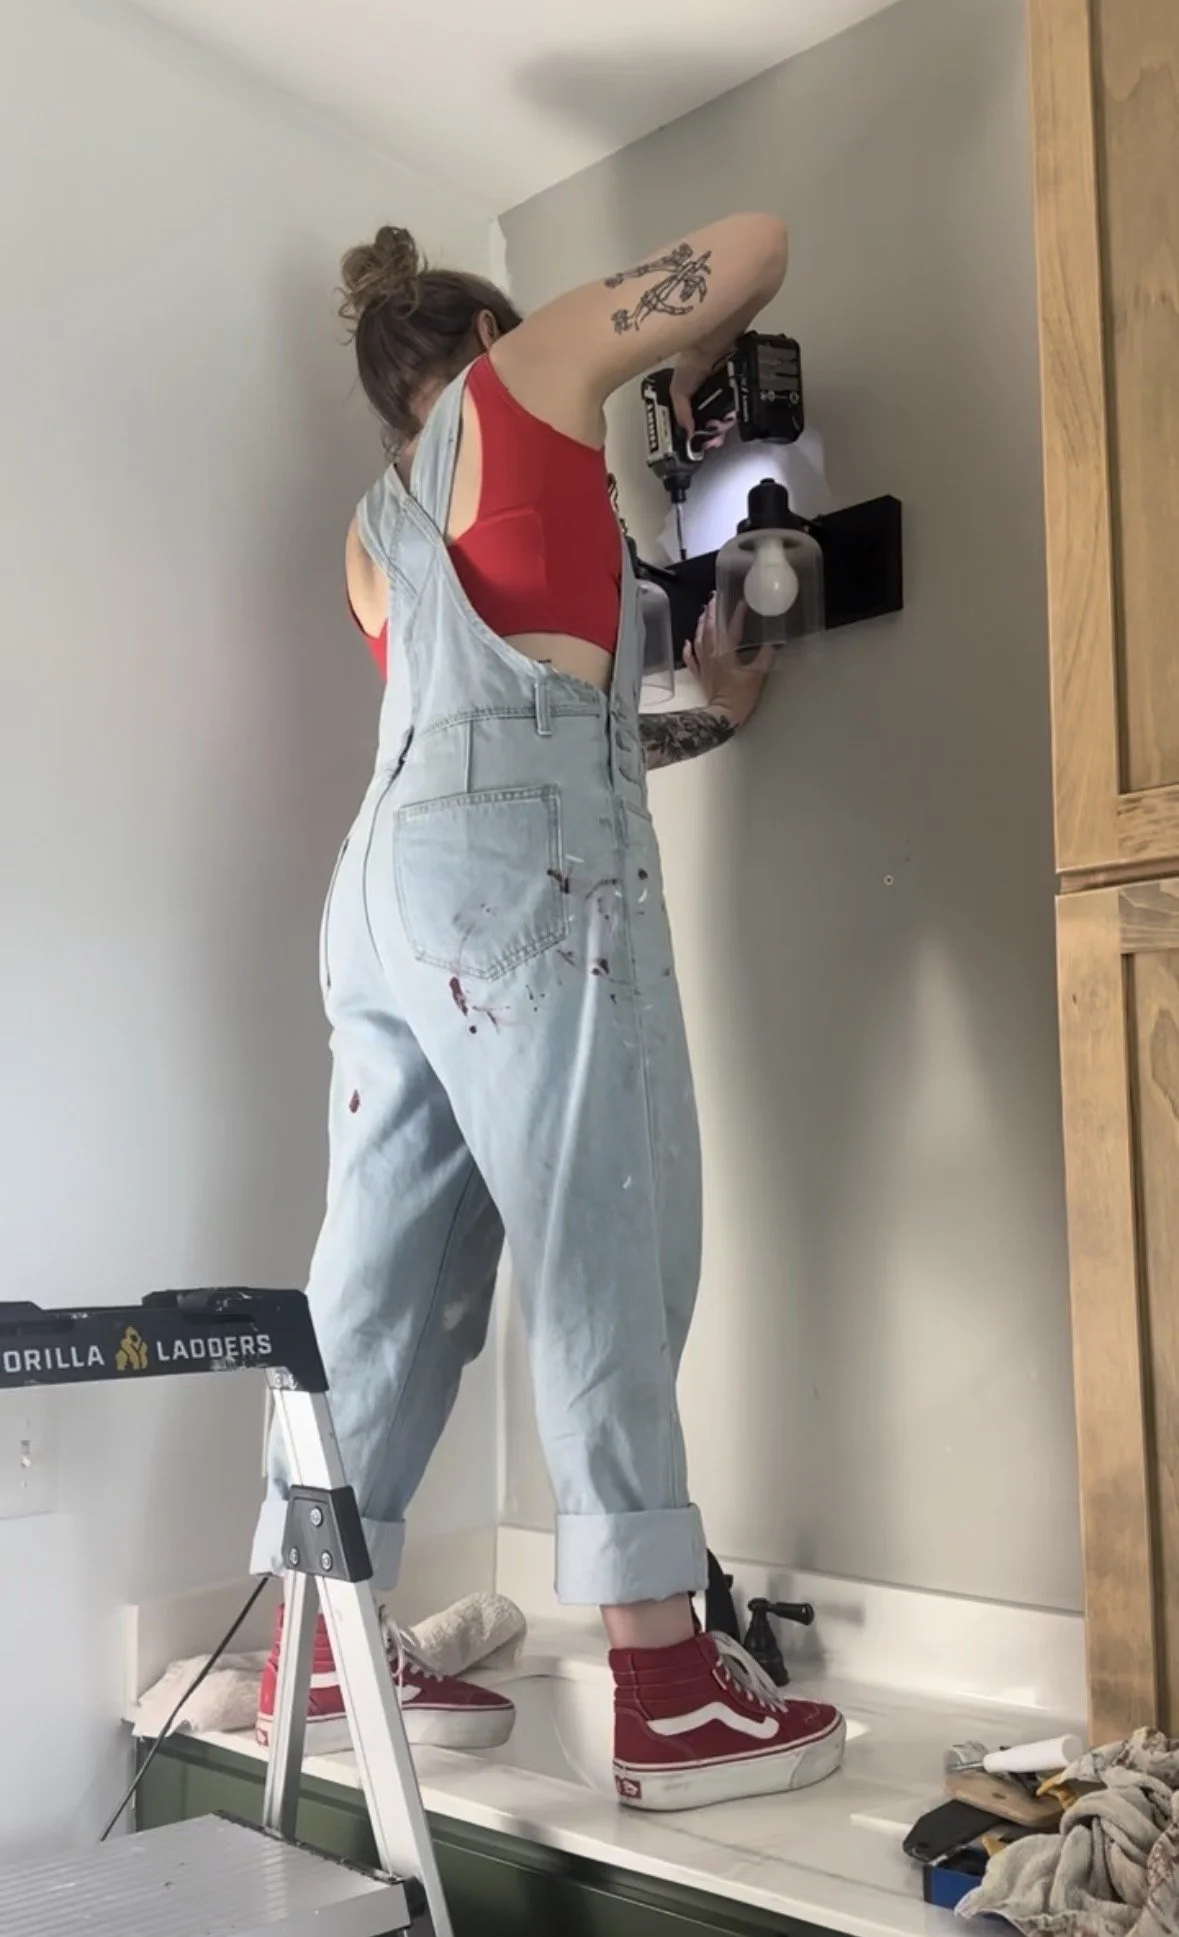
Wallpaper Installation
The first step was drawing a level line to ensure my first strip of wallpaper would be perfectly straight. If you’ve ever installed wallpaper before, you know that getting the first piece right makes the entire project easier.
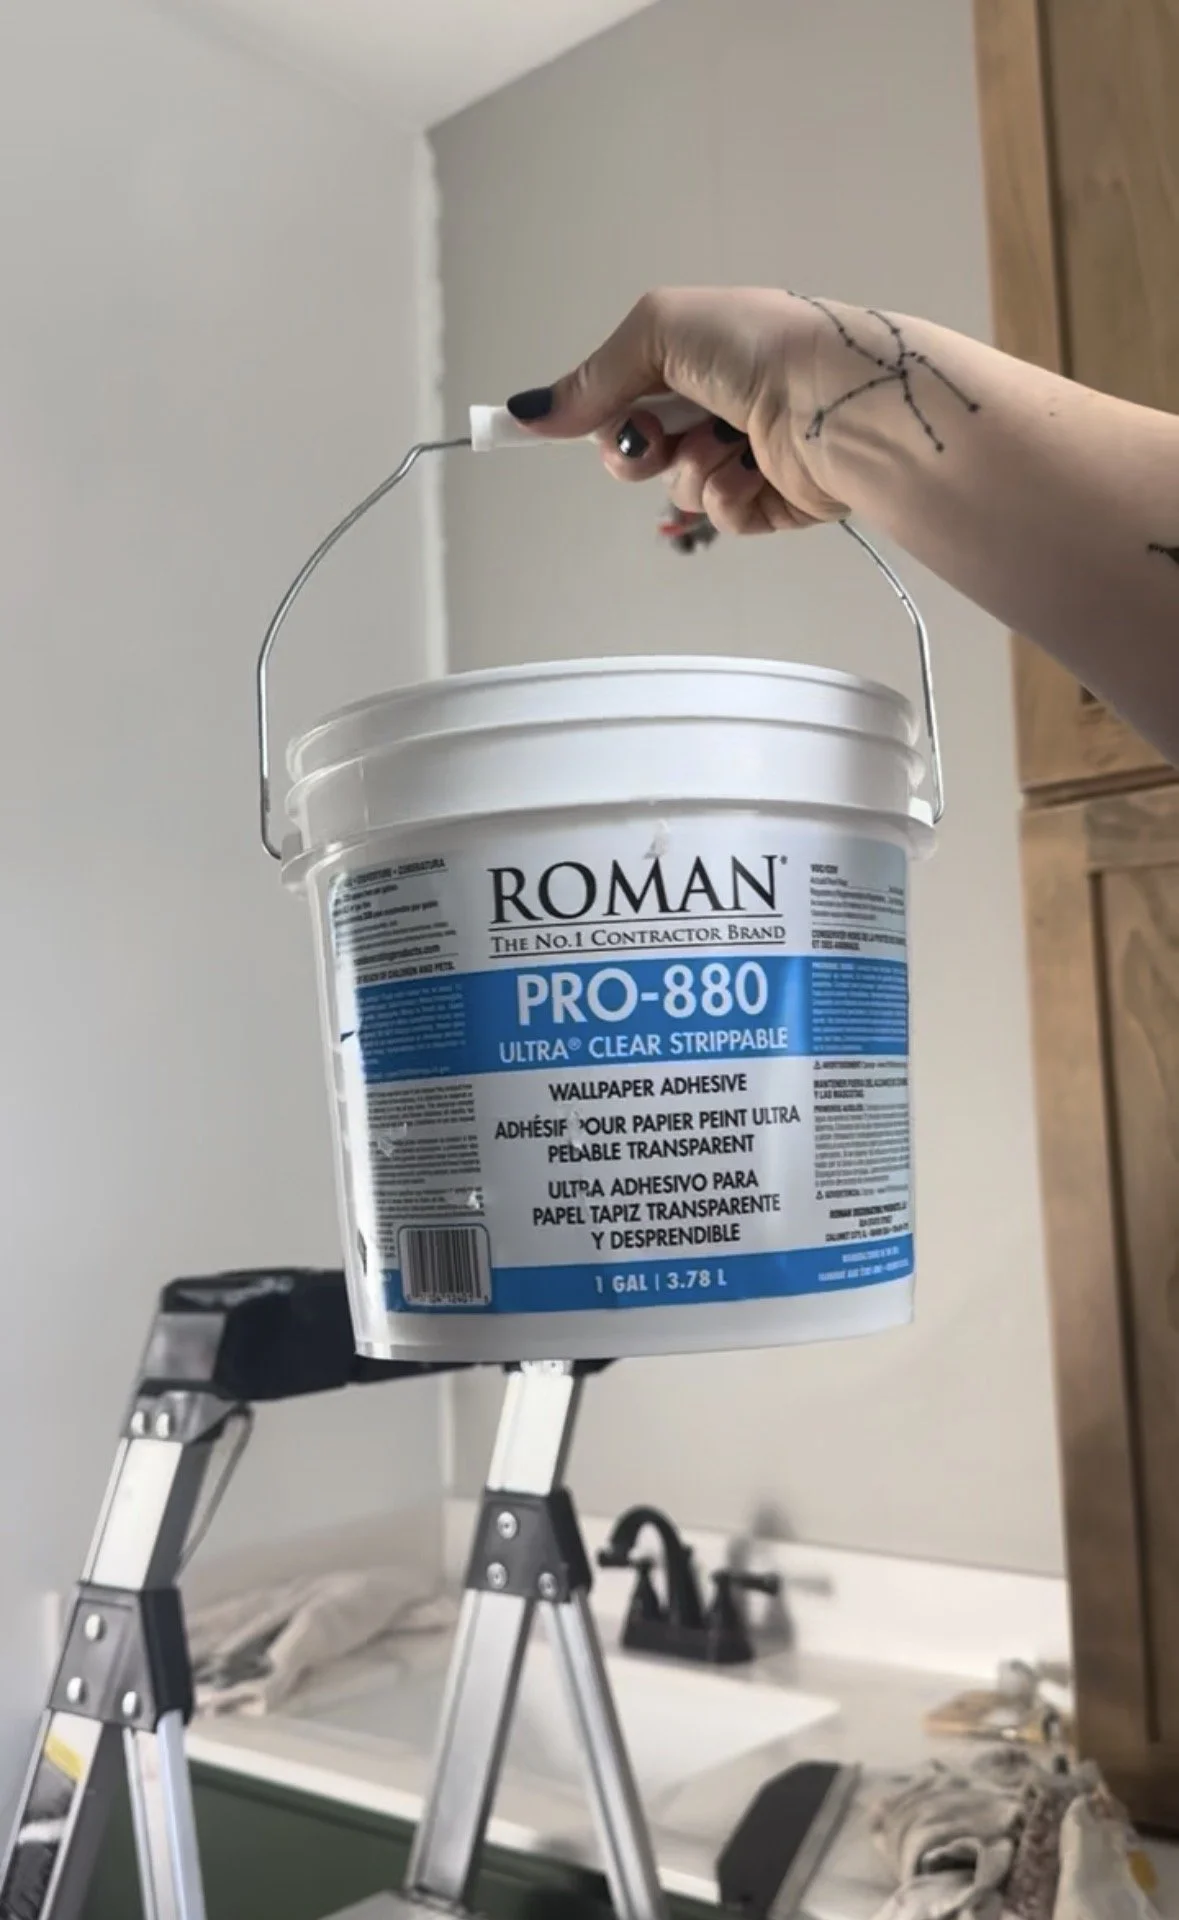
I used Roman Pro 880 strippable wallpaper paste for the installation as always.
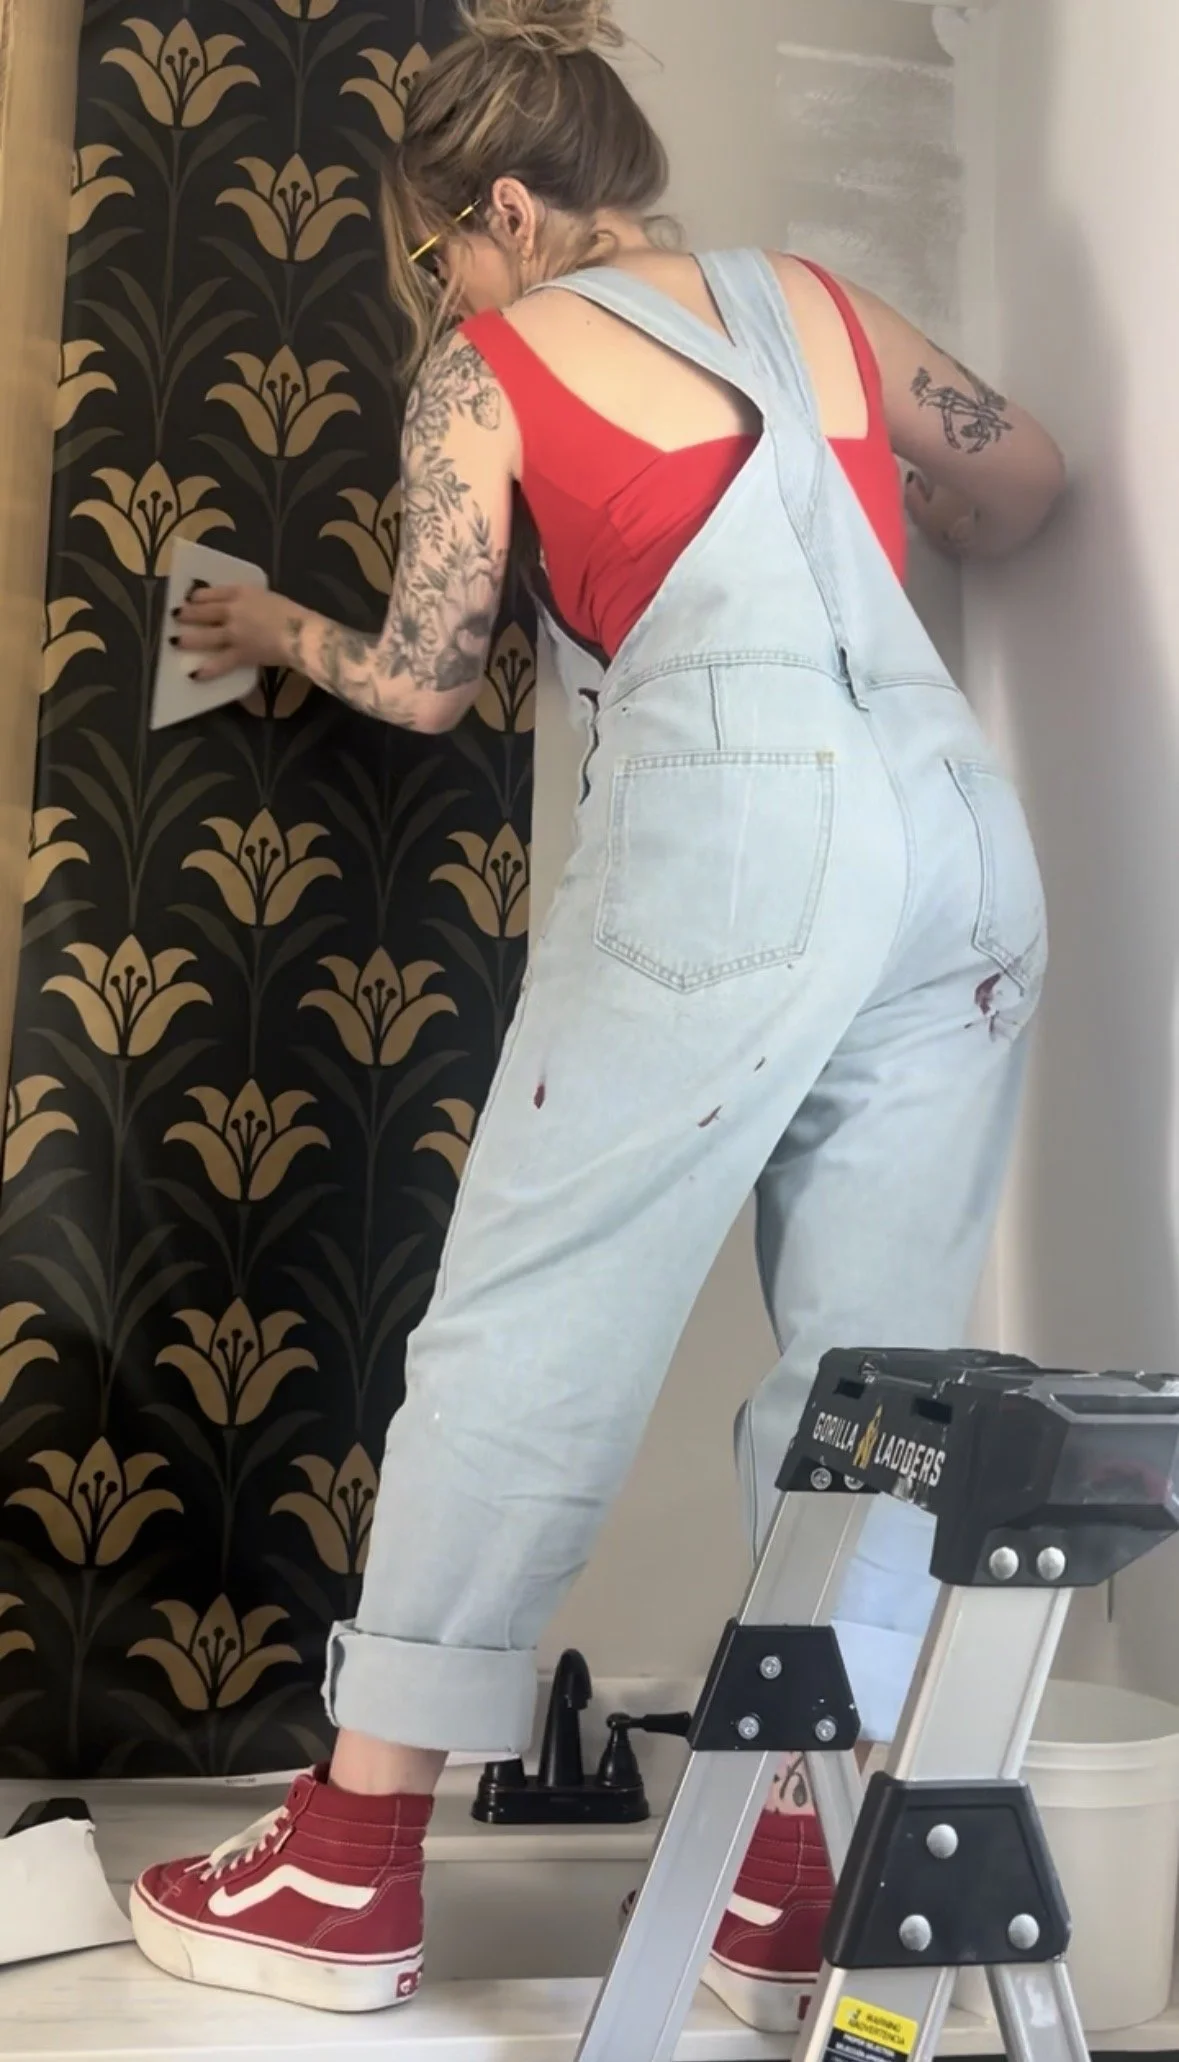
This may have been the easiest wallpaper installation I’ve ever tackled.
Because the wallpaper only covered the wall above the vanity, there were very few complicated cuts to make. I only needed to trim around the edges and cut openings for the light fixture brackets. Compared to wallpapering an entire room (or a ceiling), this project felt incredibly fast.
Adding Character with New Lighting
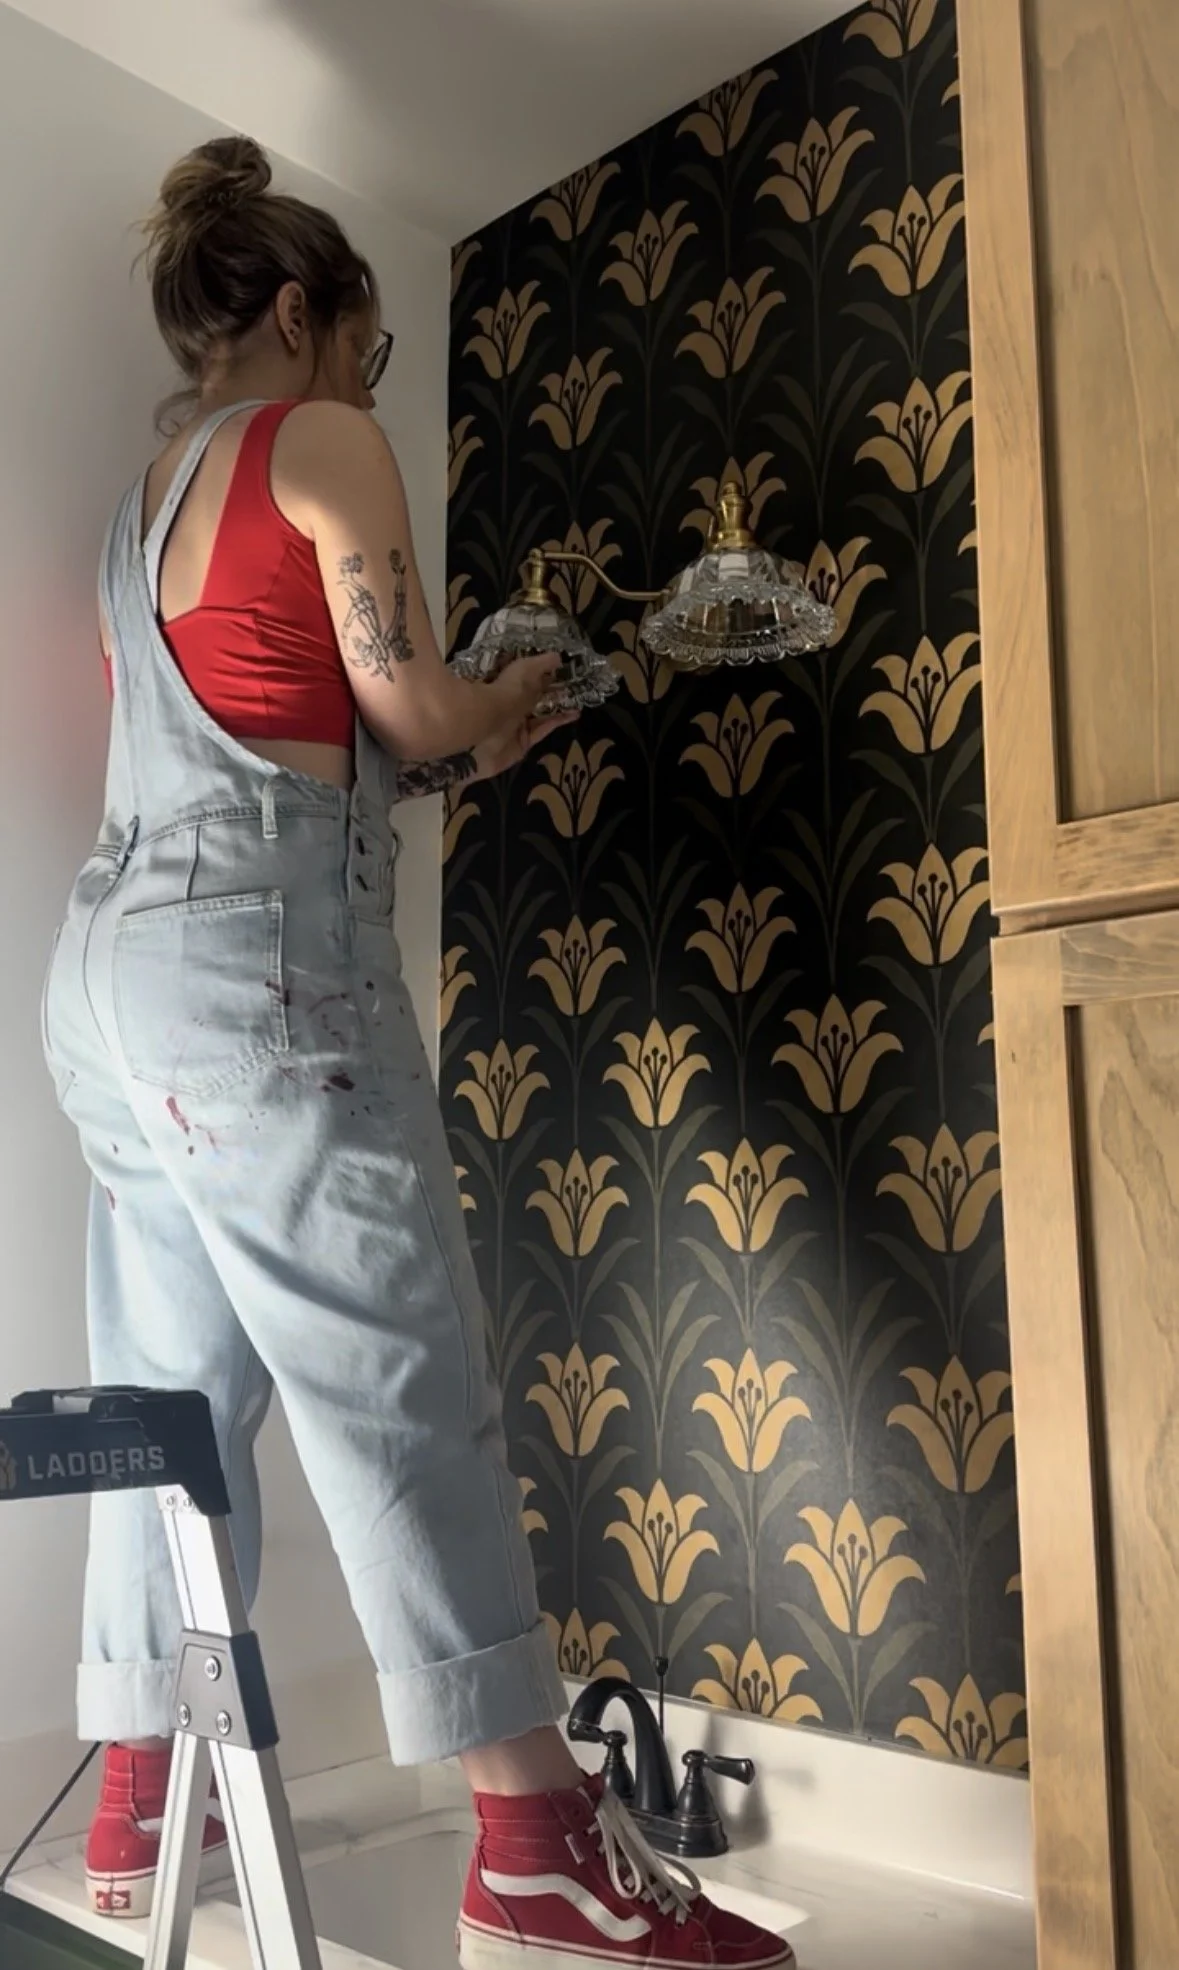
Once the wallpaper was installed, I replaced the old fixtures with beautiful antique-inspired sconces.
This is one of my favorite design tricks: pairing a bold wallpaper with classic lighting. The combination adds instant character and creates a much more custom, high-end look.
As soon as the lights went up, I could see the vision coming together.
Protecting Wallpaper in a Bathroom
One of the questions I get most often is whether wallpaper can hold up in a bathroom.
The answer is yes… with the right protection.
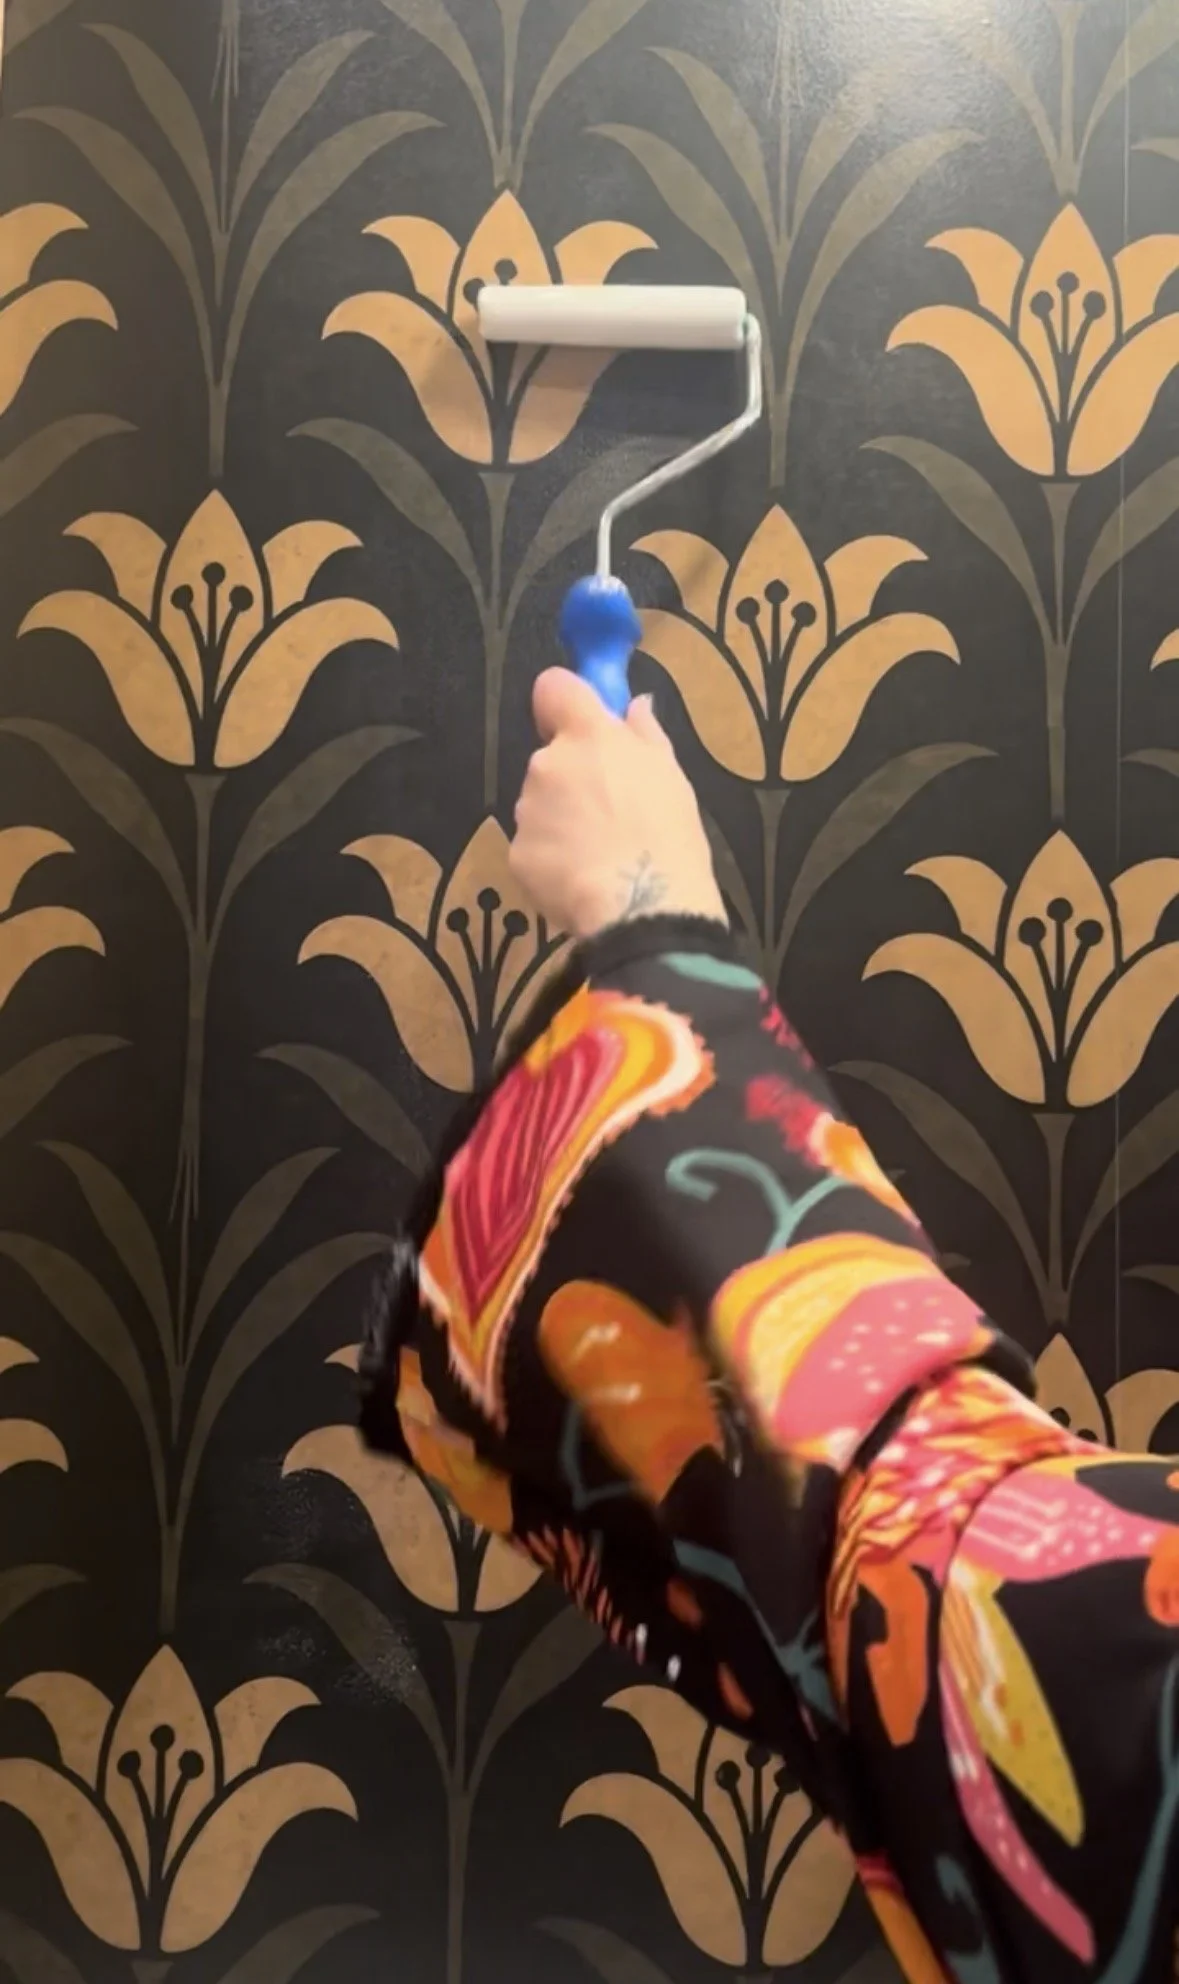
After allowing the wallpaper to dry for two full days, I sealed it with Polyvine Decorators Varnish. I applied two coats in Polyvine Decorators Varnish Satin finish followed by one coat of Polyvine Decorators Varnish Dead Flat finish for added durability while maintaining a natural look.
To provide even more protection, I also applied a thin bead of clear silicone around the perimeter of the wallpaper. This helps prevent moisture from getting behind the paper and protects the edges over time.
The Transformation So Far
I absolutely love how this wallpaper turned out. The pattern brings so much warmth, texture, and personality to the space, and it completely changes the feel of the bathroom.
It’s amazing how one wall can make such a dramatic difference.
And while I’m already obsessed with how it looks, the makeover isn’t finished yet. The mirrors are next, and they might just be my favorite part of the entire project.