
How to Draw an Arch

Post contains affiliate links
Arches are everywhere. In architecture, paintings, etc.. I’ve painted arches in several murals, and added them into several furniture builds and I always get asked how to draw the perfect arch so here we go….

Step one:
Draw your two vertical outside lines using a level or a straightedge. Make sure to stop at the same height on each side.

Step two:
Find your center in between these two outside lines. For example- if your lines are 24” apart, your center would be 12” from each line.

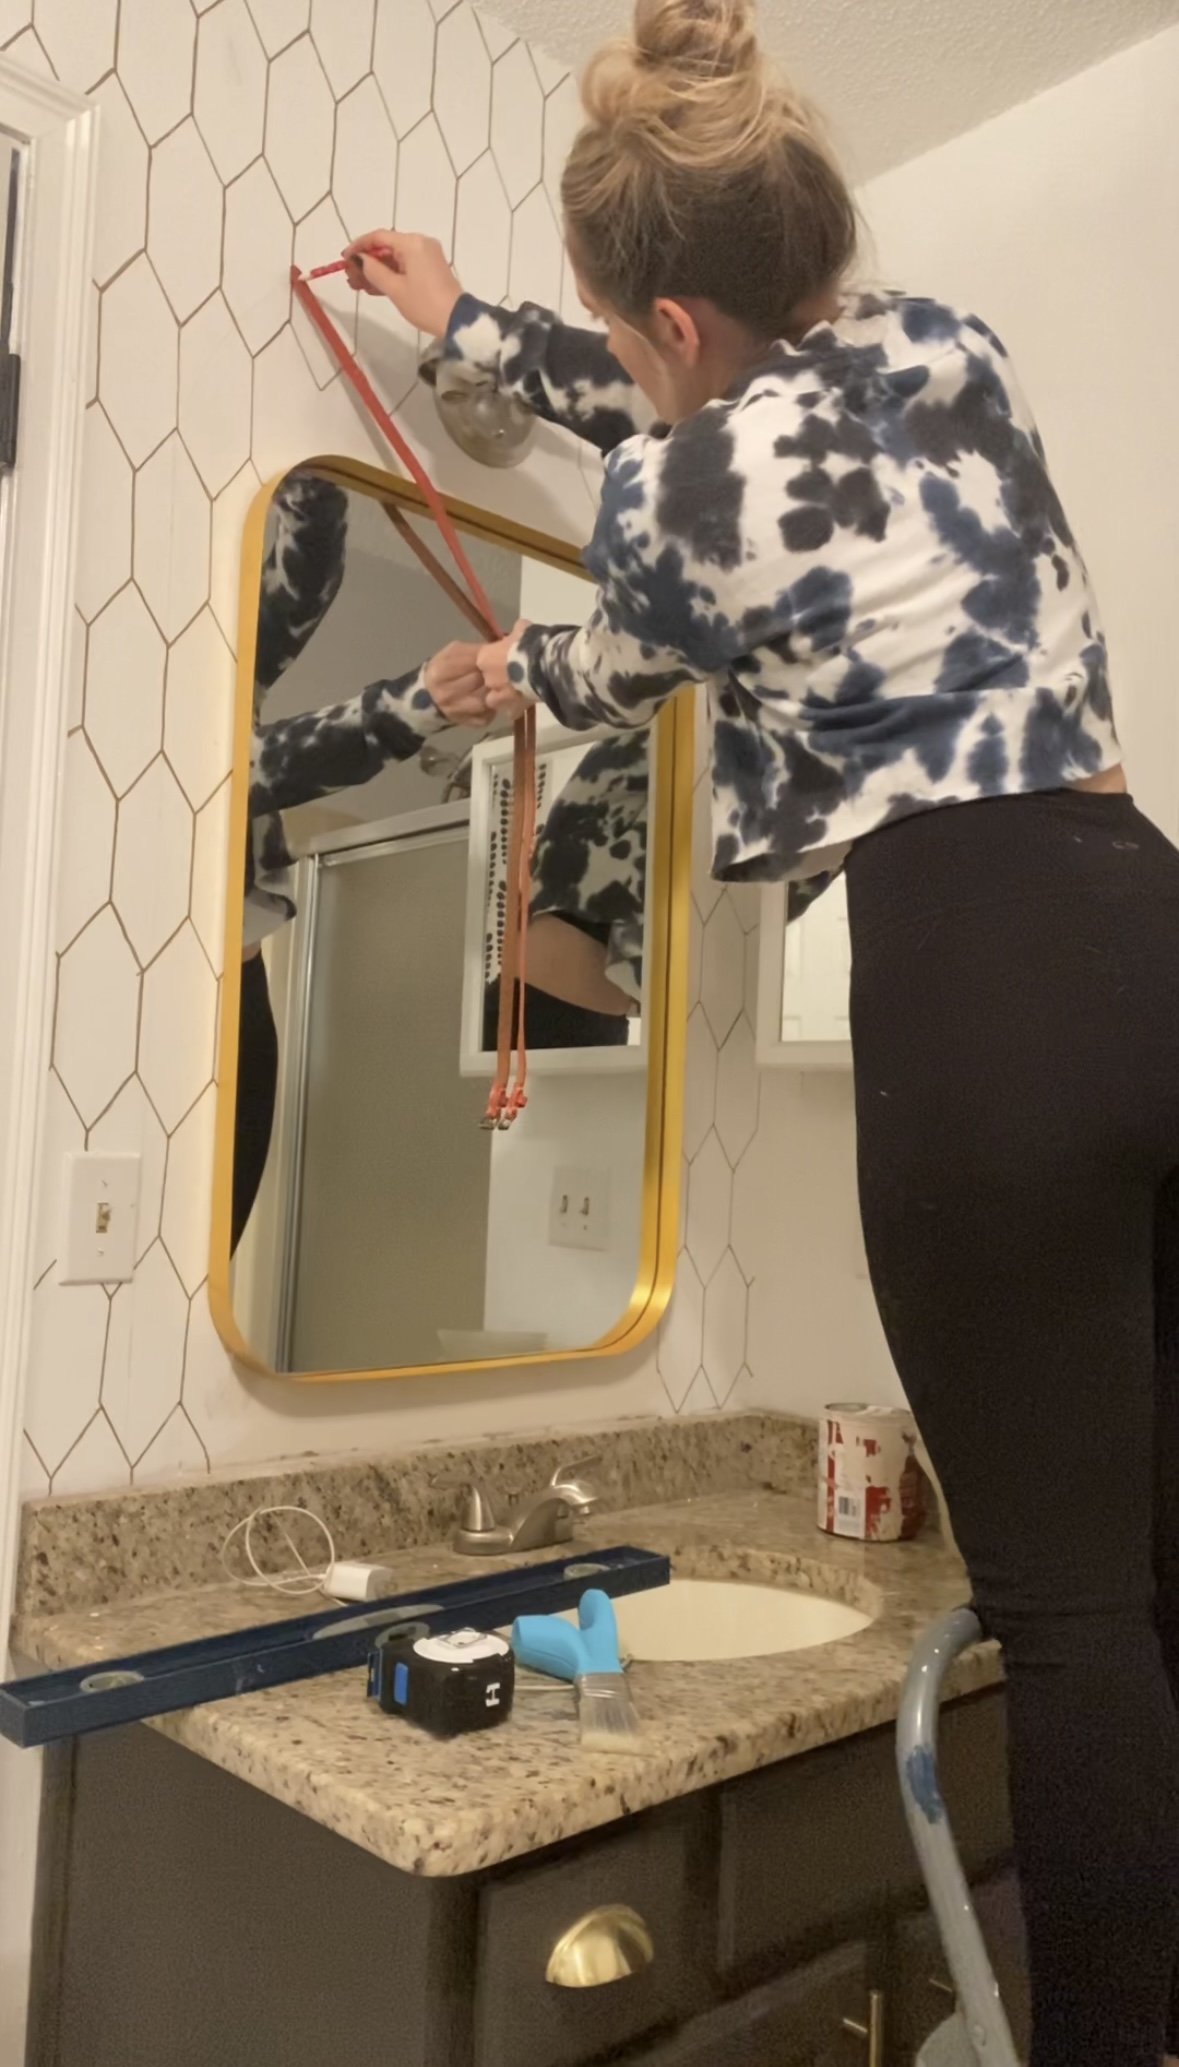
Step three:
Use a string tied to a pencil or a belt with a pencil through one of the holes. The length needs to be the same as your measurement for the center. Place a thumbtack or hold the end of the string or belt at the center point.
Step four:
Pull the string taut and place the tip of the pencil at the top of one of your outside lines. Keep the string taut as you draw an arch from one line to the other.
That’s it! A perfect arch. You can use this method for any size arch.

For pieces to cut- once your arch is drawn, you can cut the wood with a jigsaw and then use that cut piece to trace any other arches you need to draw.


To paint, you can use painters tape on the sides but will need to slowly slowly freehand the arch and then fill in the middle.


Happy arching!
Arch painting video: click here
And another one: click here
Arched floating nightstands: click here
