
Not Your Grandma’s Vinyl…
That’s what Dura Decor’s Luxury vinyl plank line promised me. And I can safely say- they deliver.
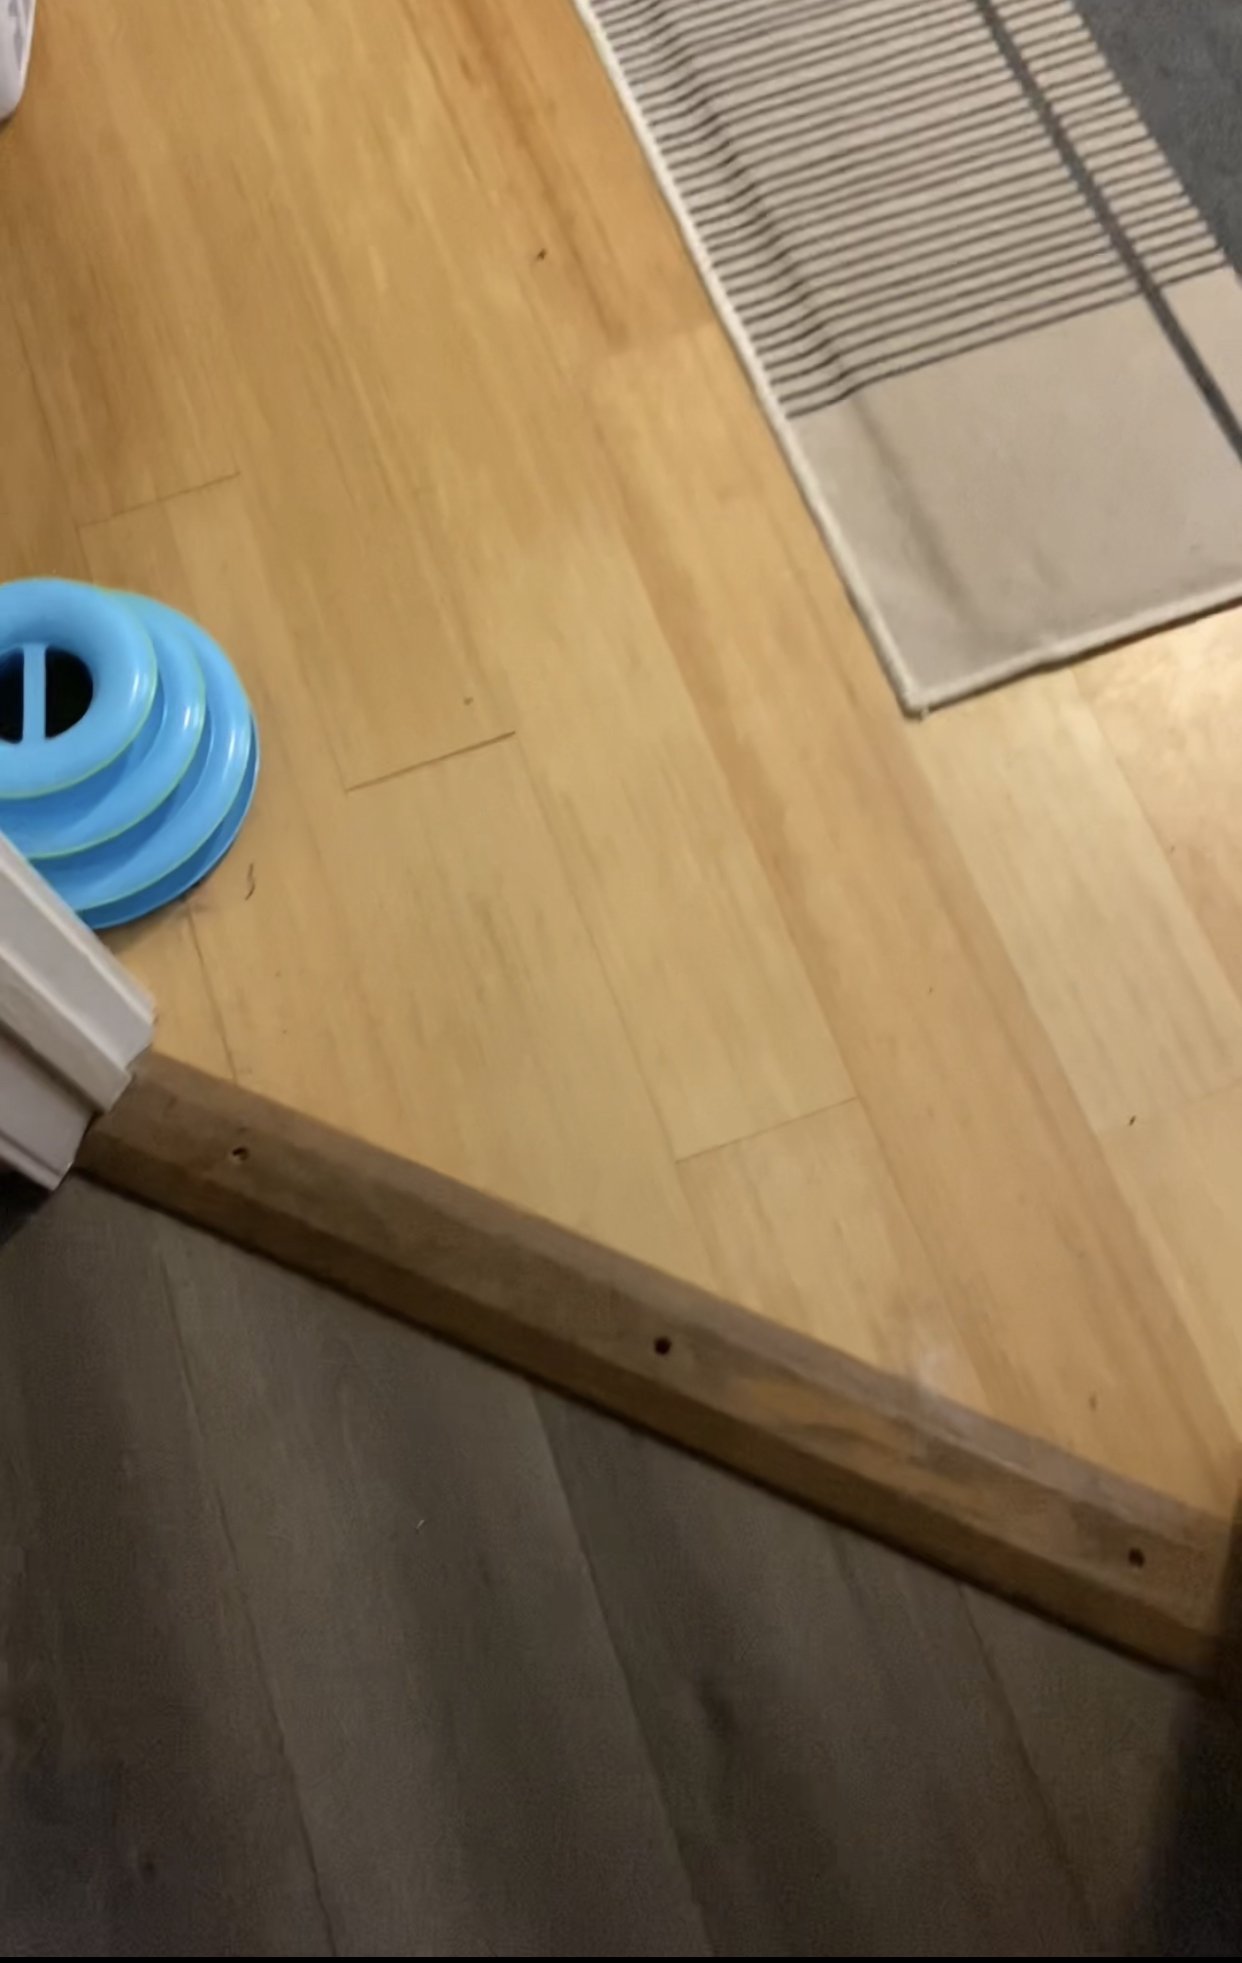
When we bought our home in 2018, the open concept floor plan sported wall-to-wall tile. And not cute tile. Not to mention, the bedrooms and bathrooms had completely different flooring from the rest of the house.
One stipulation of our closing was that the seller would have LVP installed in the main open concept area. The bedrooms were still a different flooring. I’ve been on a mission this year to make my home more cohesive and the flooring plays a BIG factor in this.
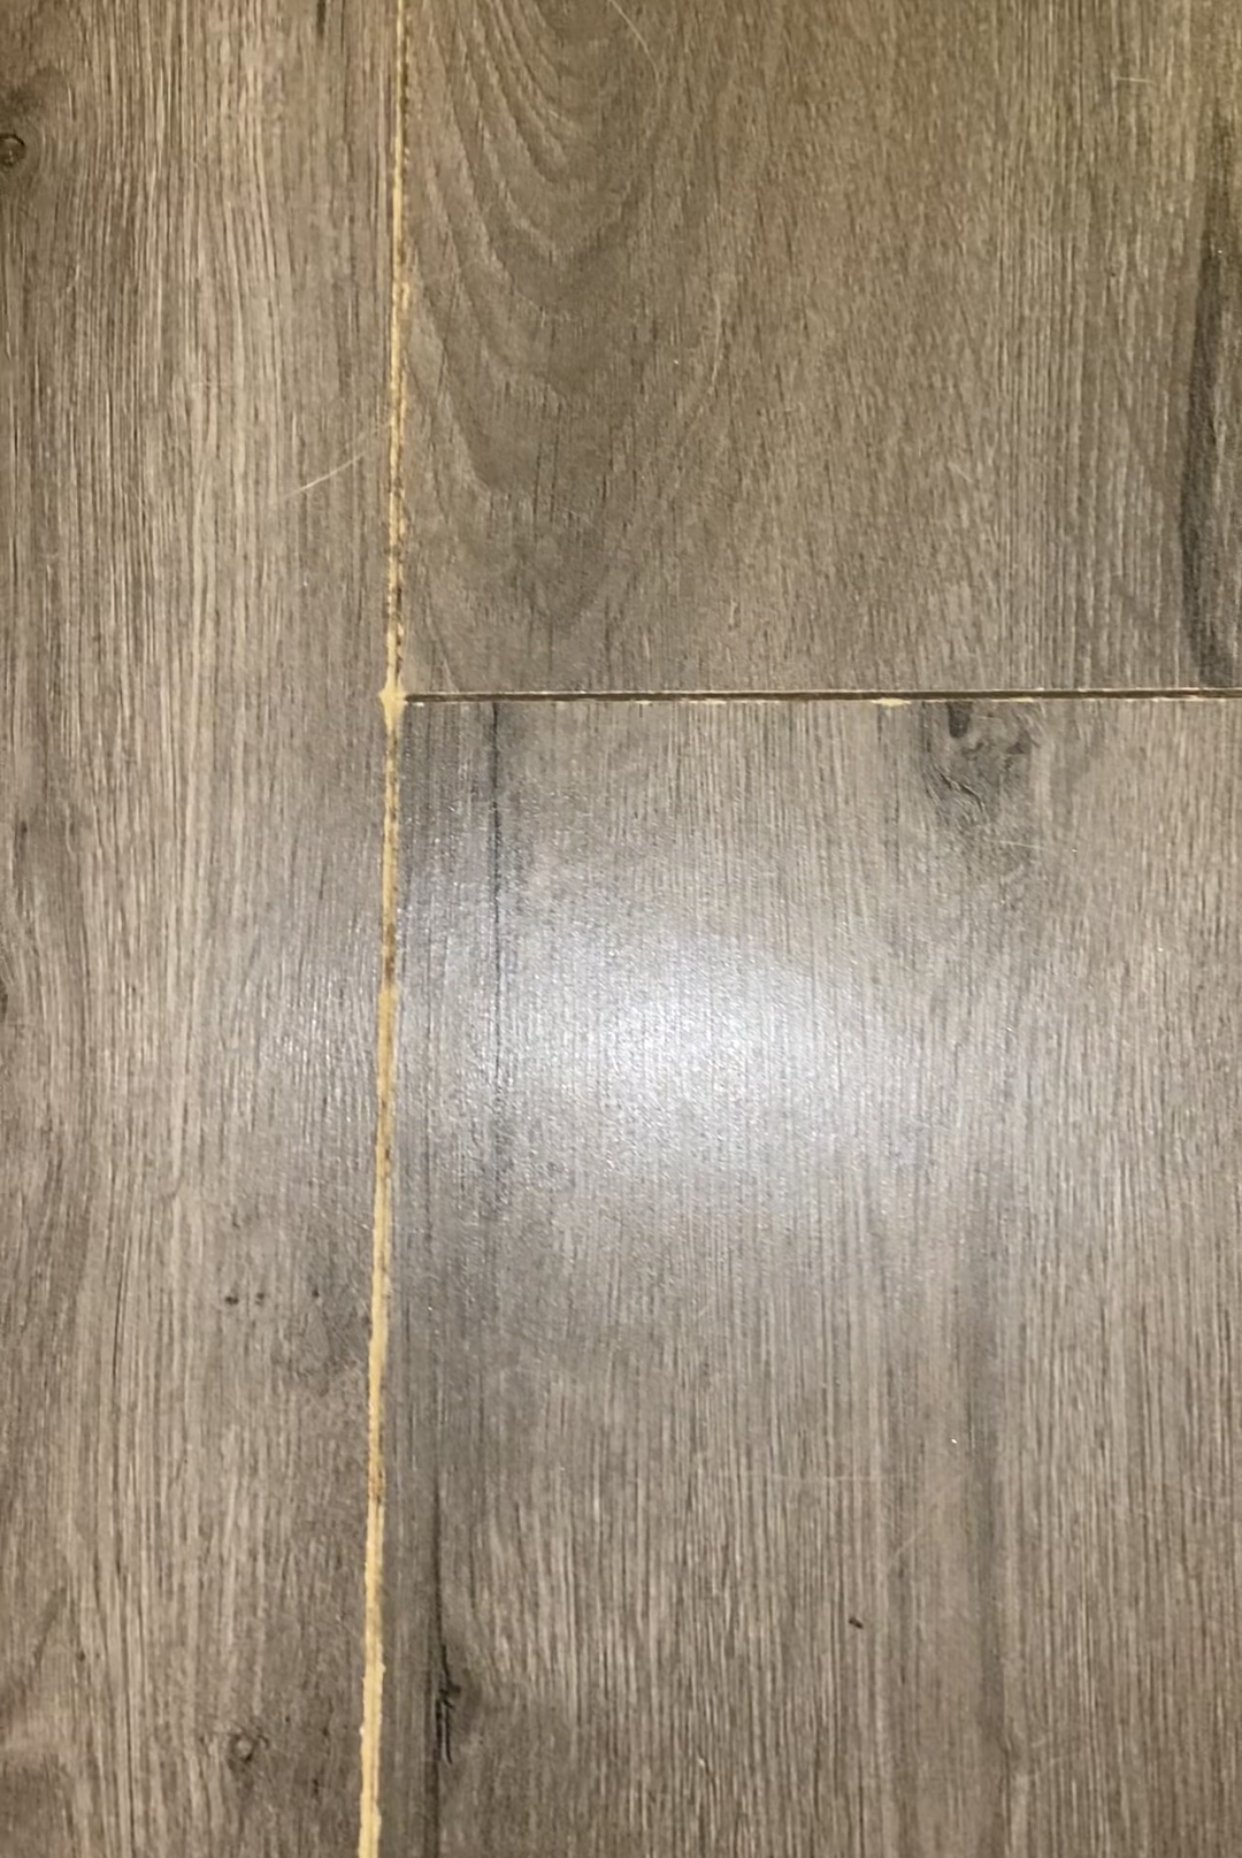
Being 2018, grey floors were on trend so that’s what was installed. And they looked great, until they didn’t.
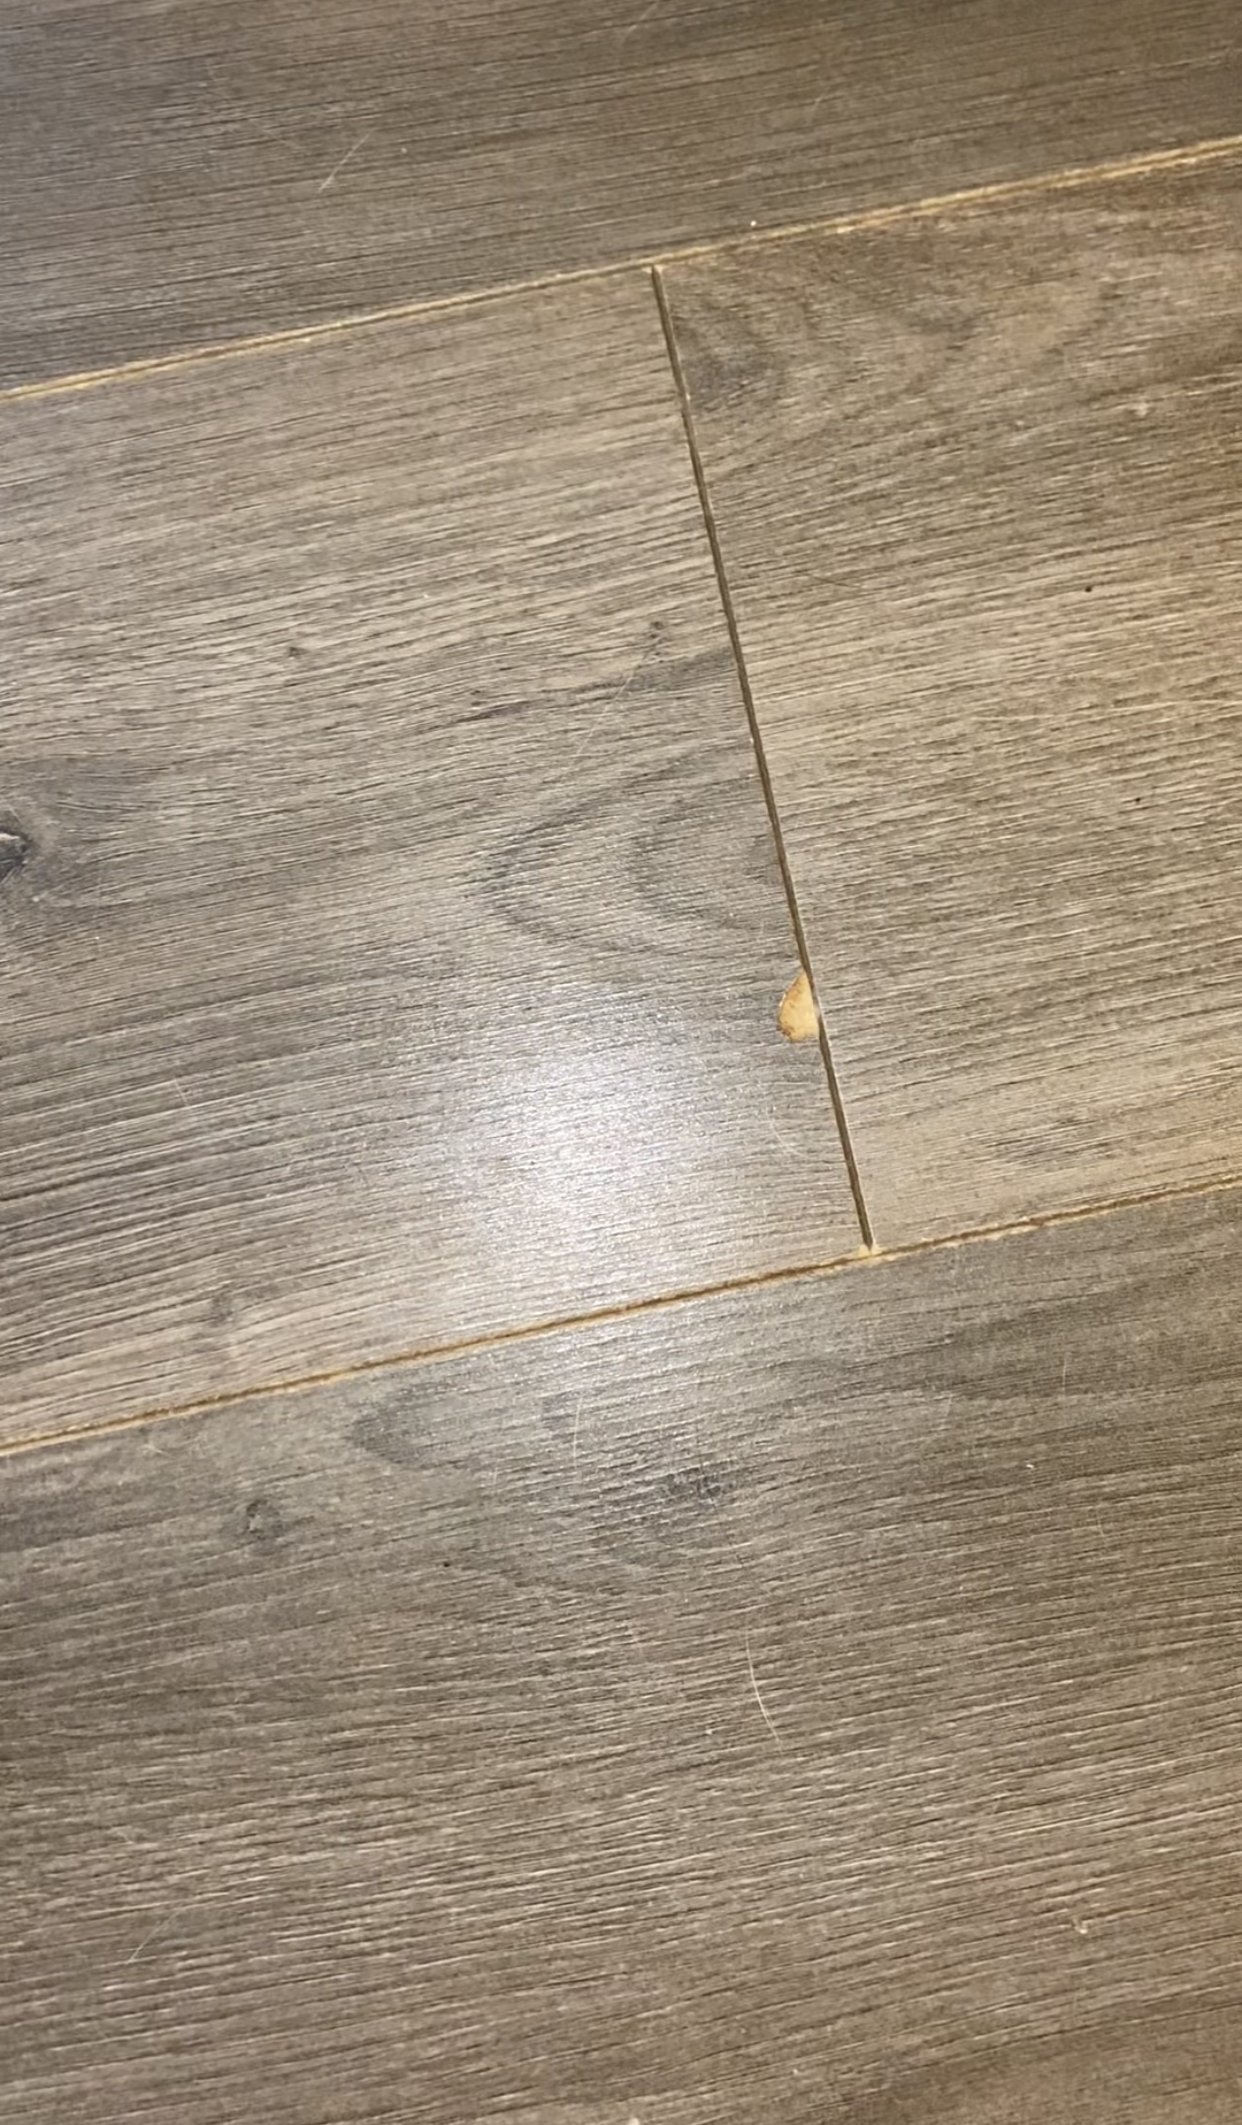
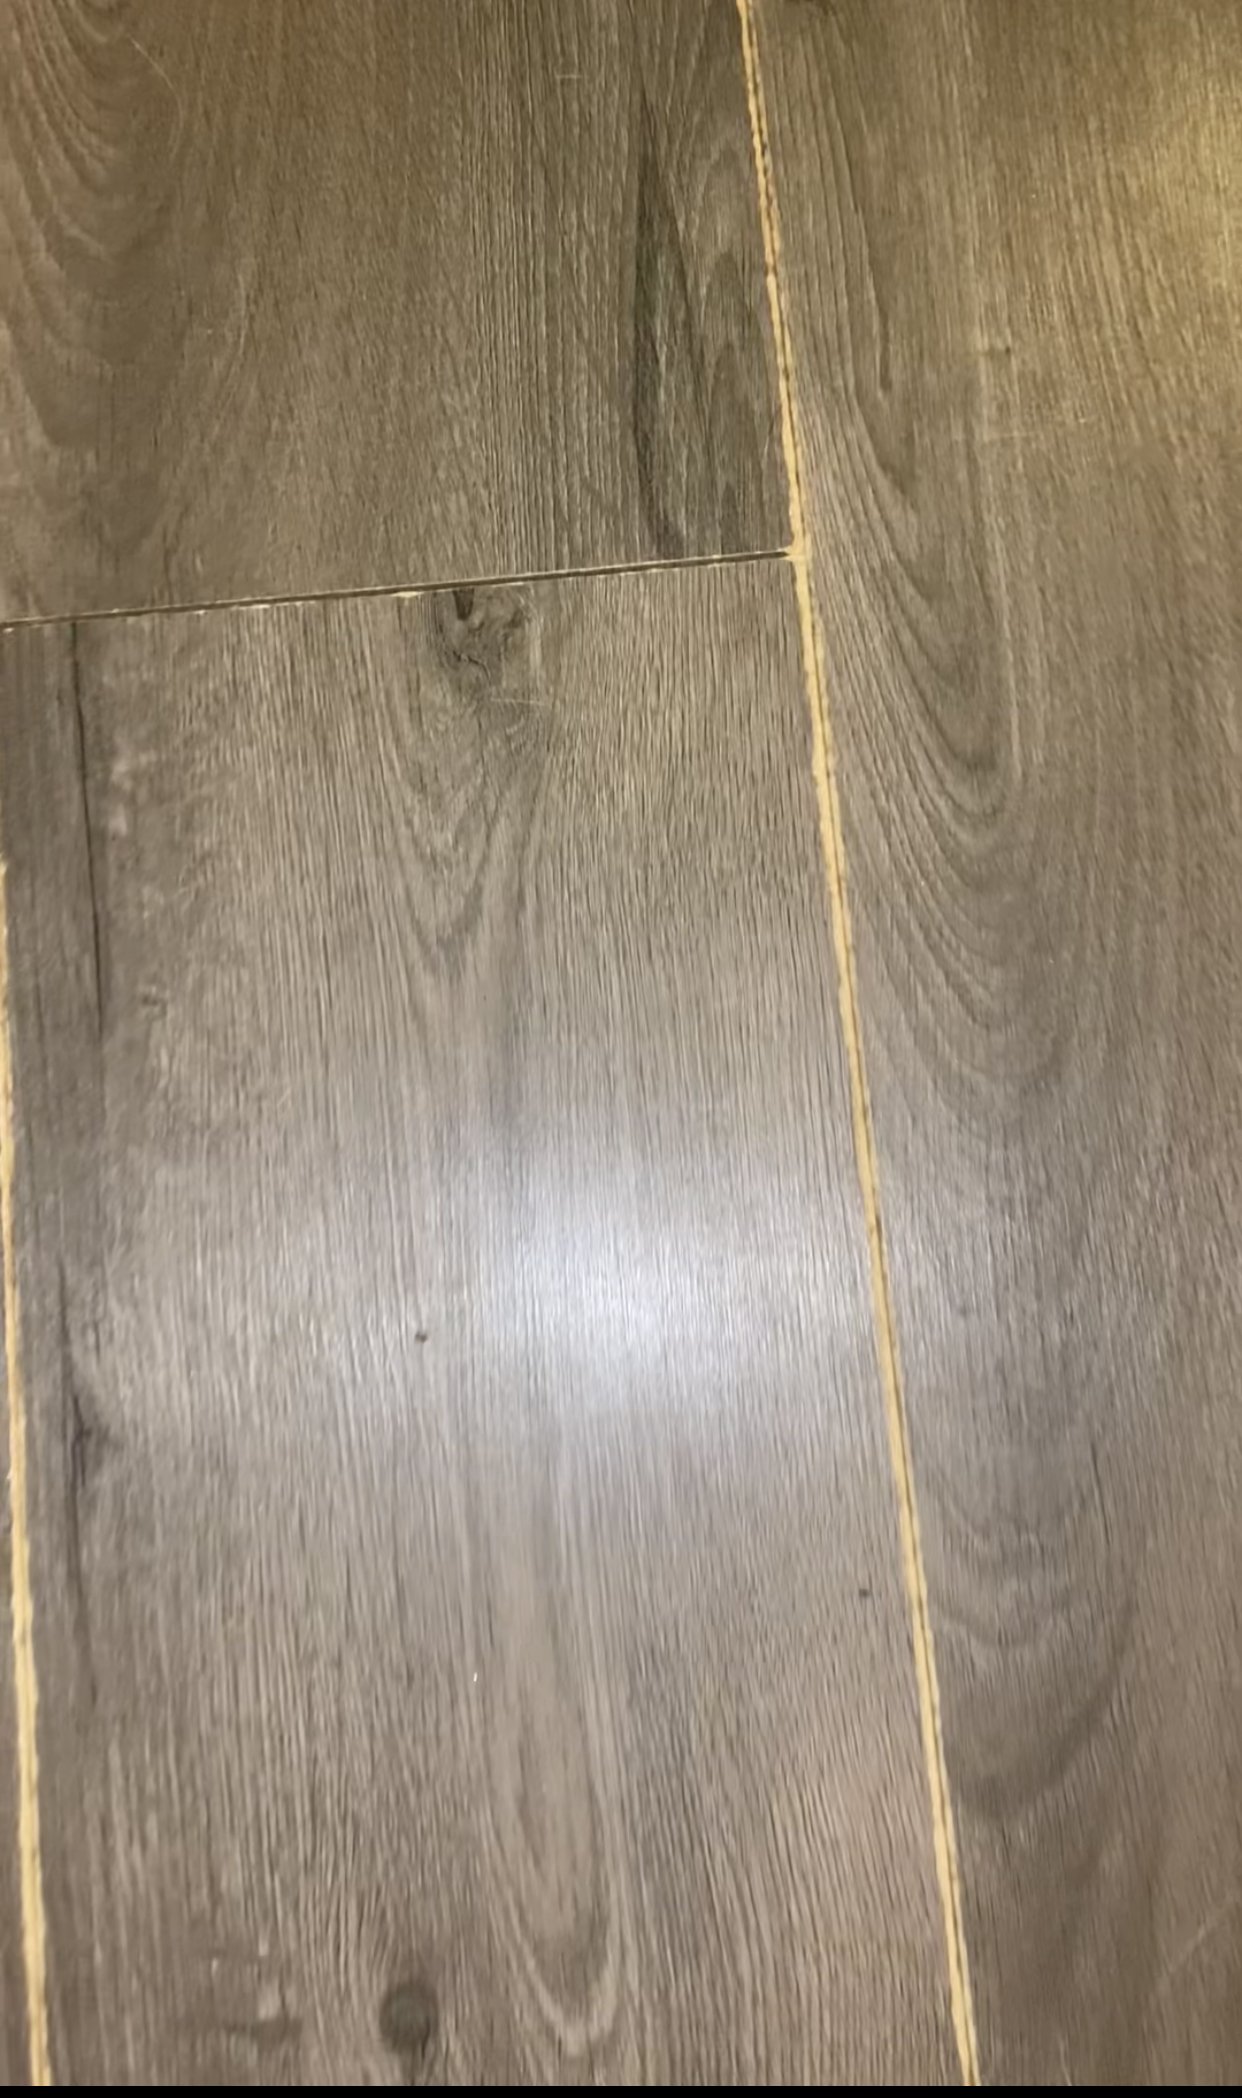
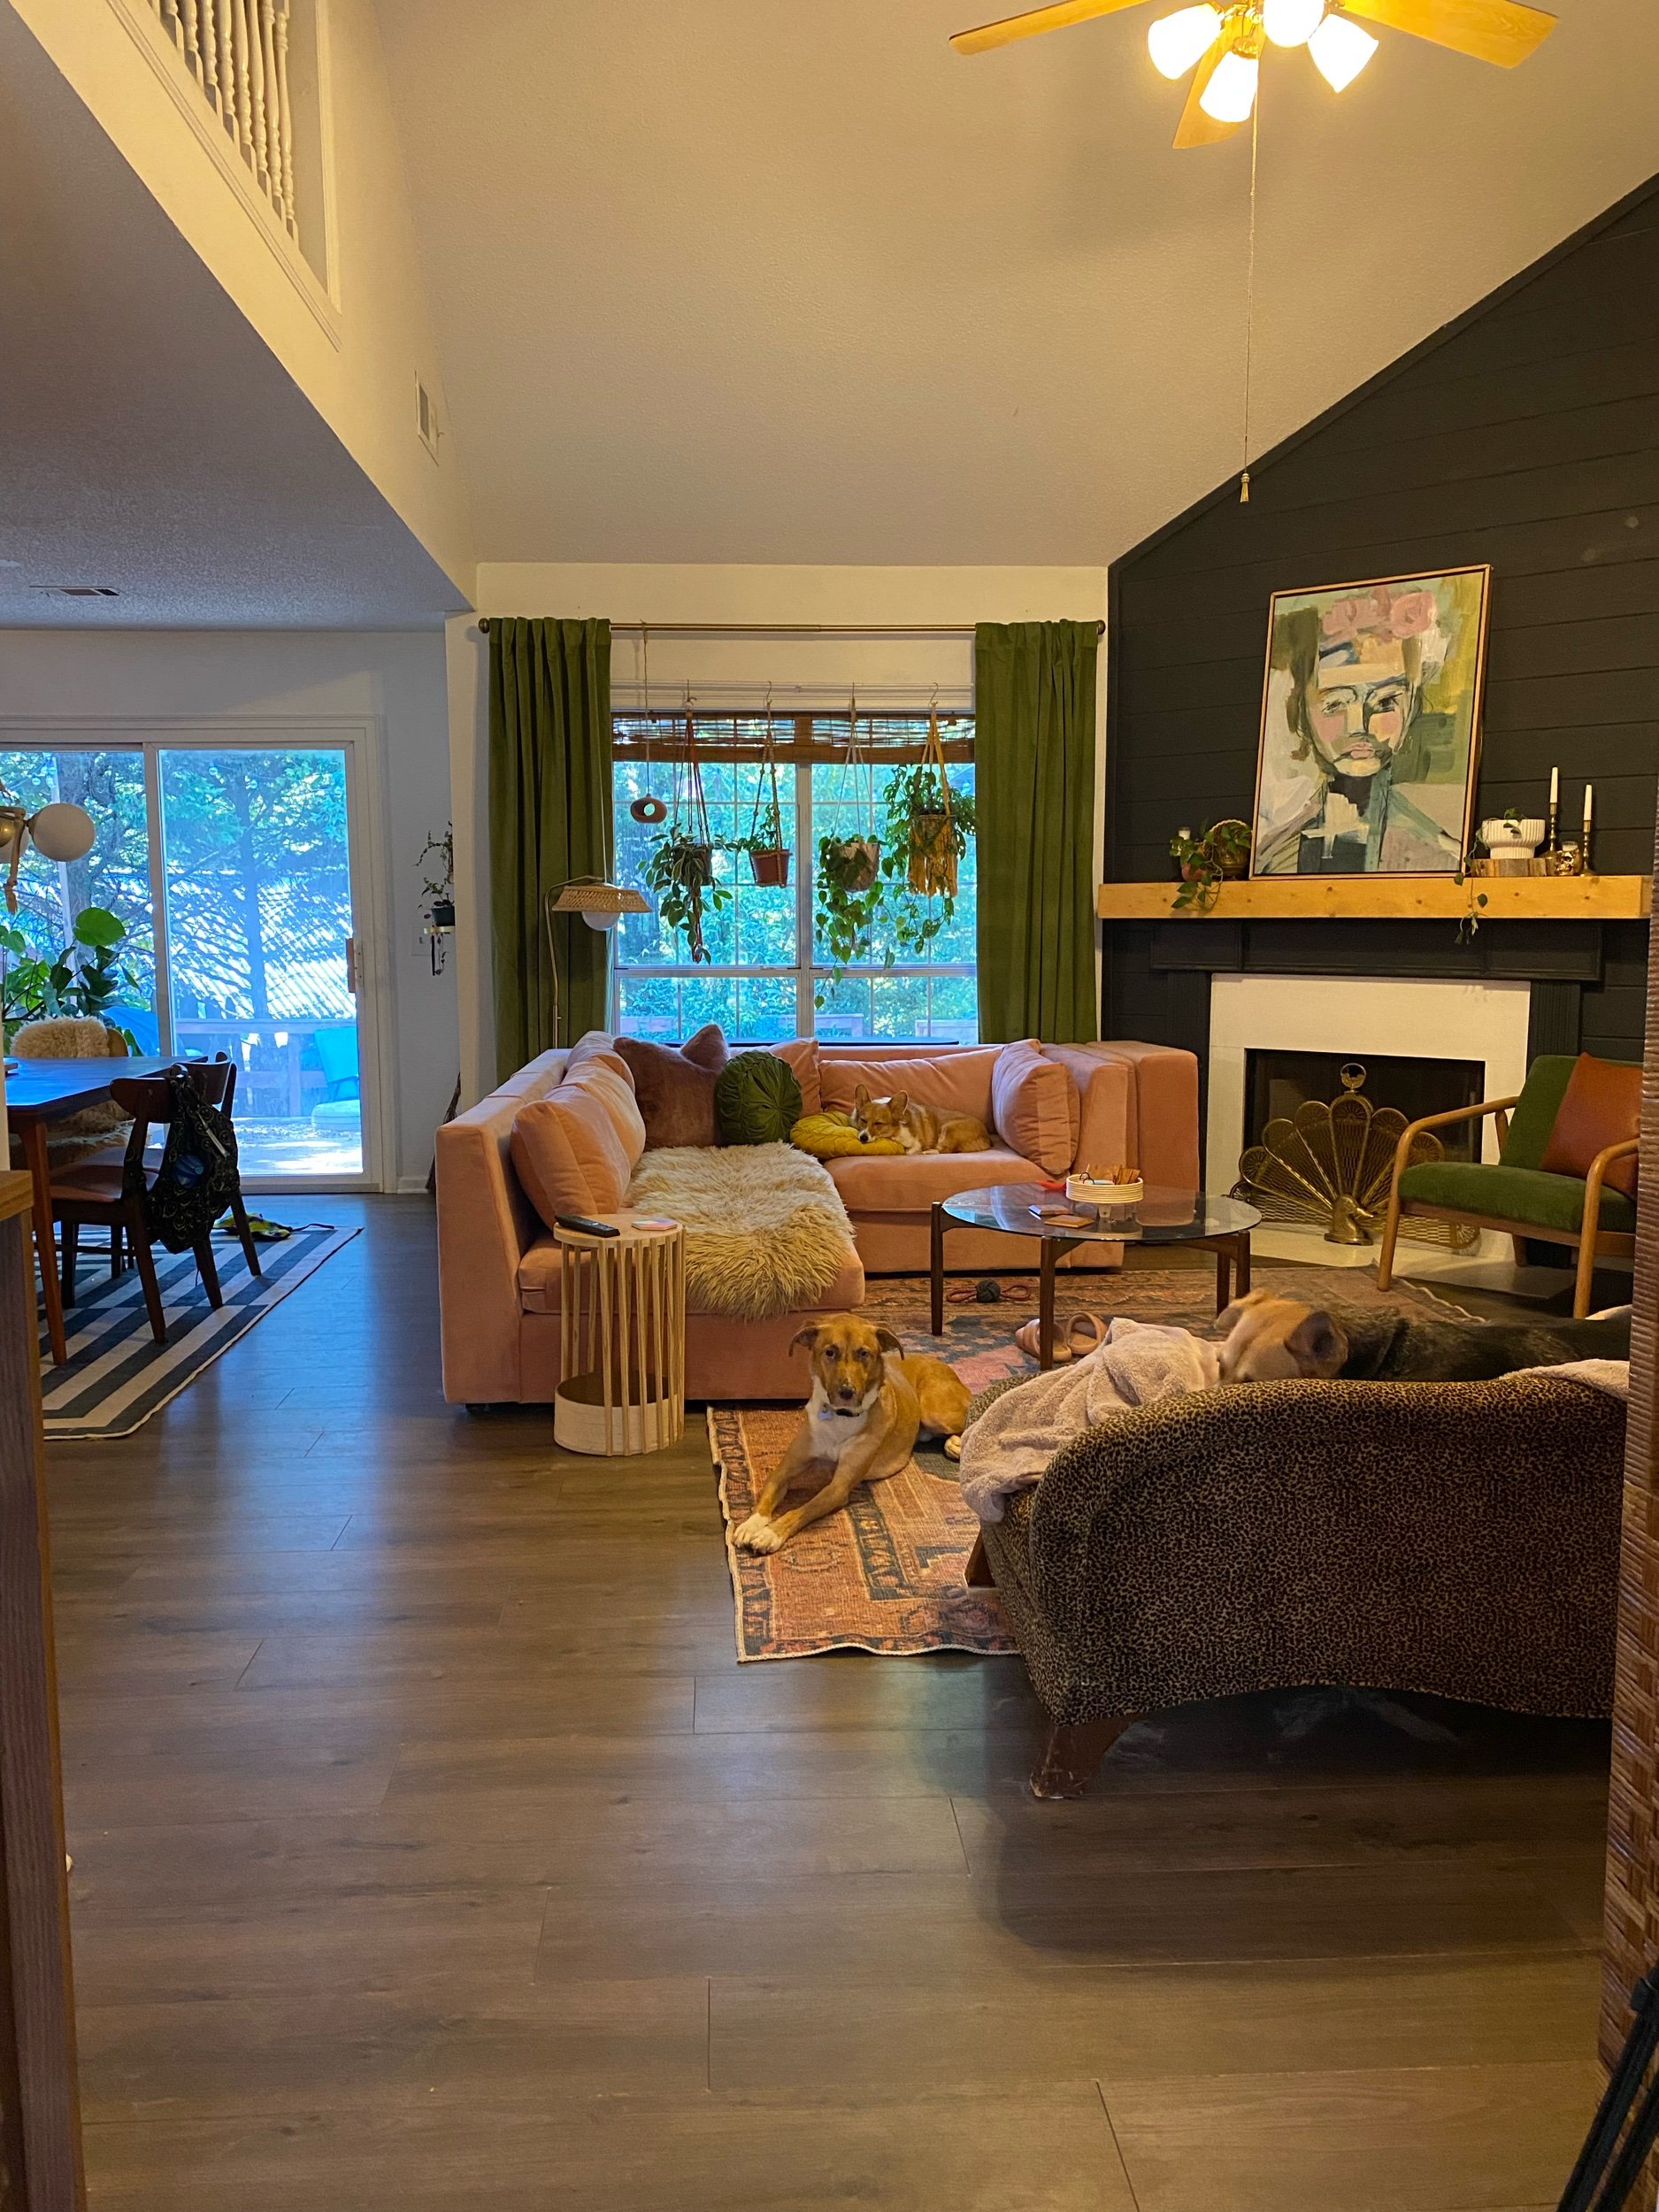
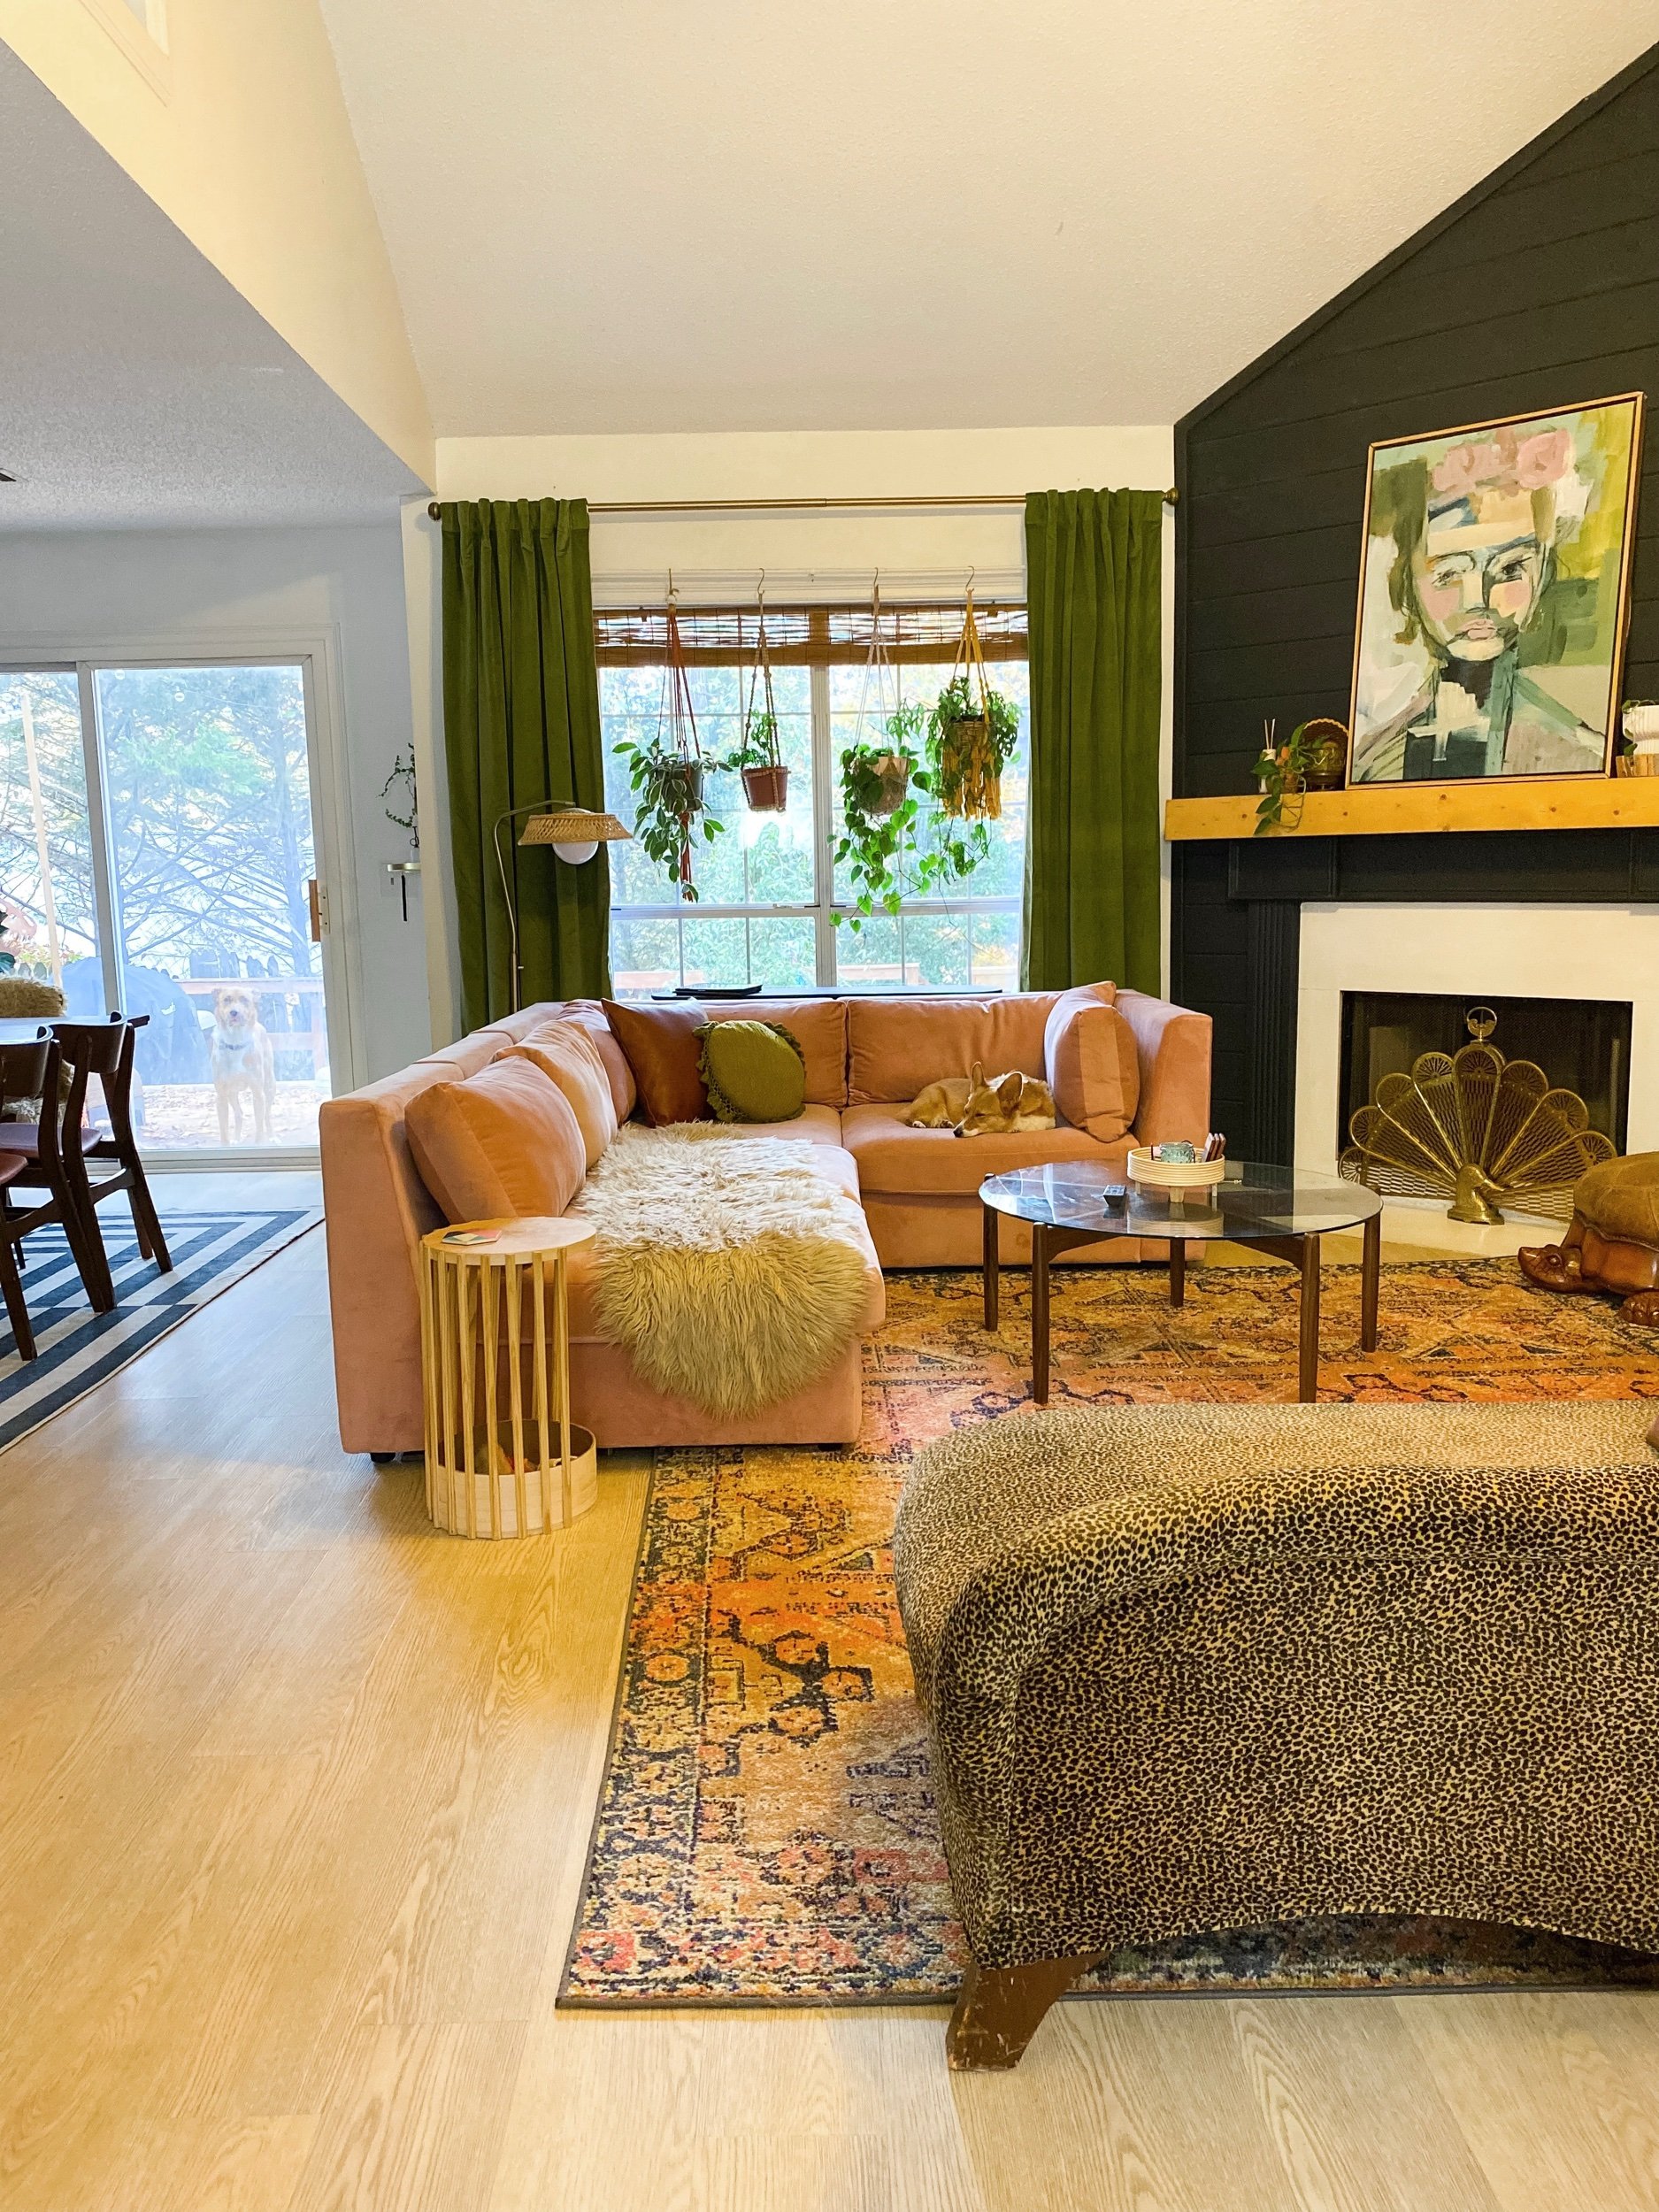
After only 4 years, there were chips from dropped items, dog nails, etc., and the seams in between were starting to peel. Not cute. Not to mention, the dark floors showed every single dog hair in the entire world.
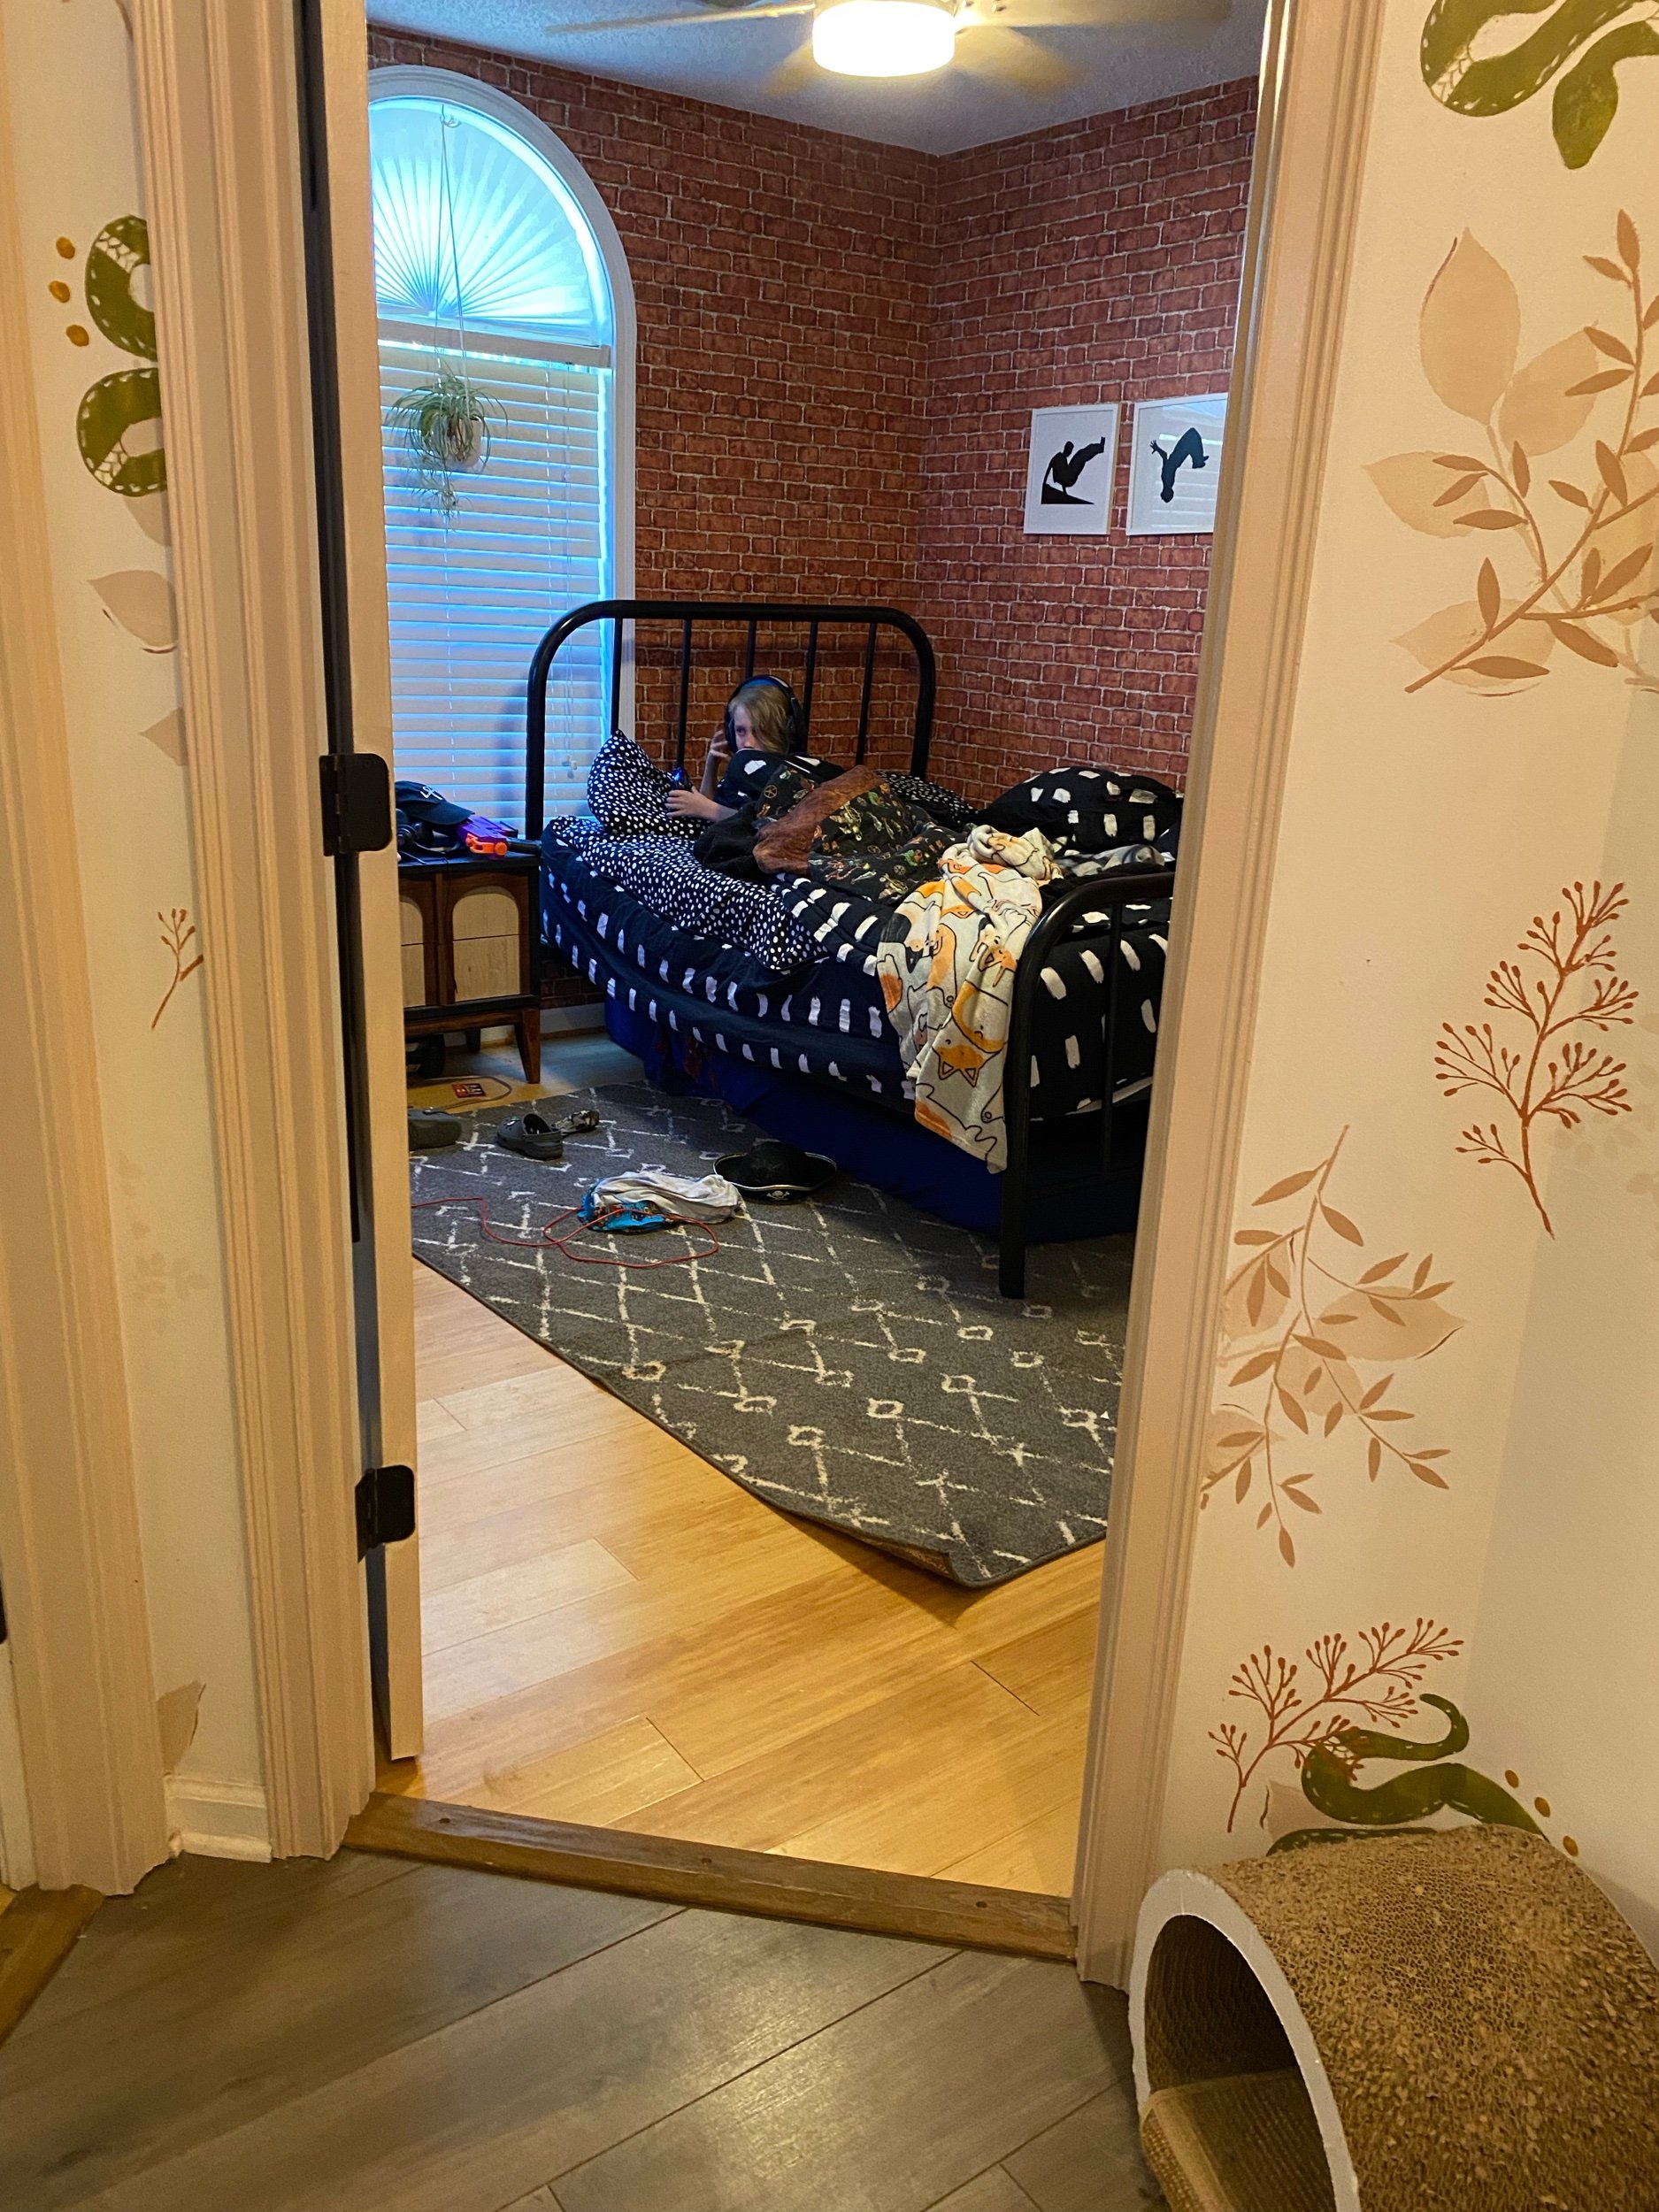
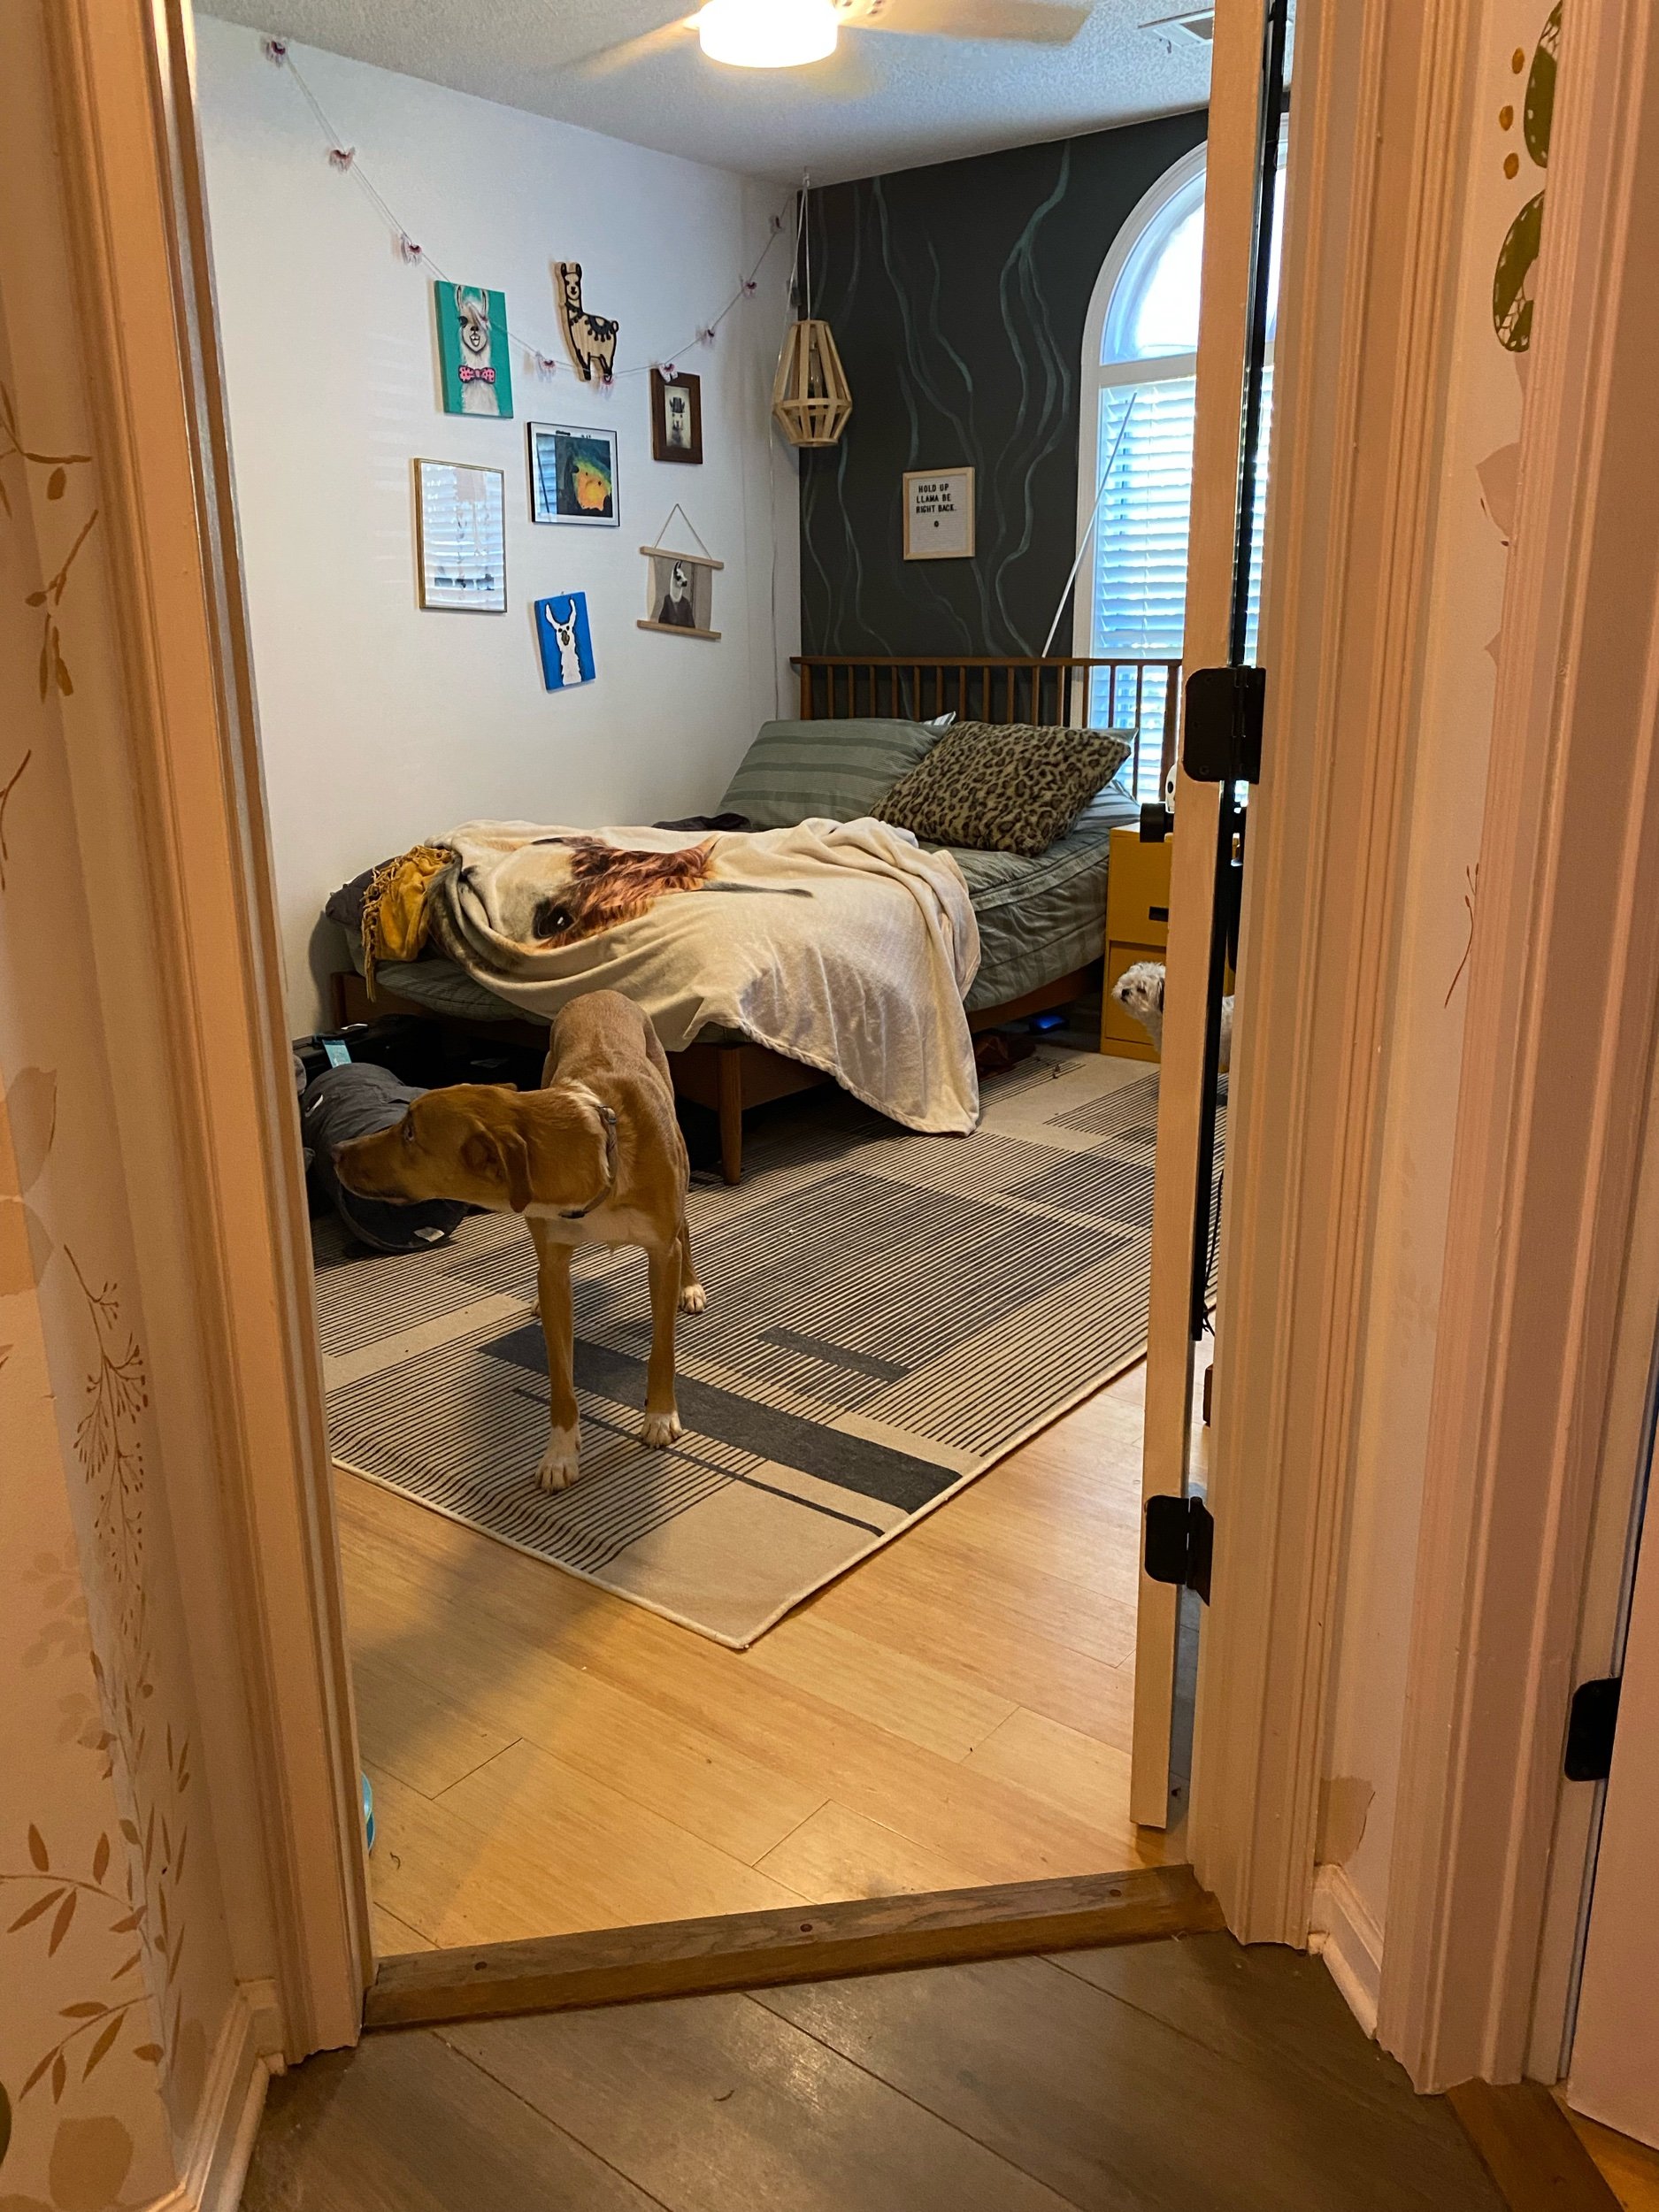
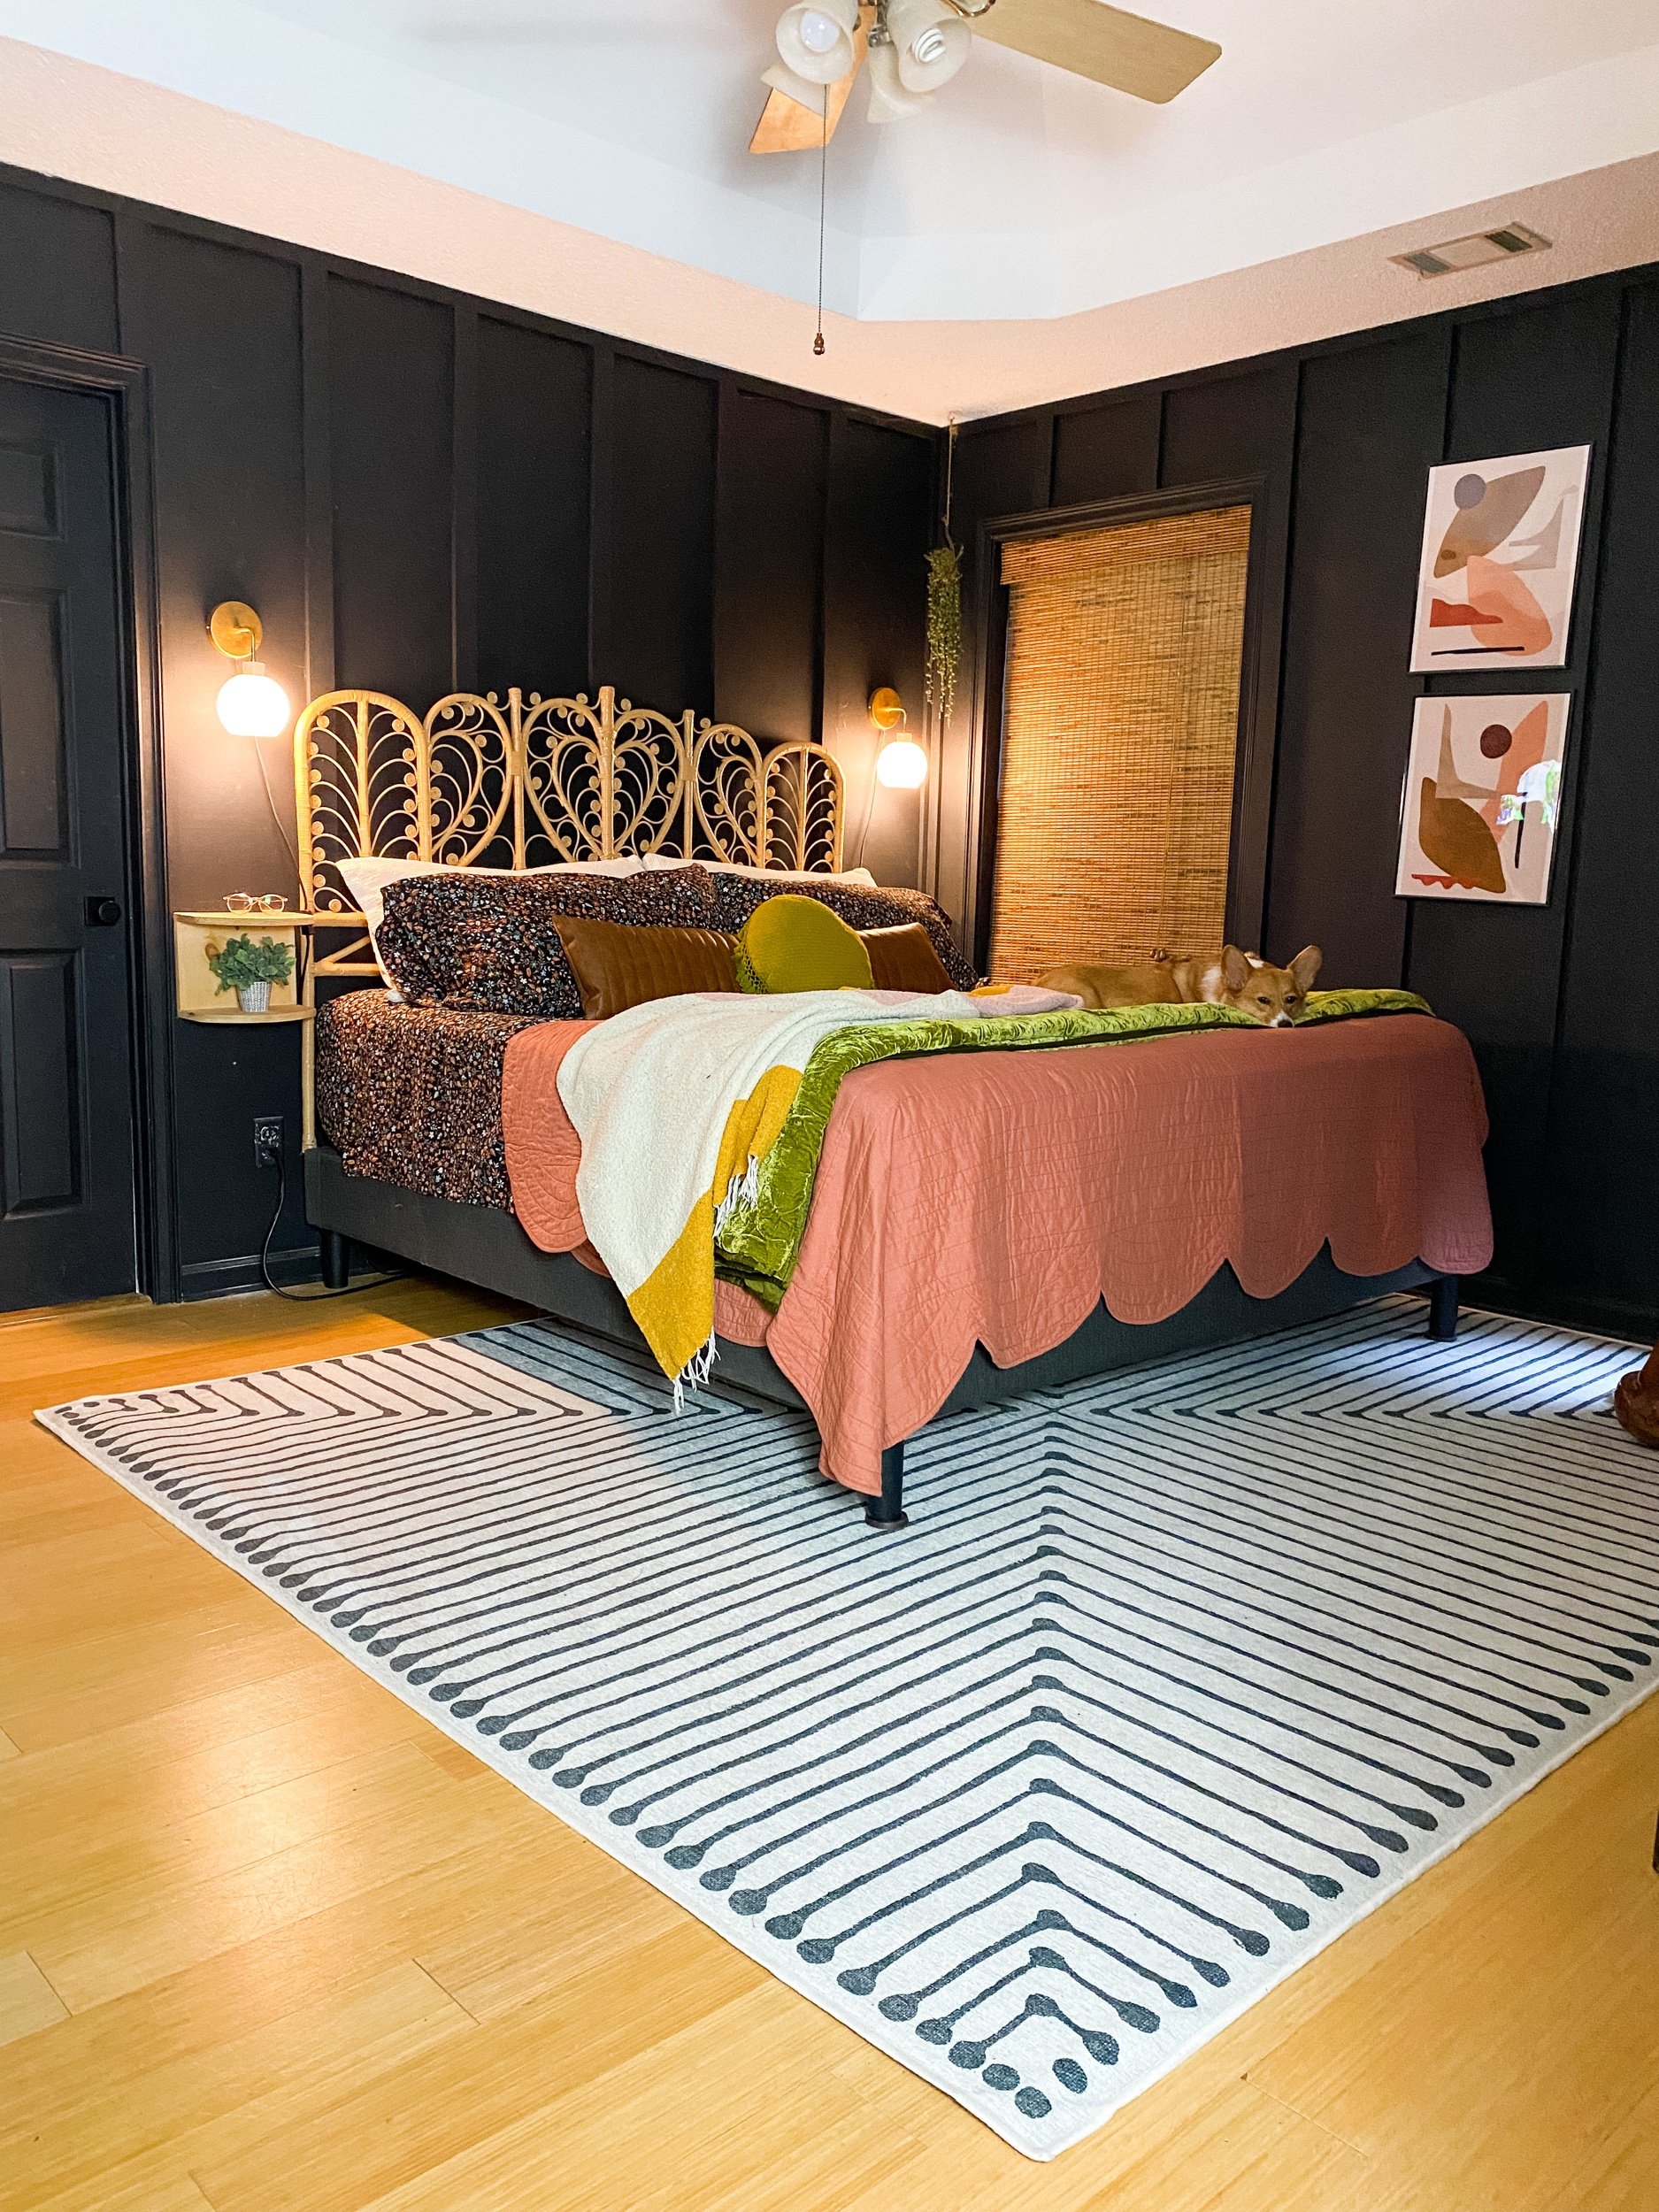
Here are all the before photos:

Enter Dura Decor. Their waterproof, pet friendly, gorgeous Modern Maven line came to my rescue.
Dura Decor is made for the DIYer. After watching their YouTube instructional video and reading all of the FAQs and install instructions until I could spout them by memory, I felt good to go.
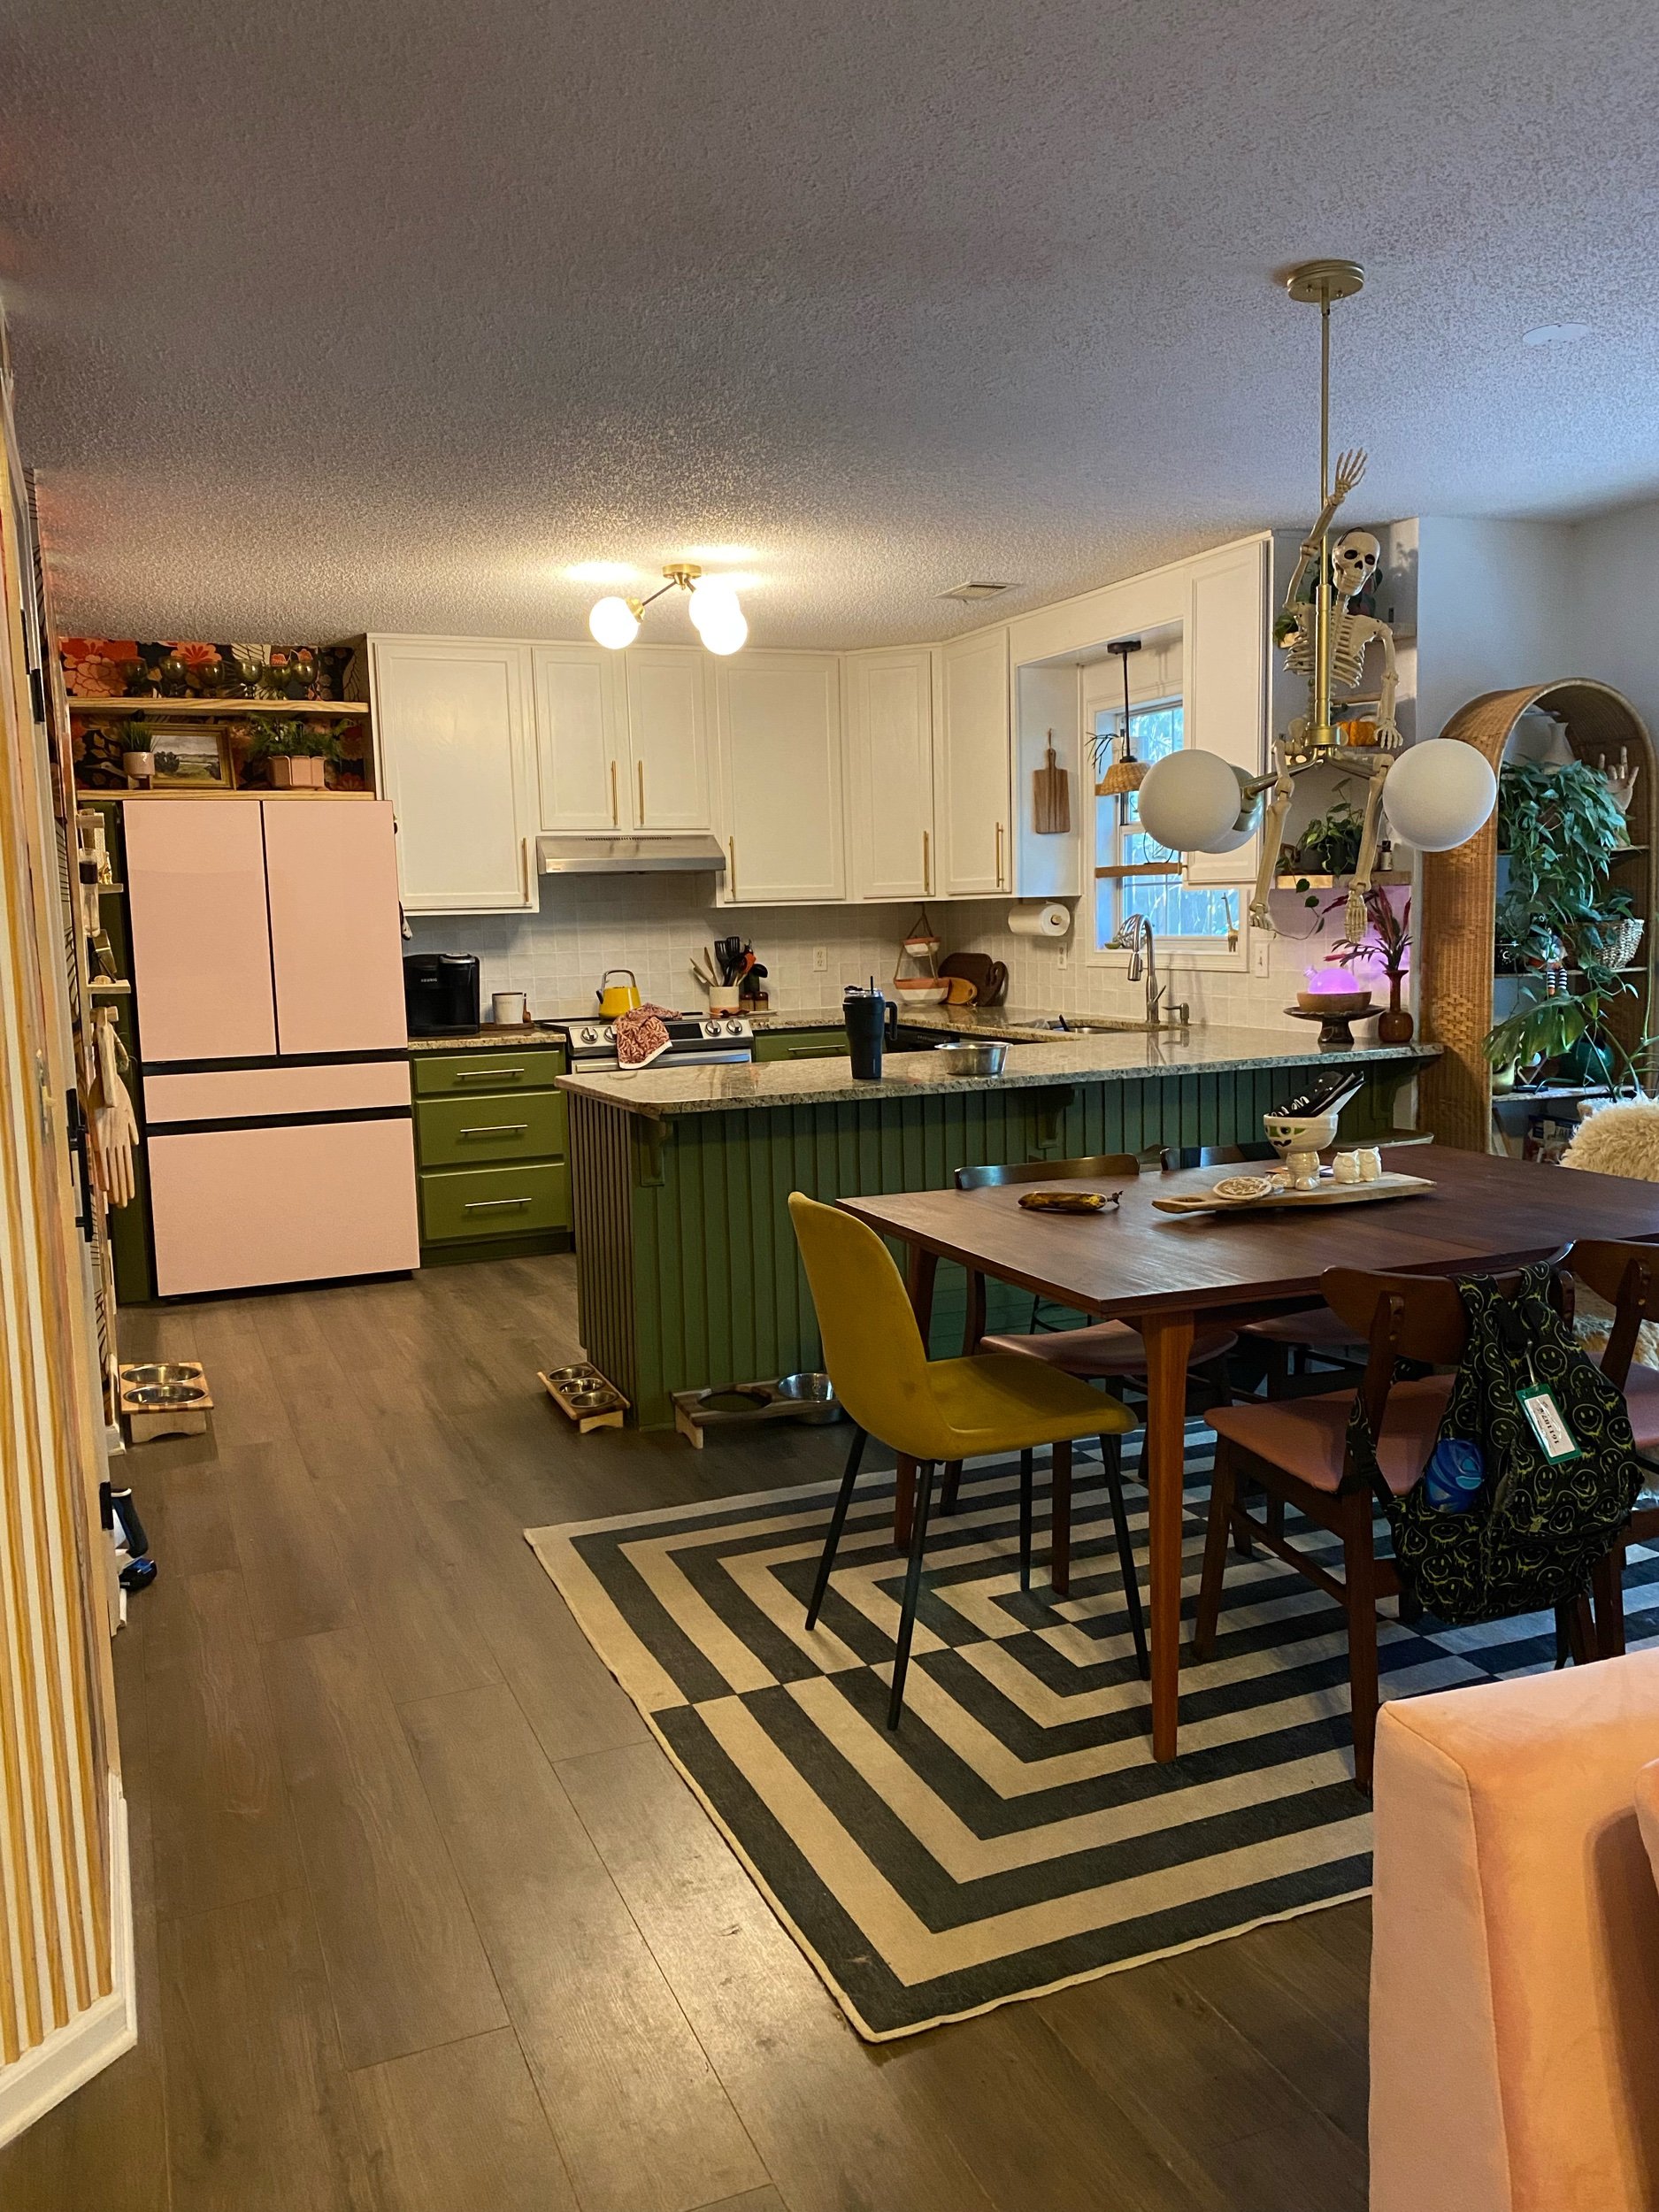
I chose Modern Maven Bungalow Beige to lighten and brighten my small spaces. it boasts a 20-mil wear layer and easy ‘click and lock’ application, and promises no worries over spills, scratches, stains, or dents. A must with dogs and kids.
Check out these chips in the flooring and the three wood tones in one area 😅.
The best thing about Dura Decor besides the pet friendly aspect? You don’t need a bunch of fancy tools.
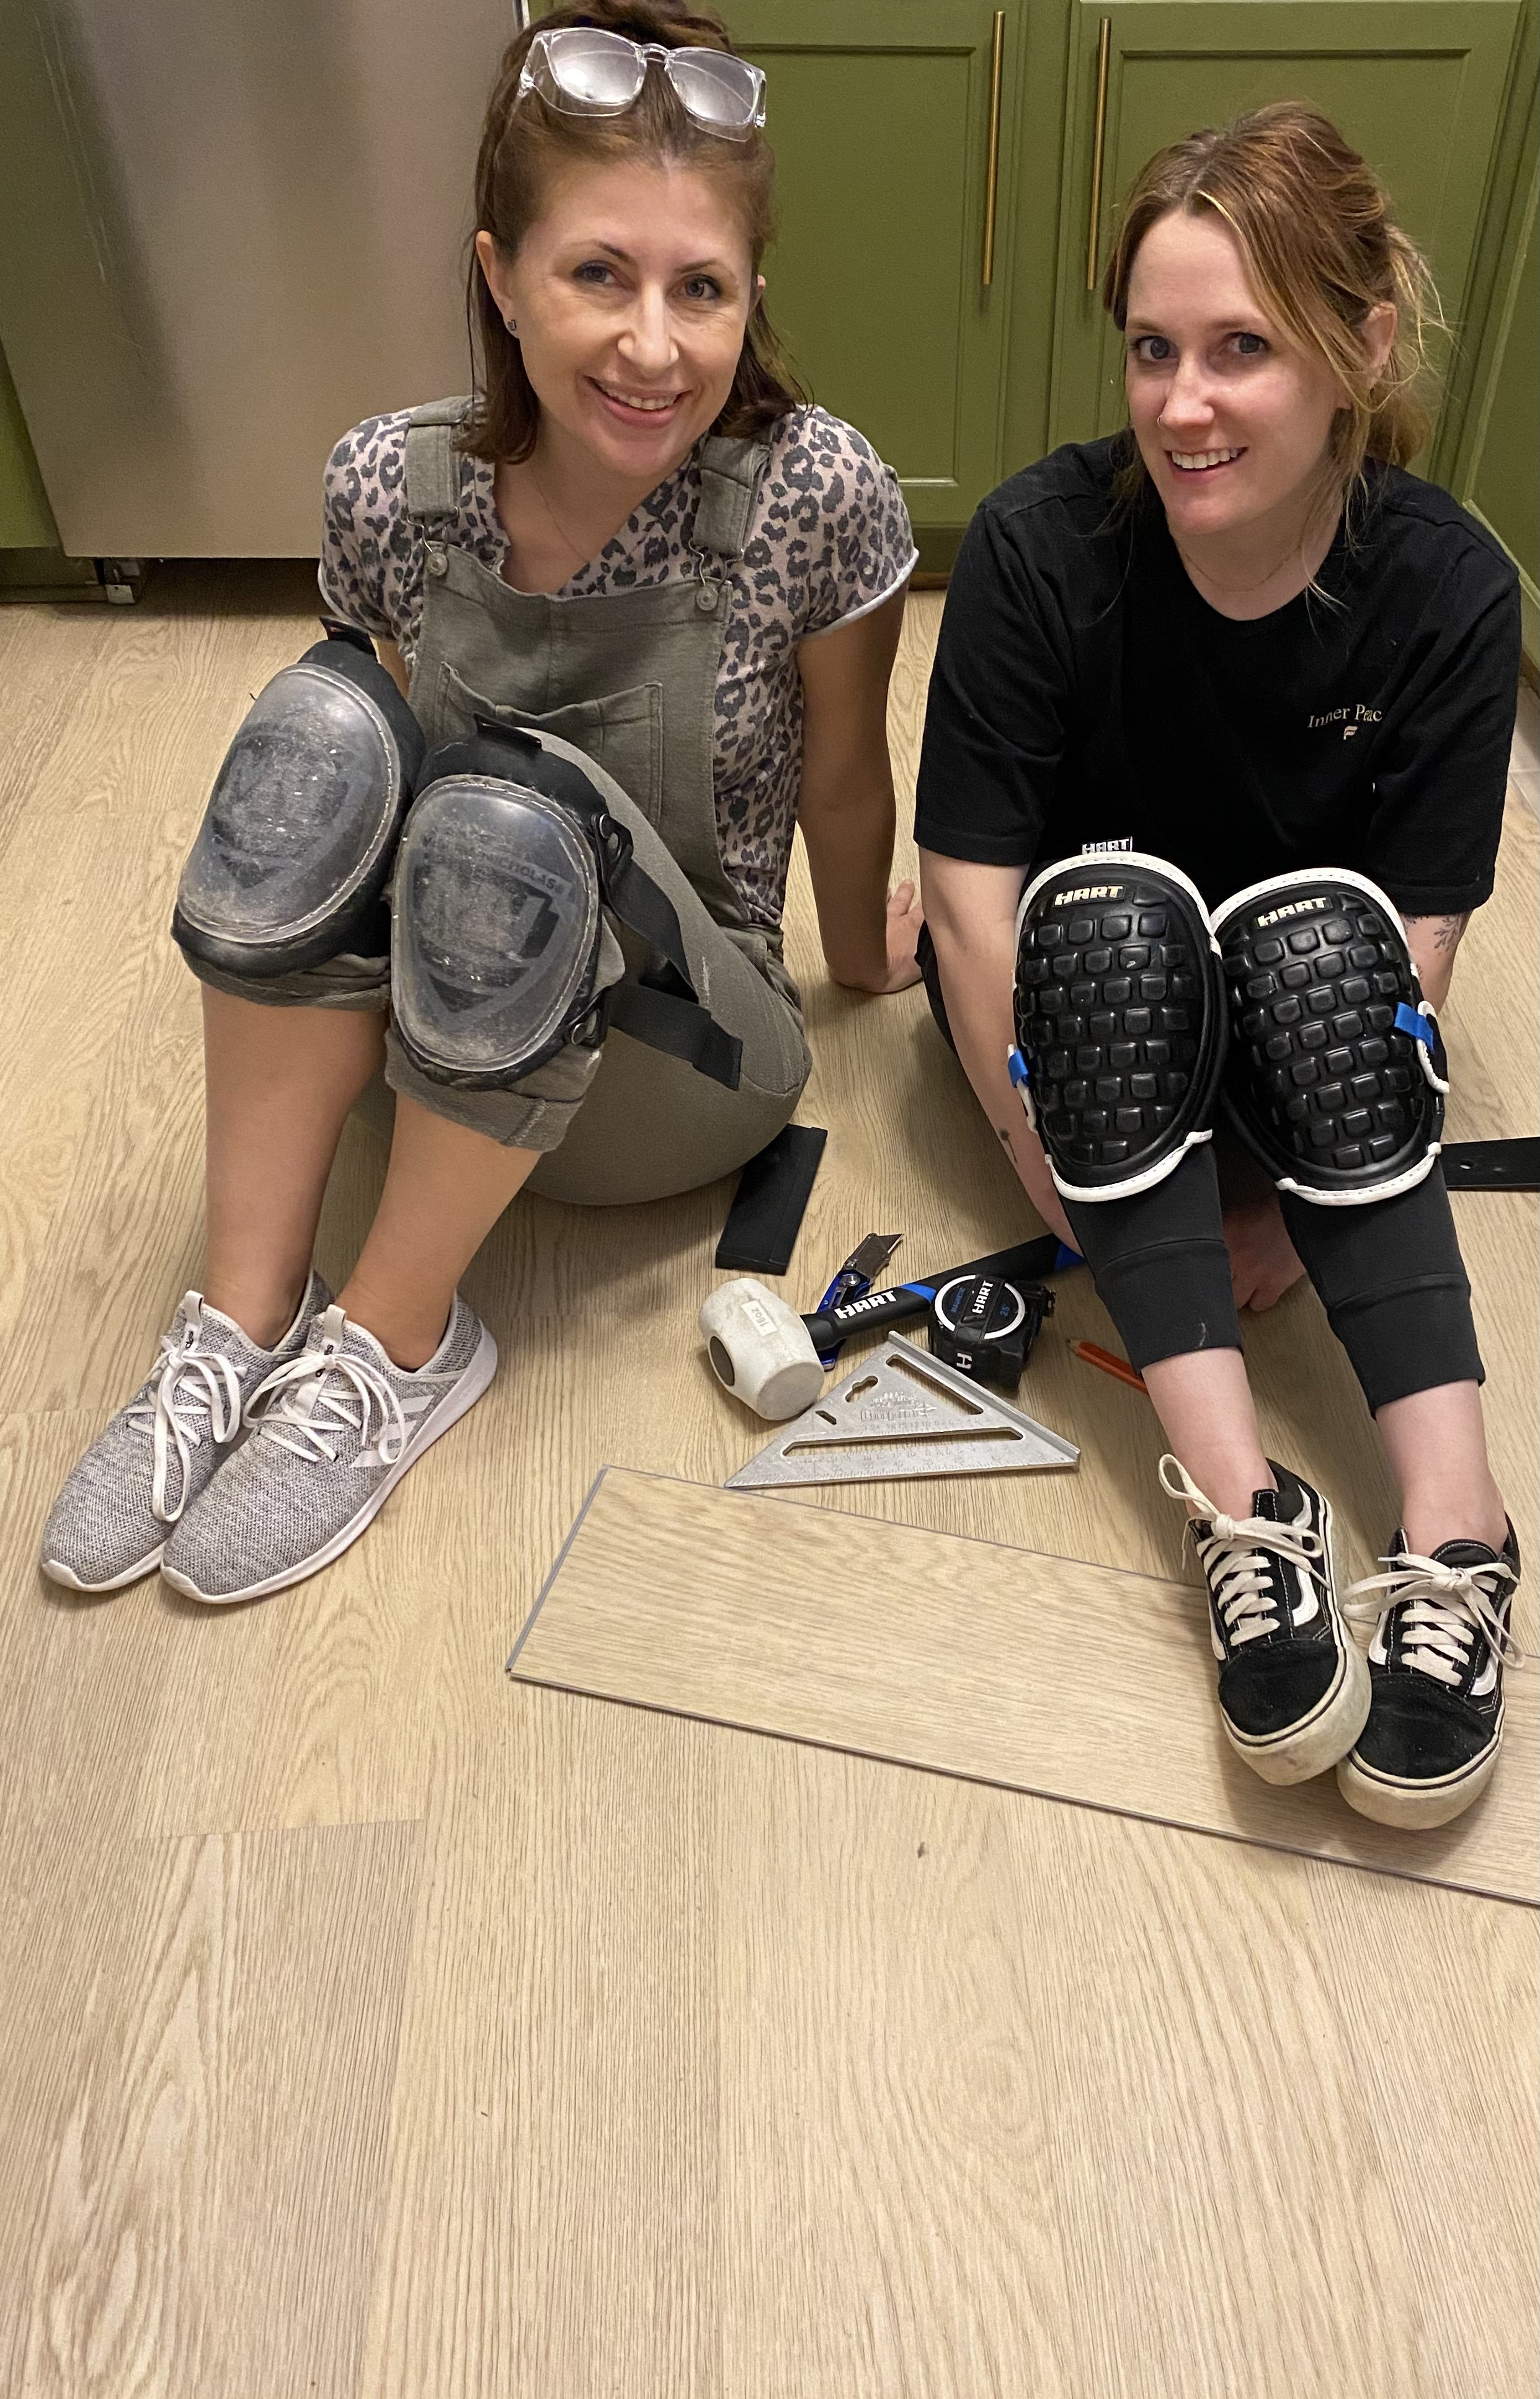
I used a speed square, a utility knife, a jigsaw, mallet, tapping block, pull bar and wedge spacers. And knee pads. You definitely want knee pads.
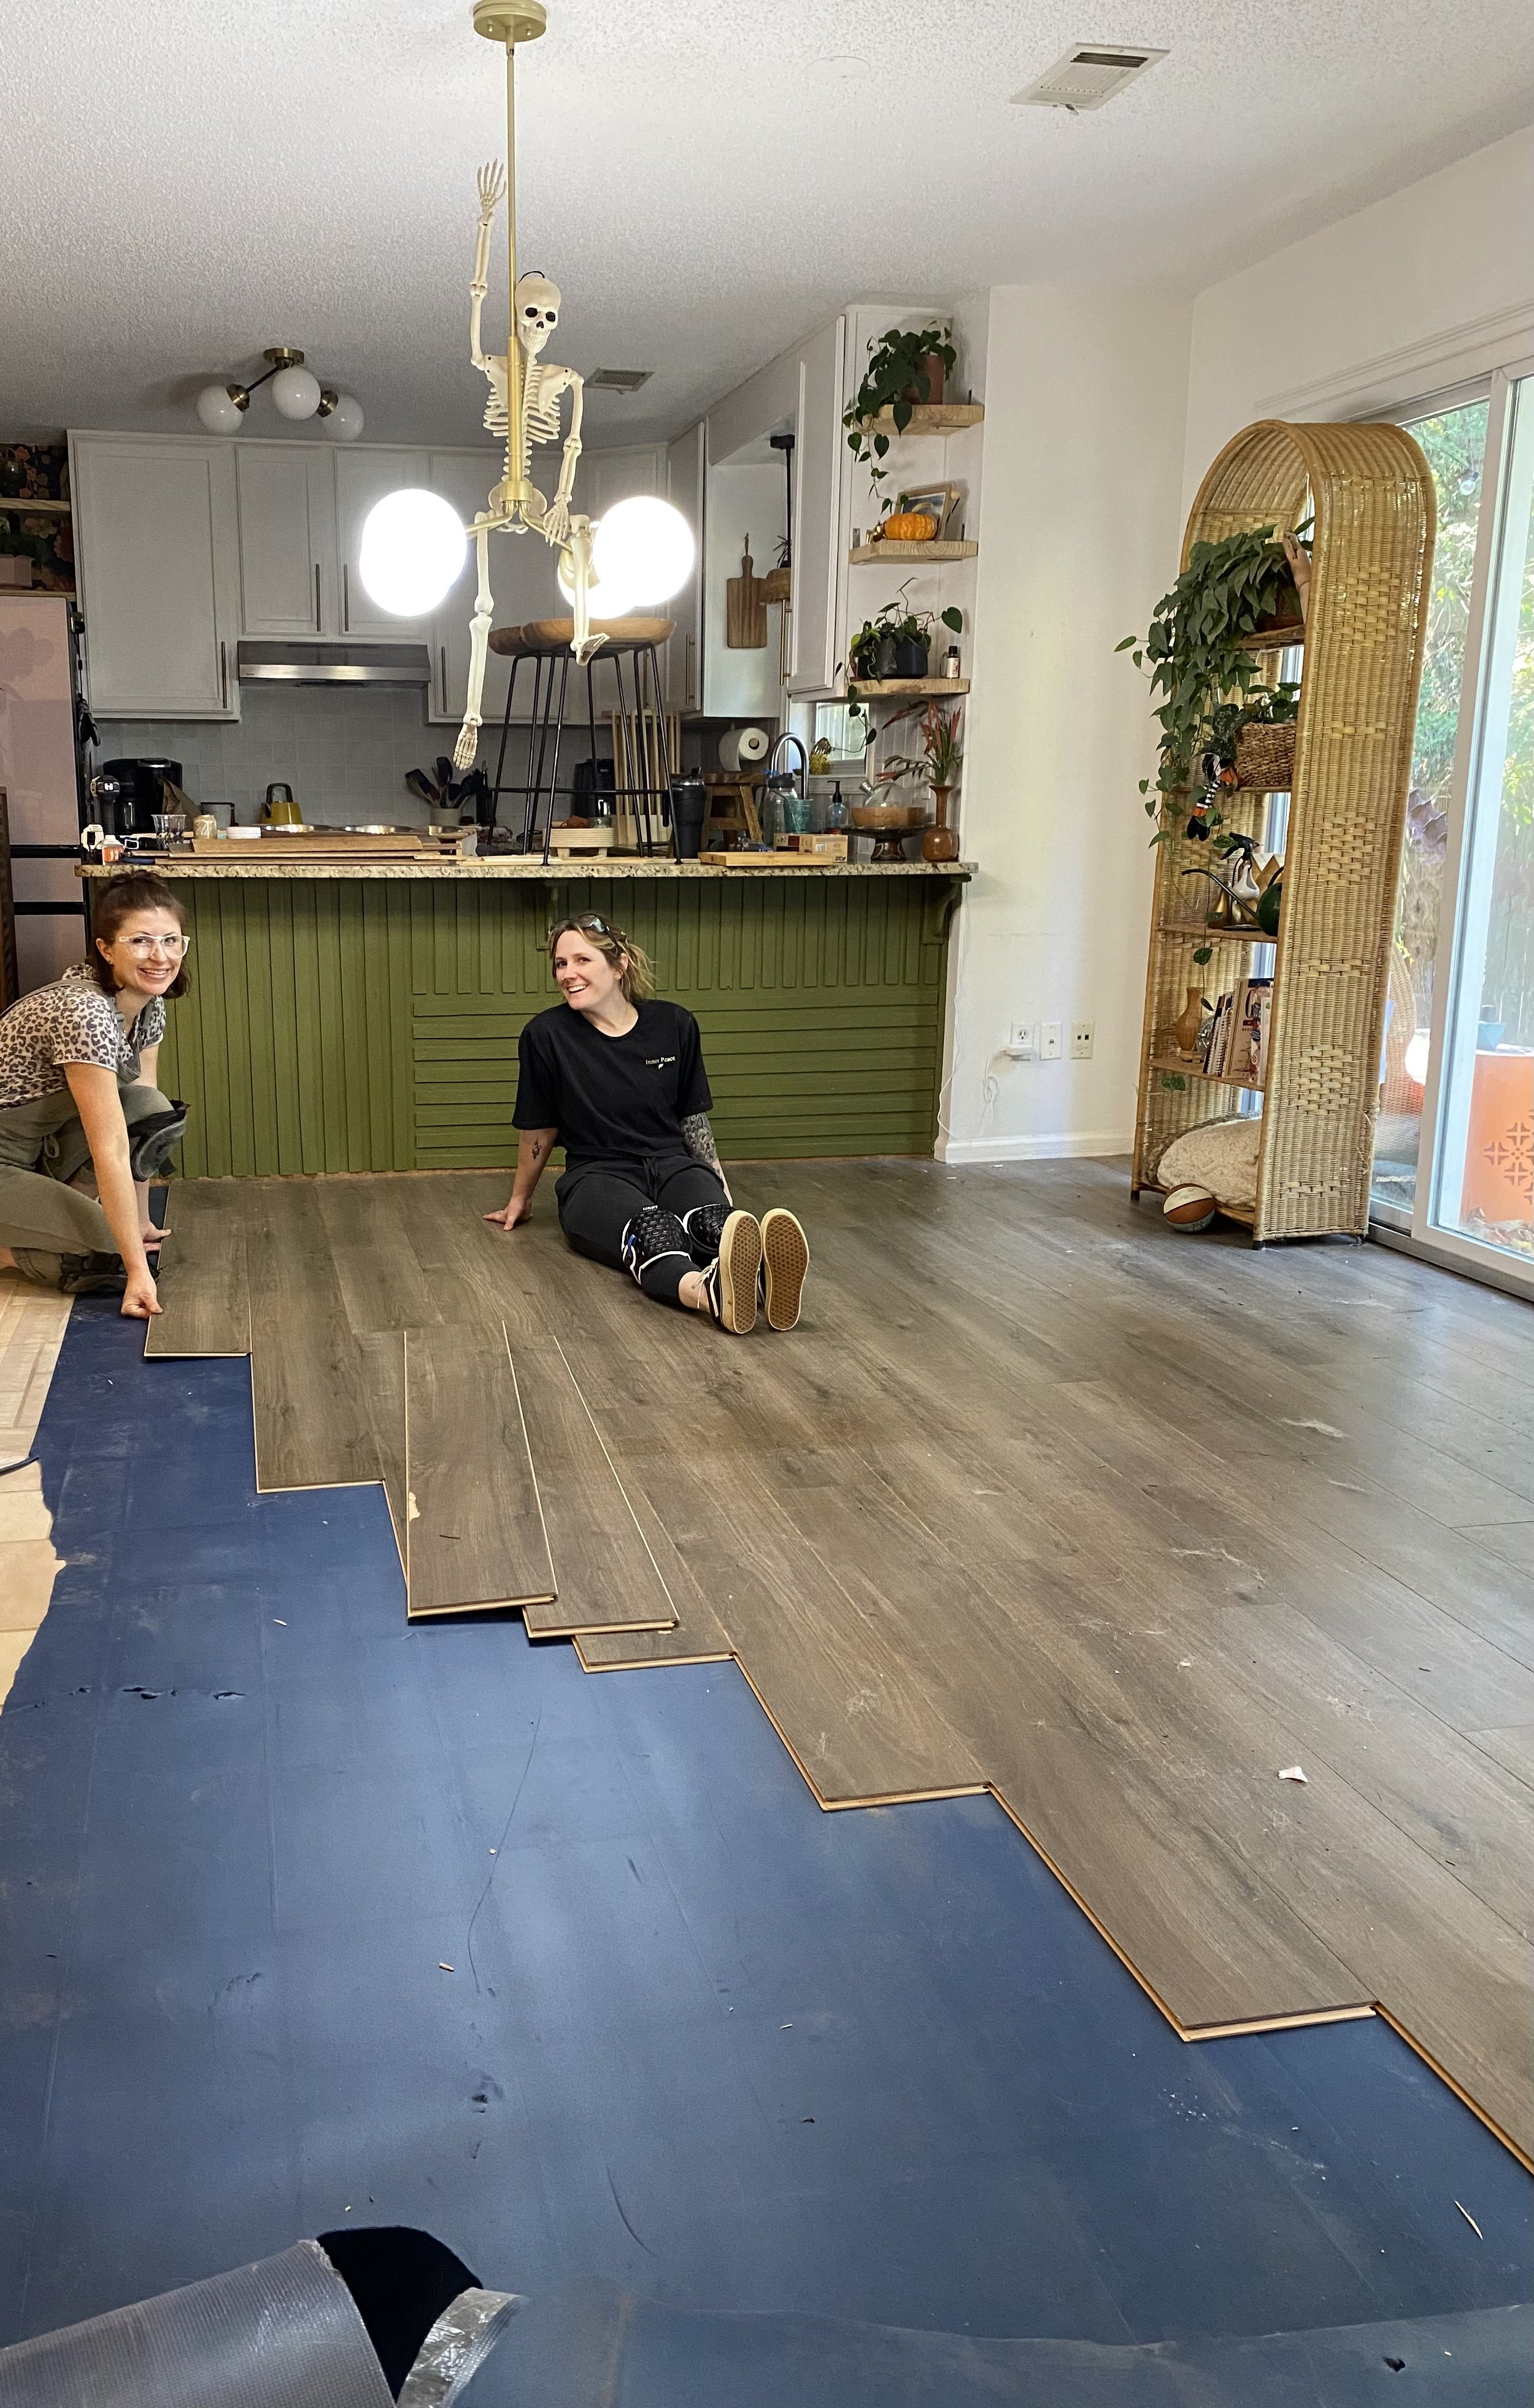
After my friend Tiffany and I pulled up all the old flooring, we got started on the install.
Dura Decor recommends starting on the left wall and working to the right. Coincidentally, my kitchen appliances were right over our starting point so Tiffany graciously stayed to help me with that part because there was NO WAY I could move those beasts on my own.
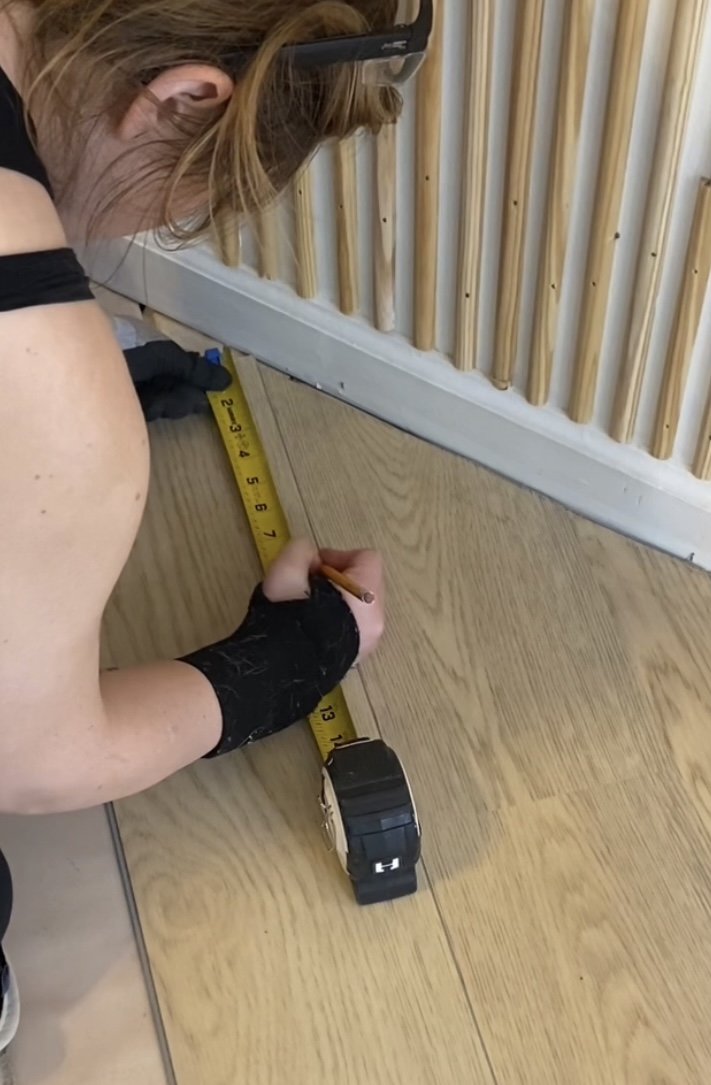
We got the hang of the click and lock system pretty quickly and got the kitchen and laundry room done in no time. We used 1/4” wedge spacers to leave an expansion gap along the walls to allow for the flooring to move safely. This gap is covered by the shoe moulding.
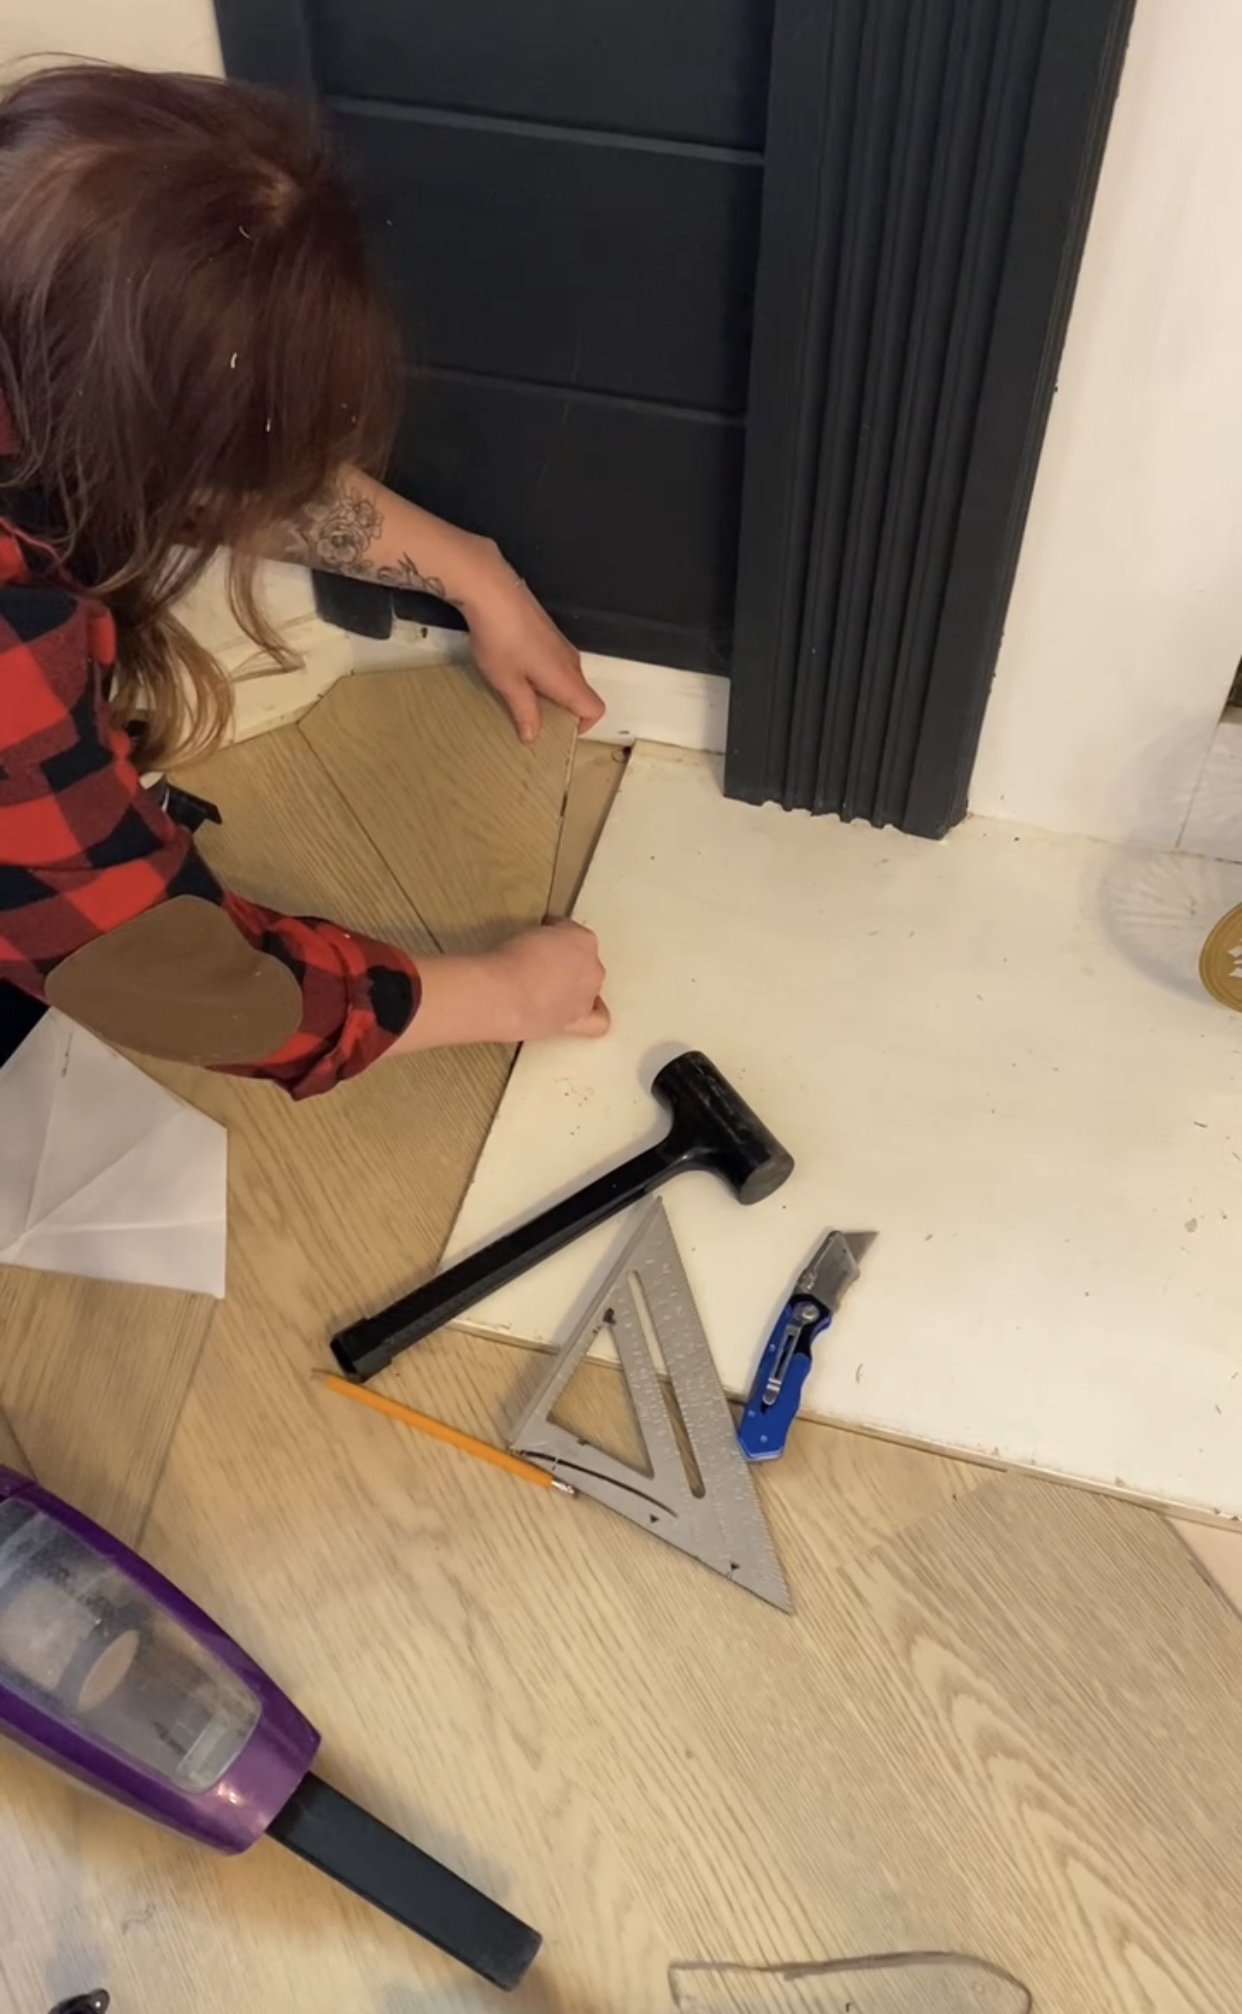
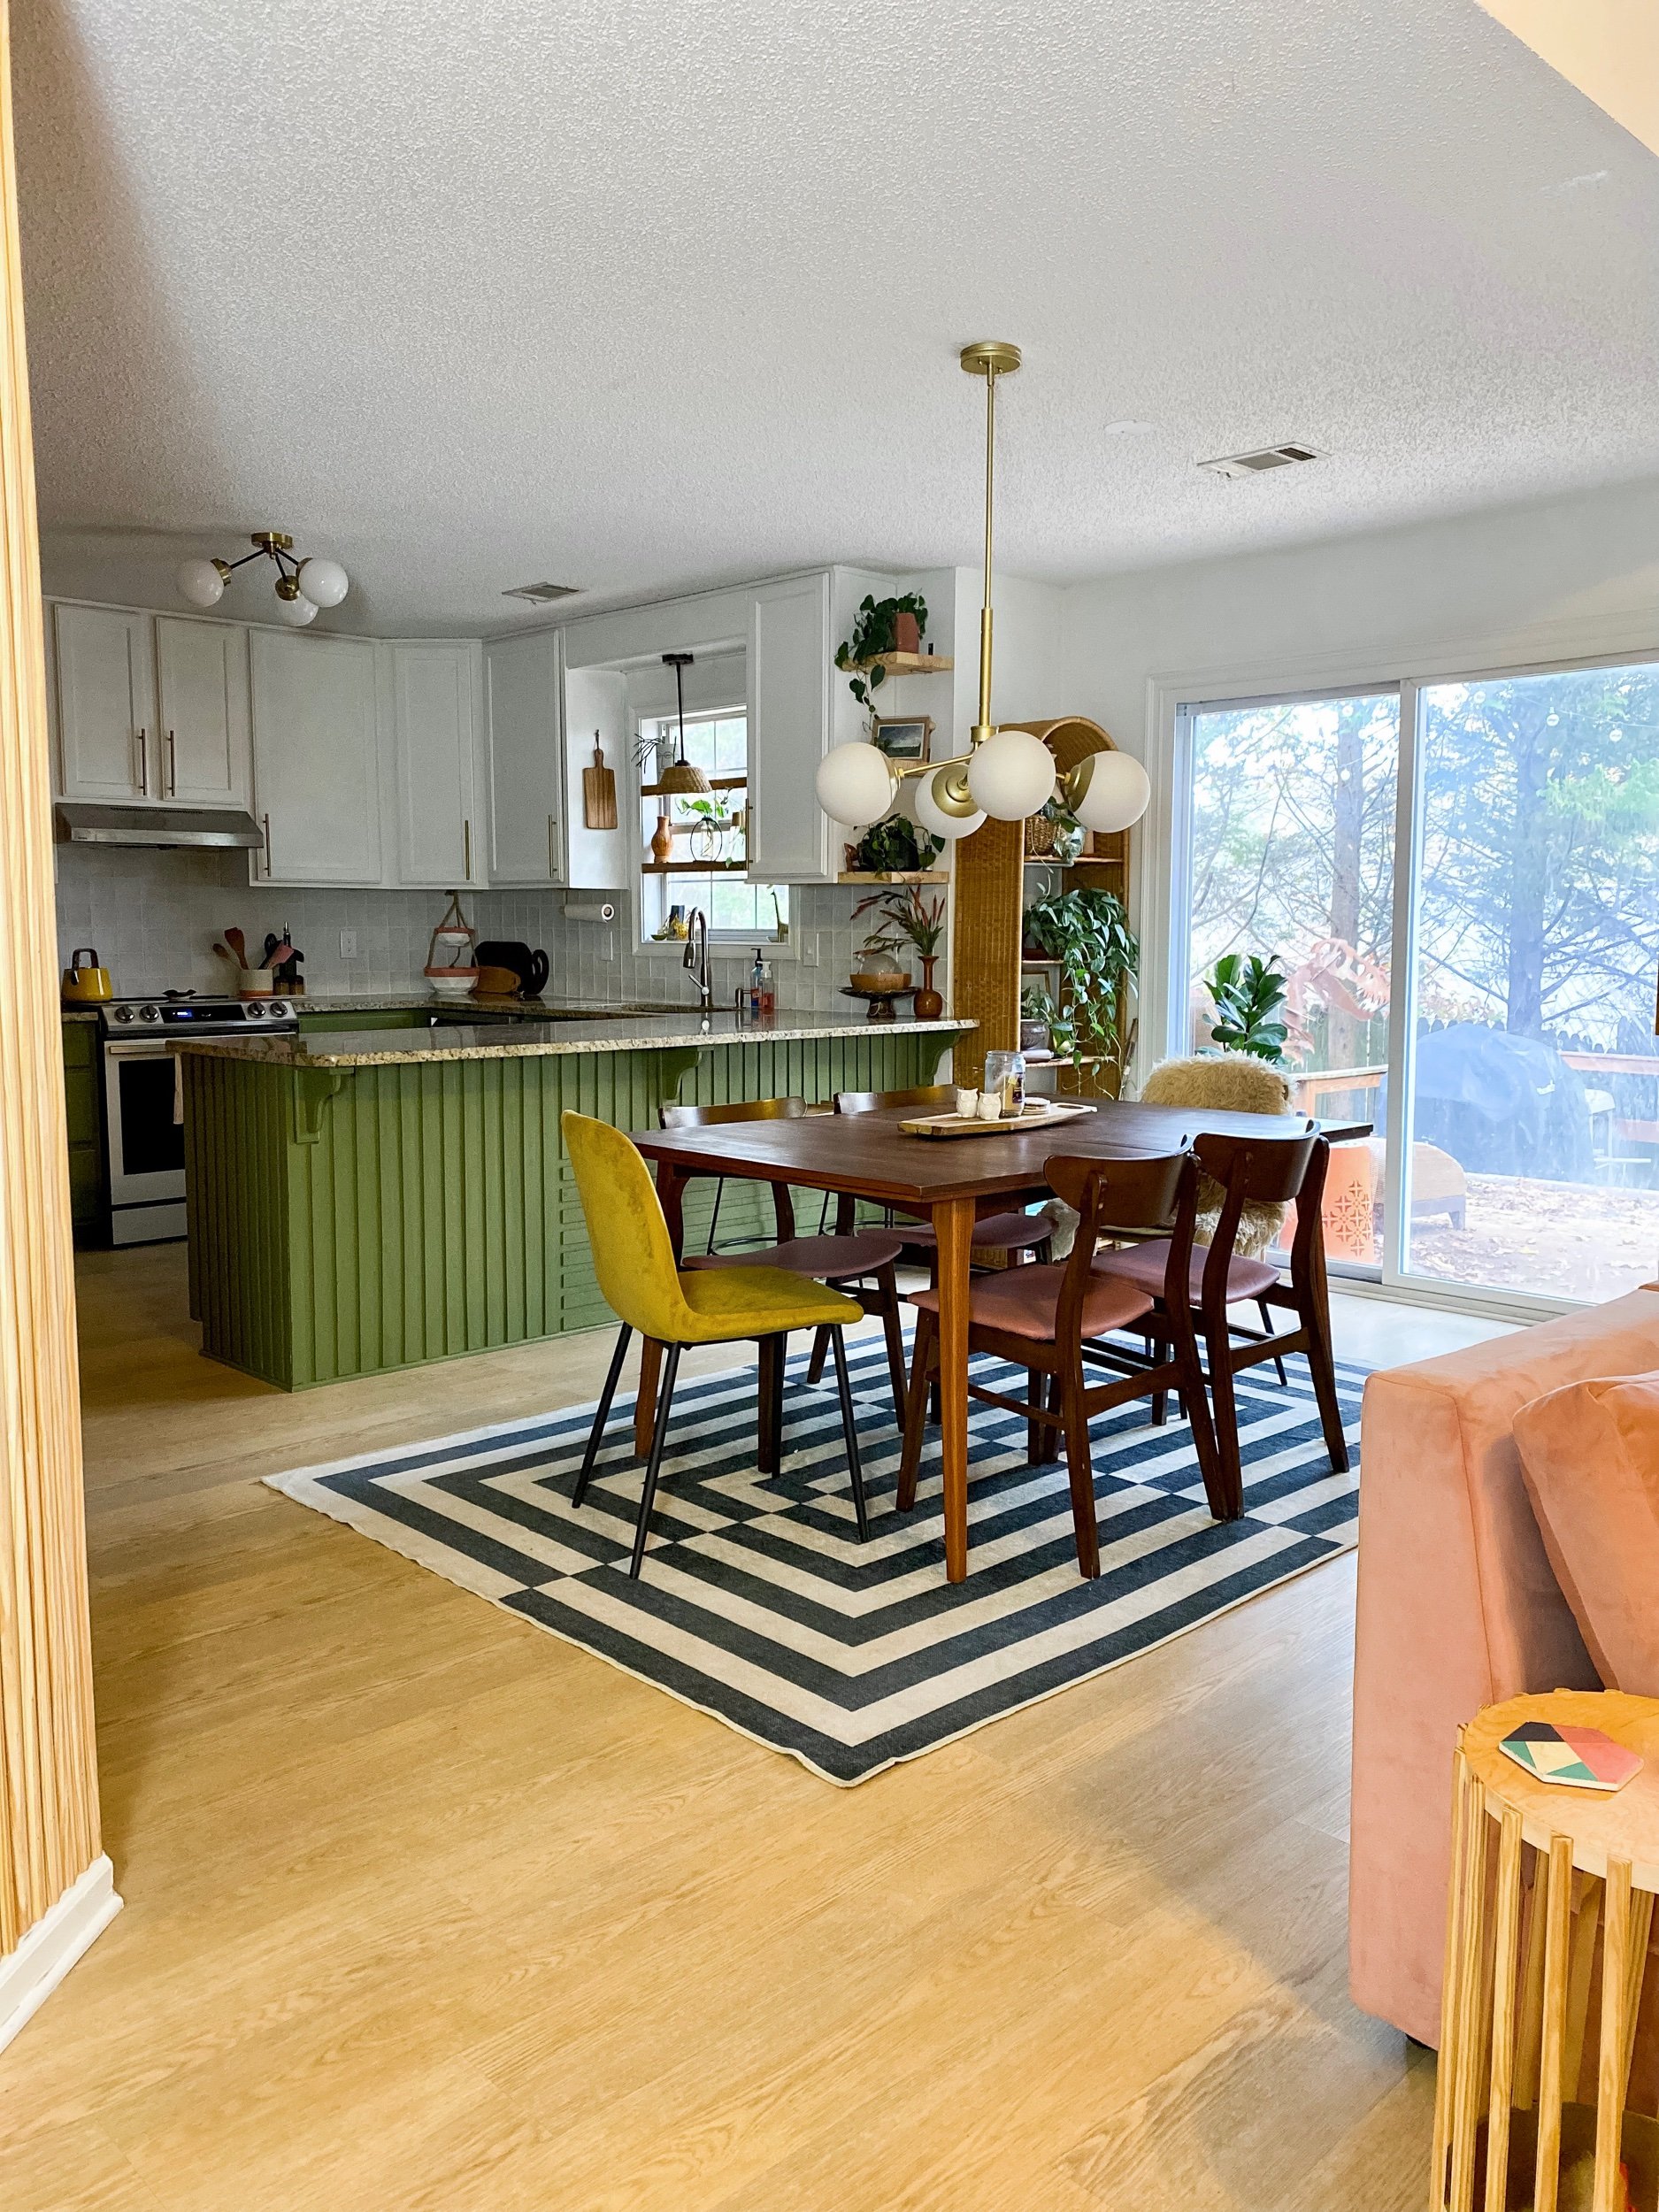
The coolest thing is that for most cuts, you can score the plank with a utility knife and then snap it. It made everything go super quickly. As soon as those first few planks went in, the amount of brightness it brought to the space was incredible. No more dull, drab, dark floors.
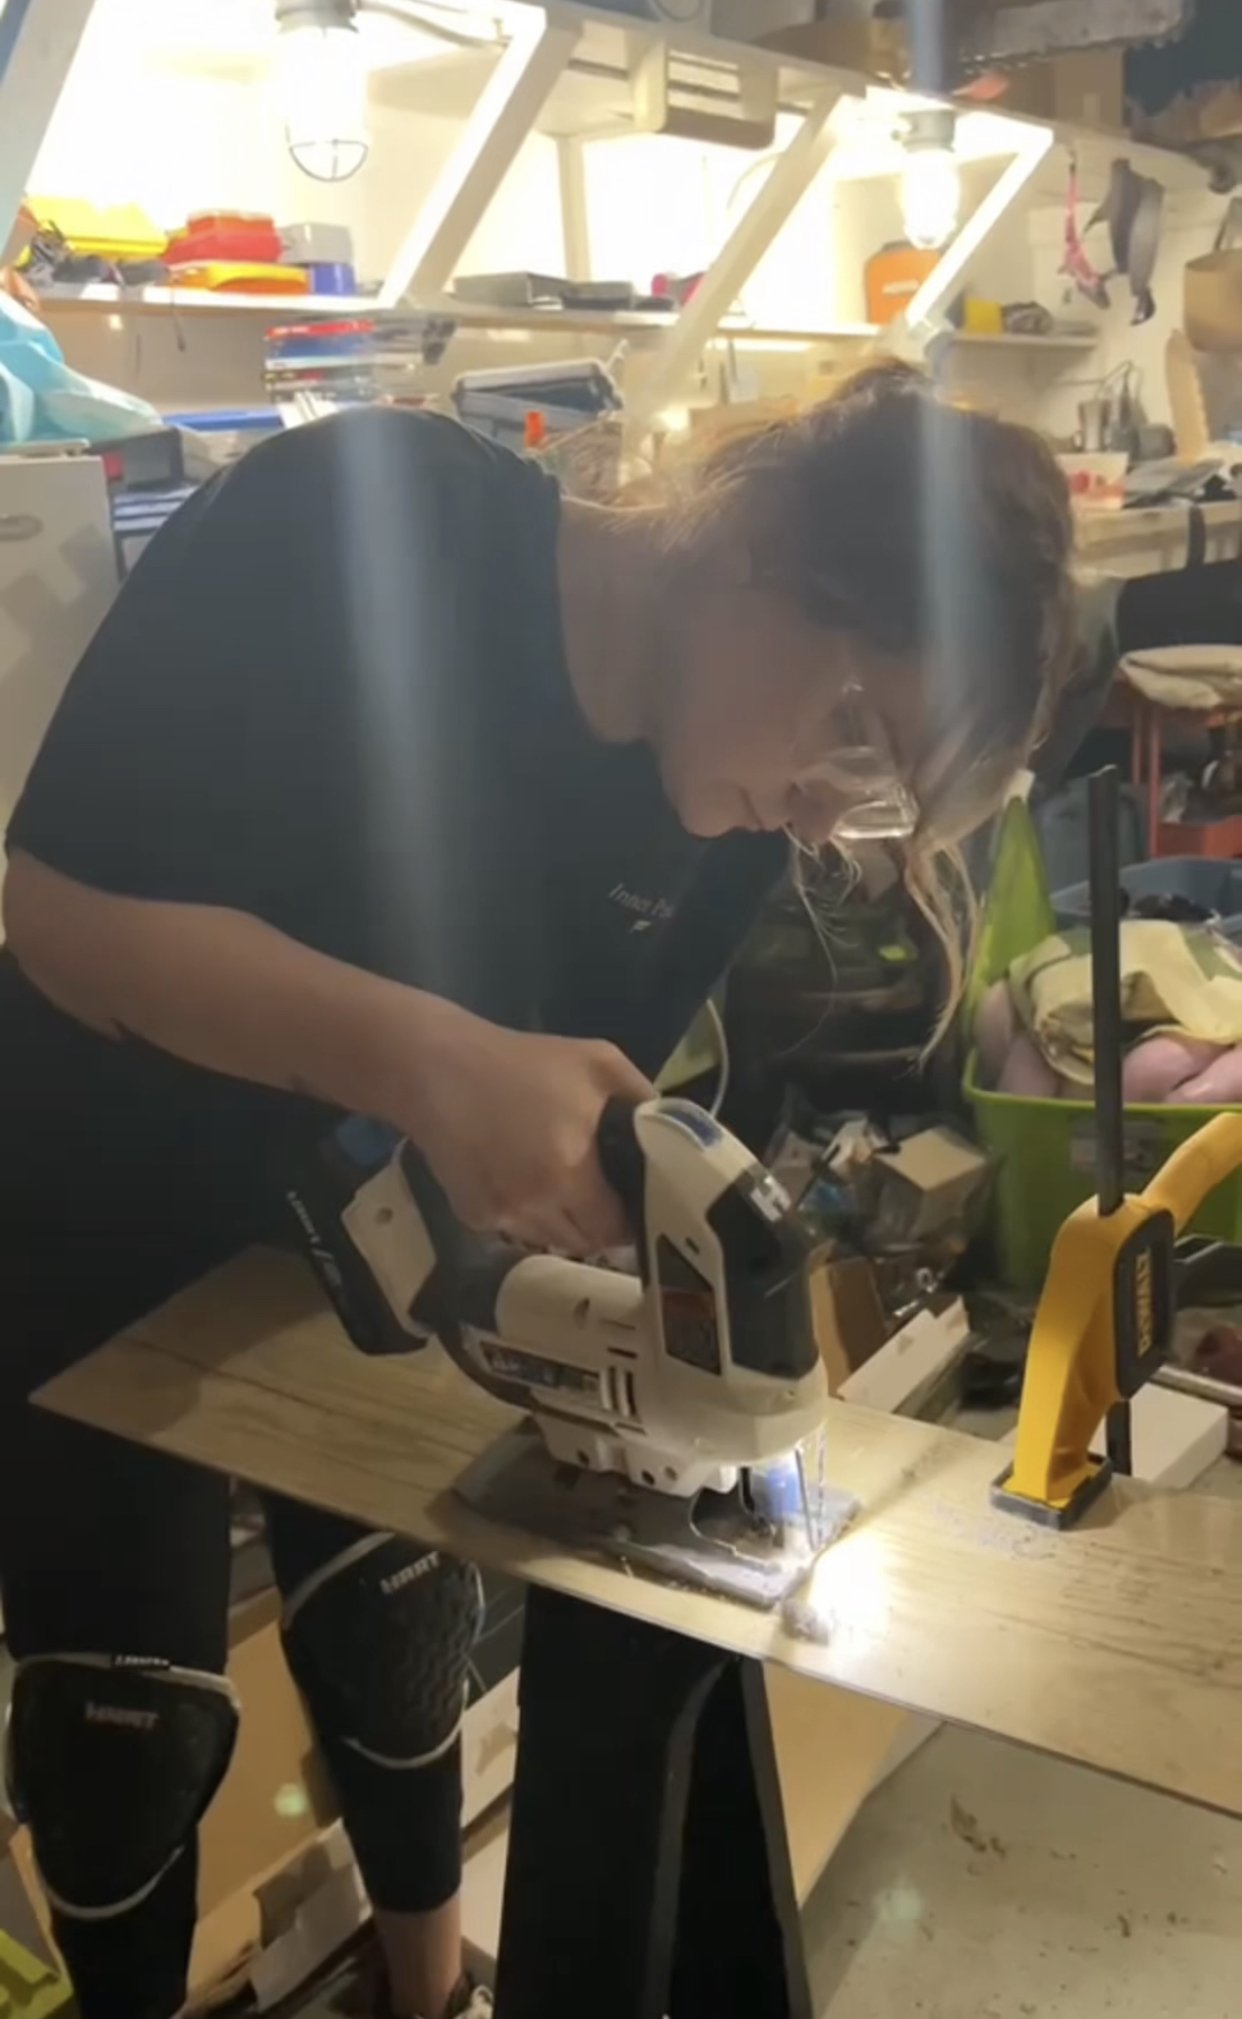
My house is open concept but it’s FULL of ridiculous angles. Like, whoever designed this house was really testing out their geometry. Or creativity. Or both. So my jigsaw with a carbide blade came in handy for those trickier cuts.
Since my home is small, as I moved from area to area, I just pushed the furniture to the side of the room that I wasn’t working on and moved it as I went. If I had a bigger house, moving it completely out would have made it go a bit faster but I didn’t really have that option.
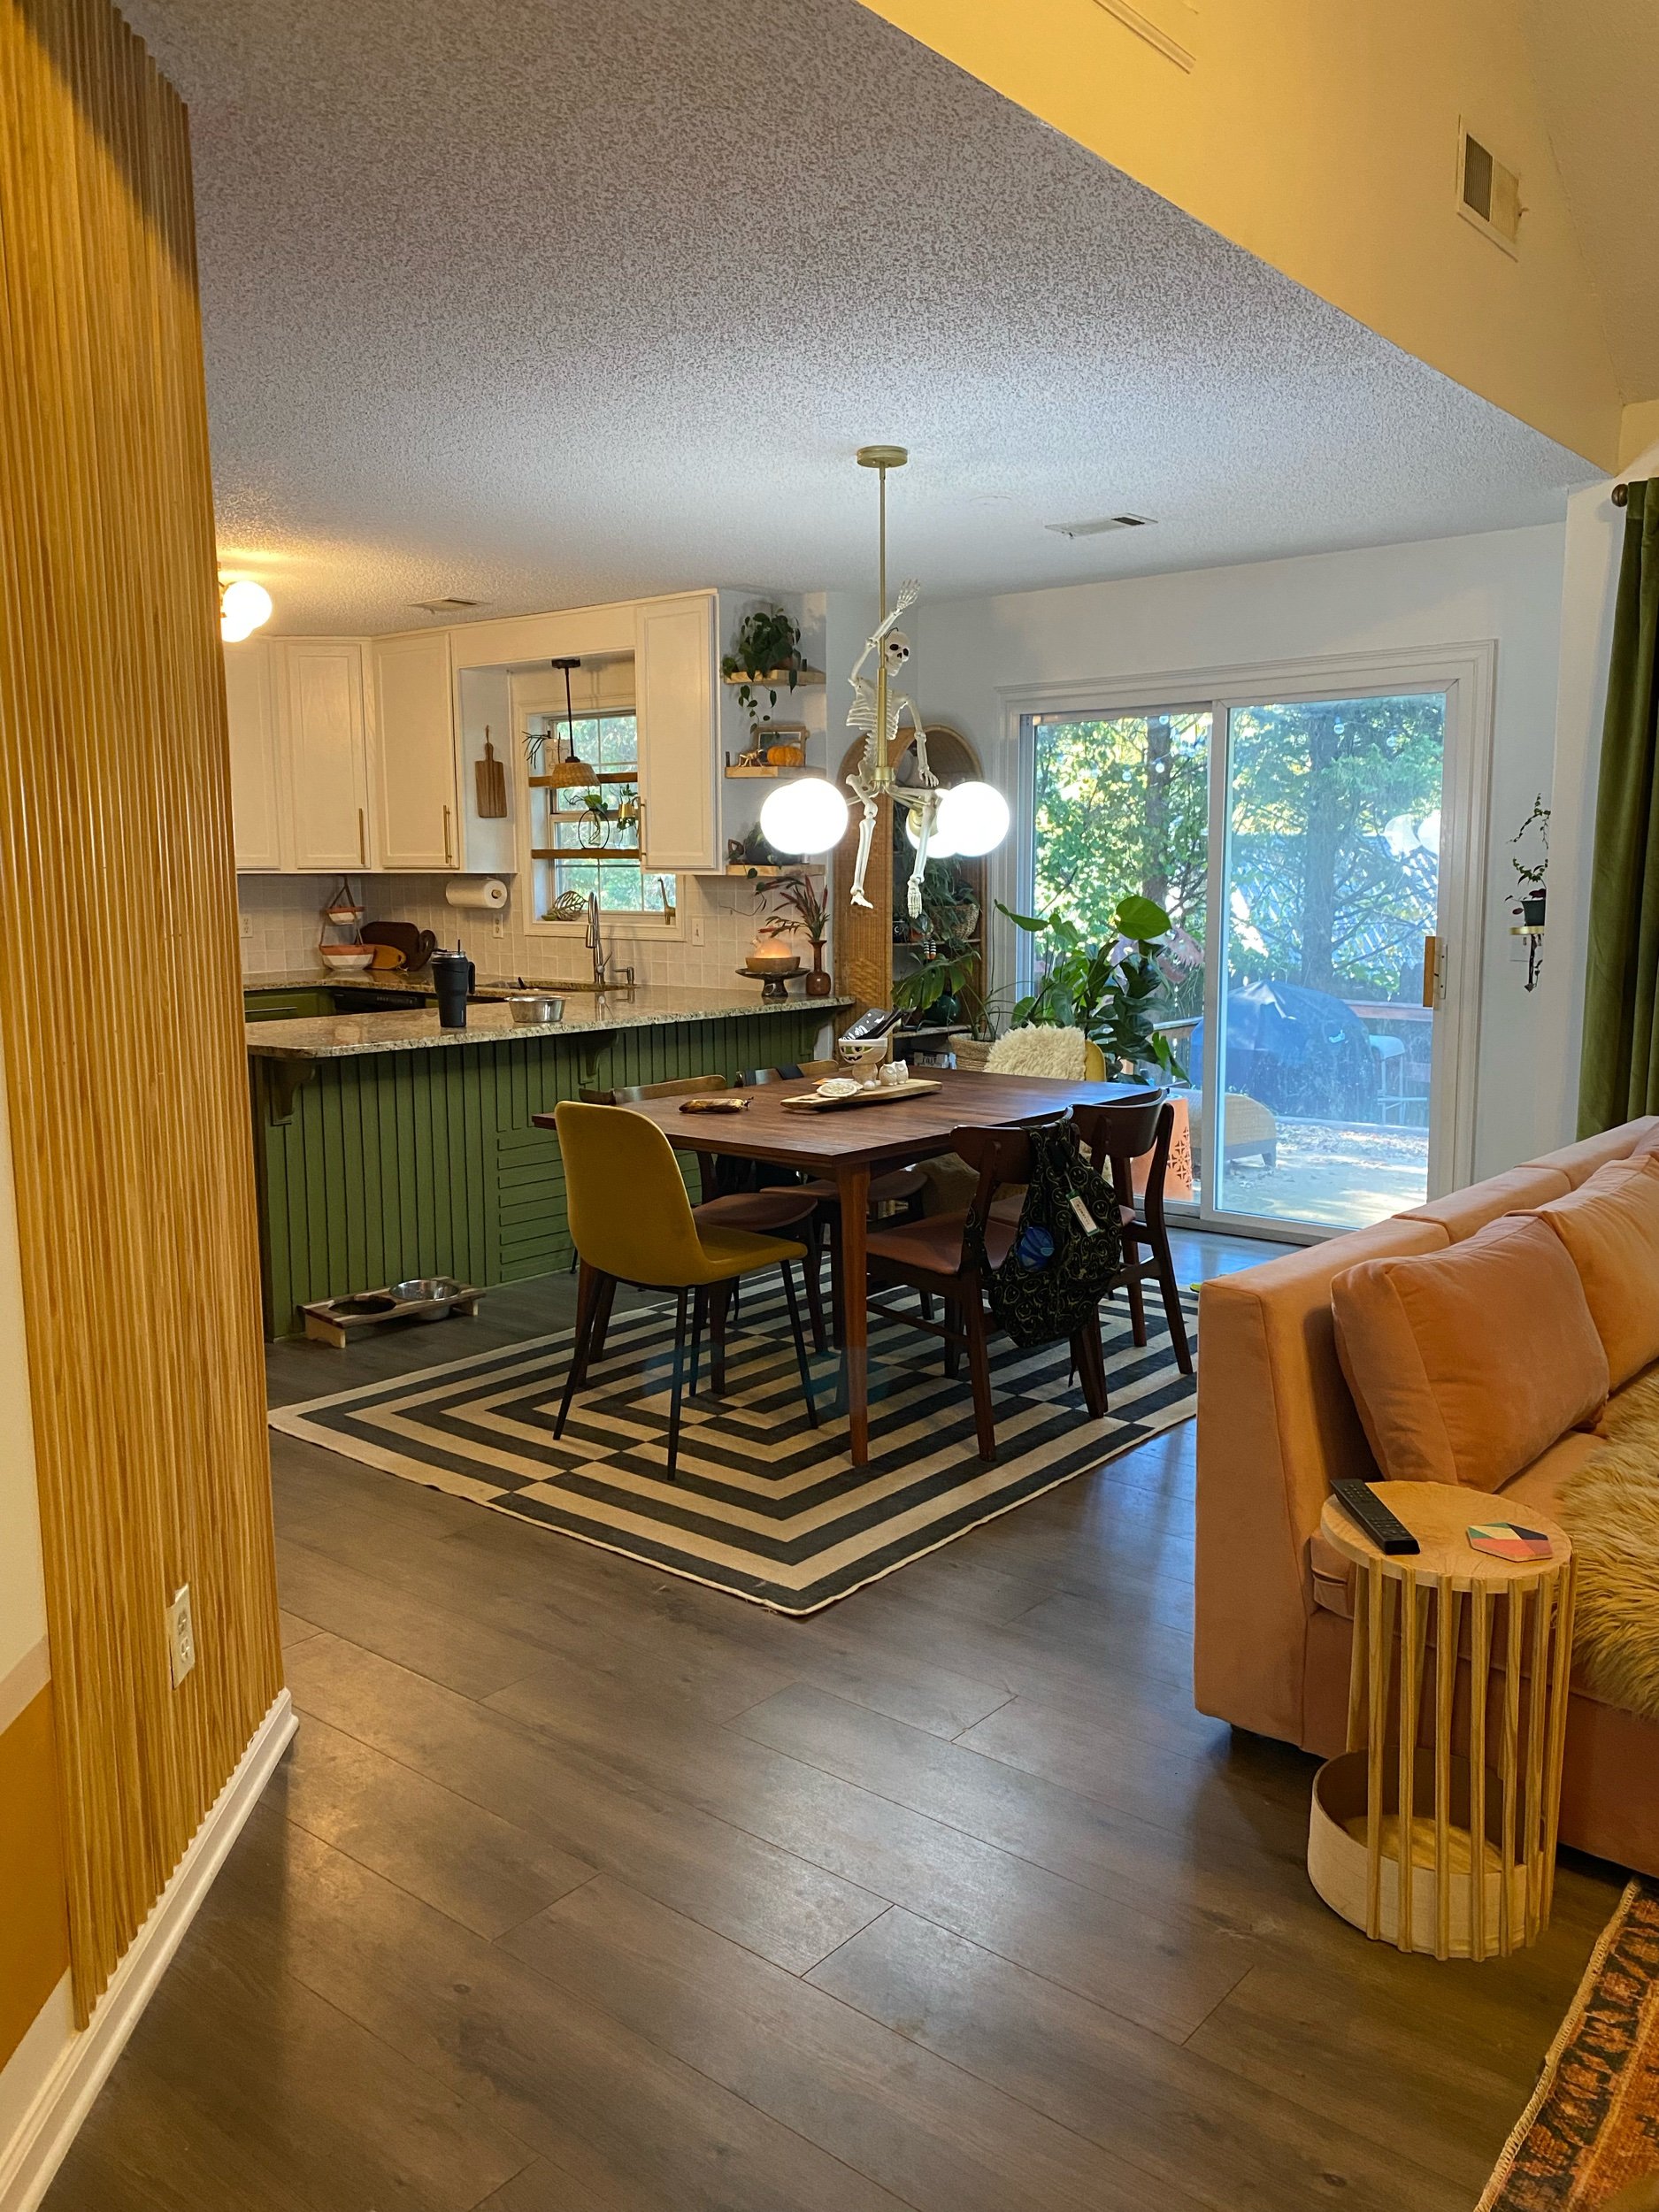
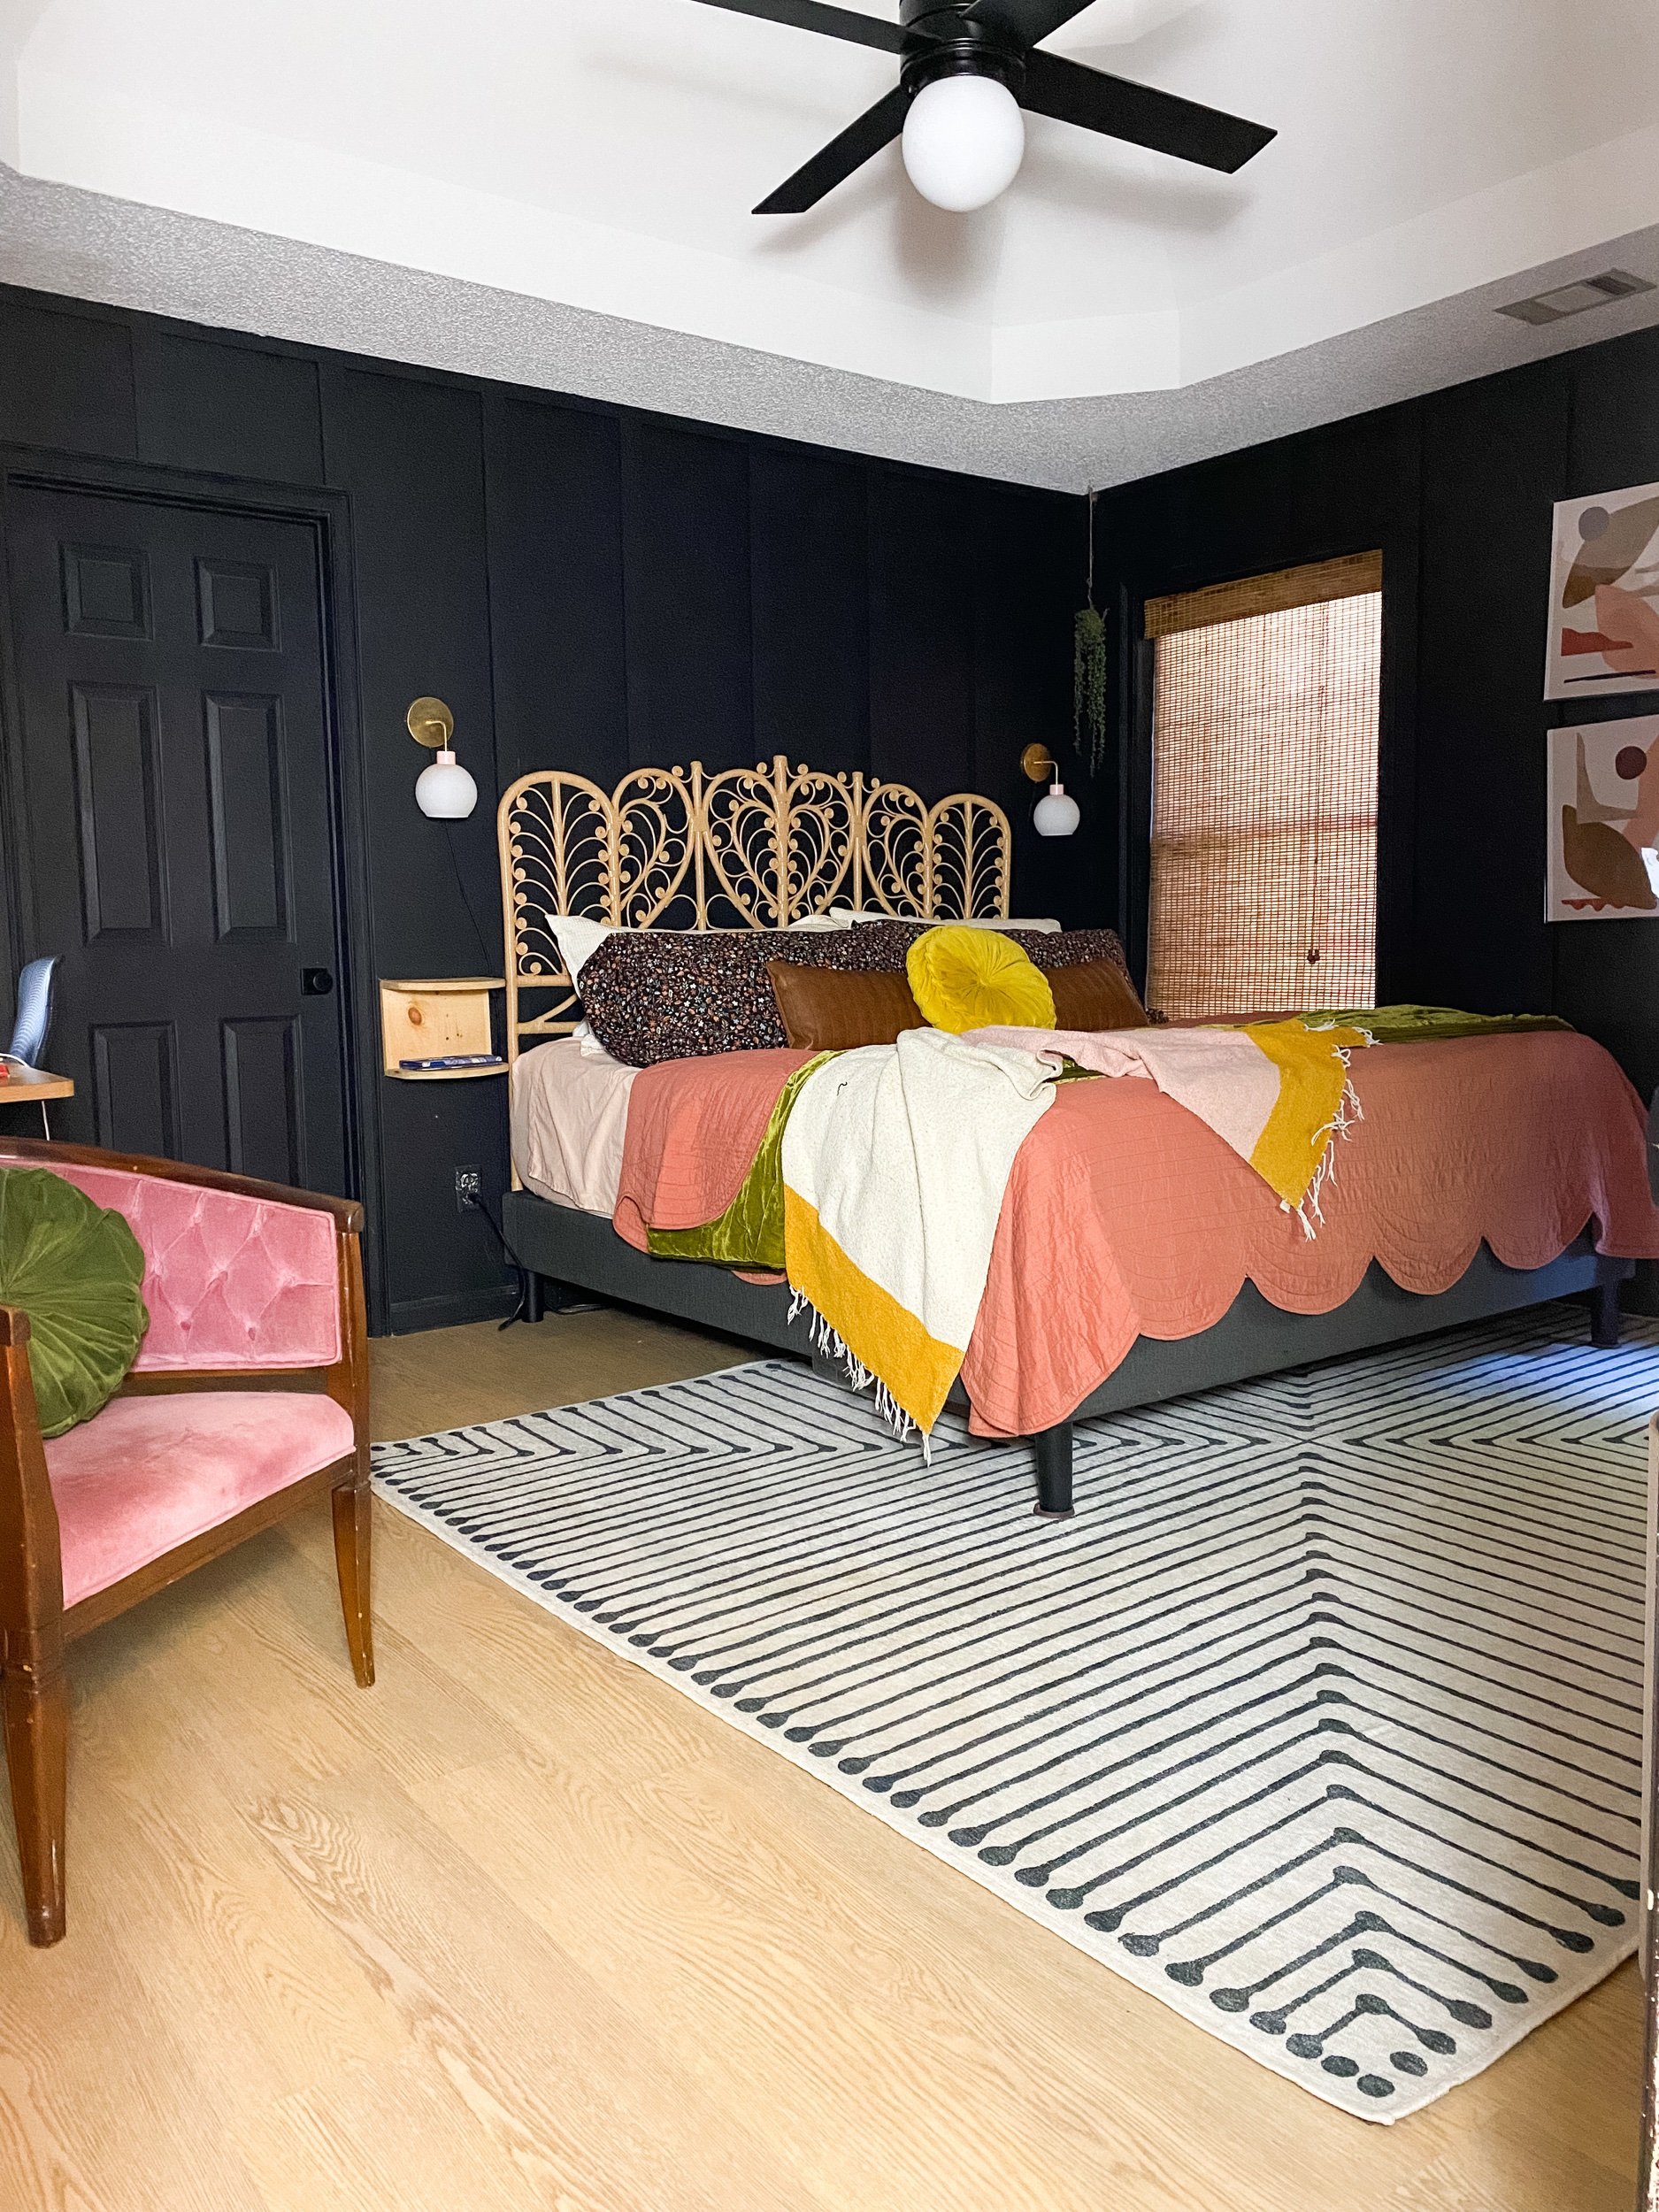
My husband, who rarely notices changes, even remarked as I completed each room that the flooring made the walls, decor, furniture, etc. look better. Seriously. After every room he said a version of this. And I completely agree.
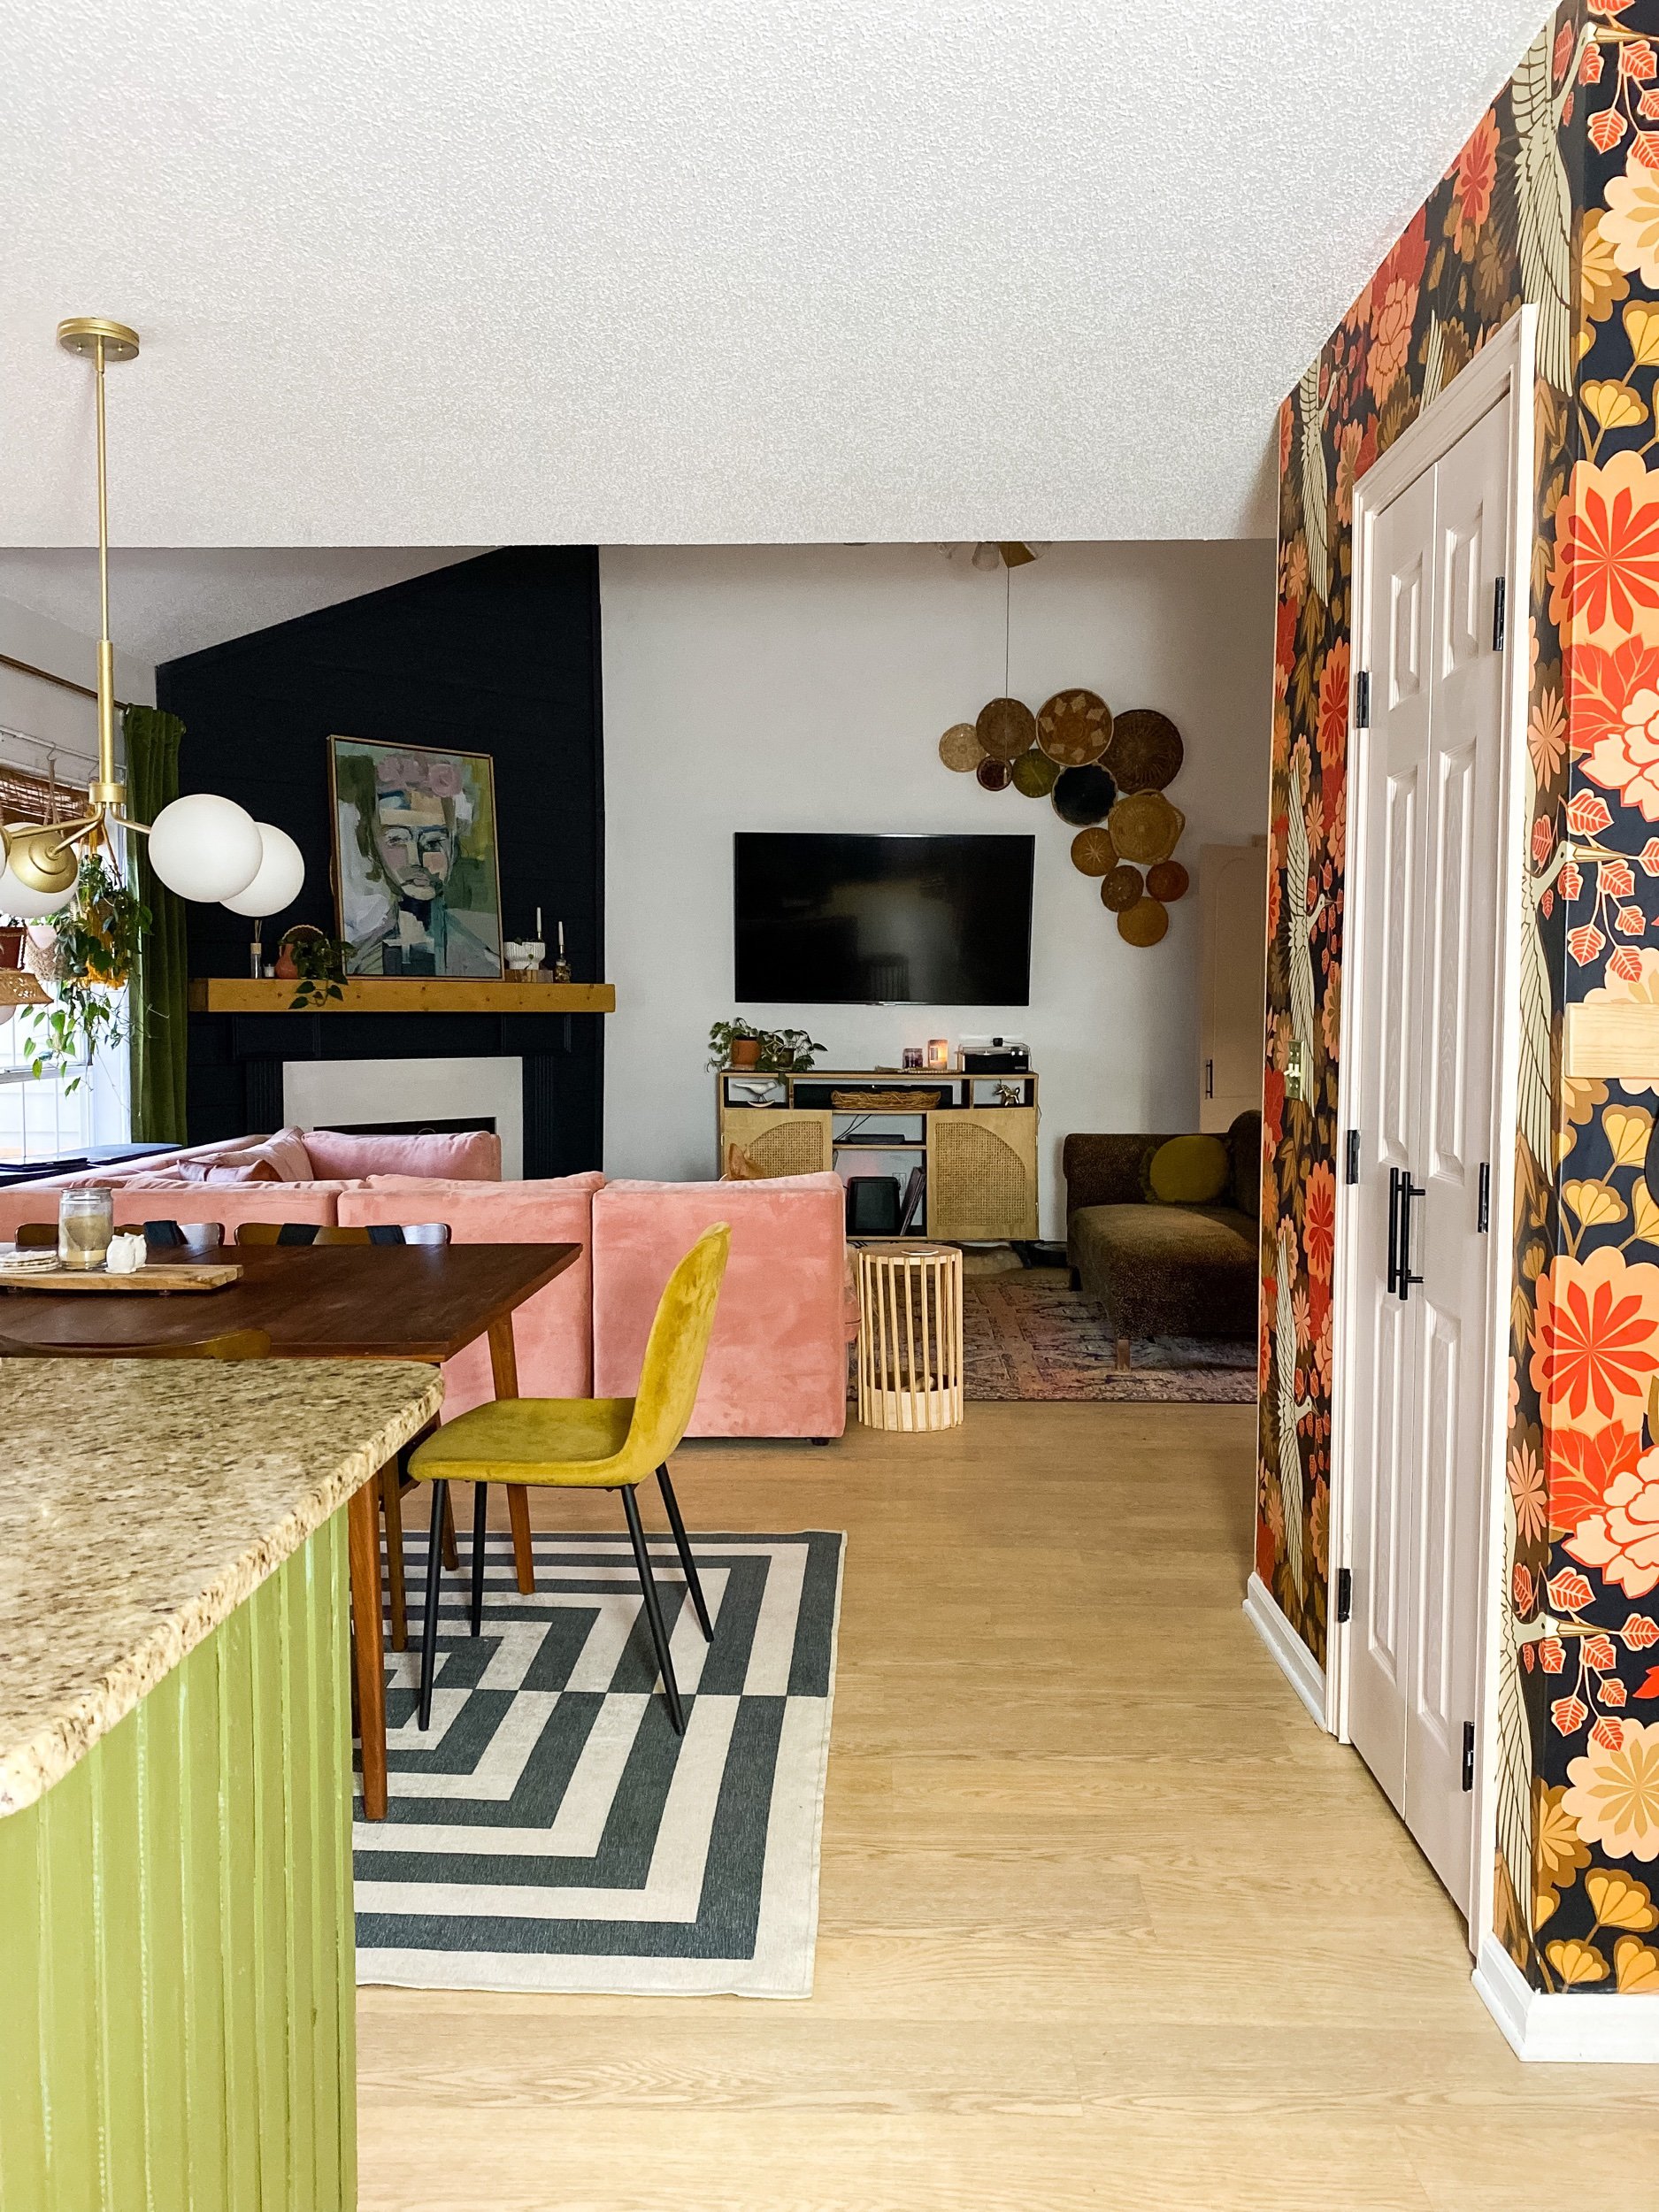
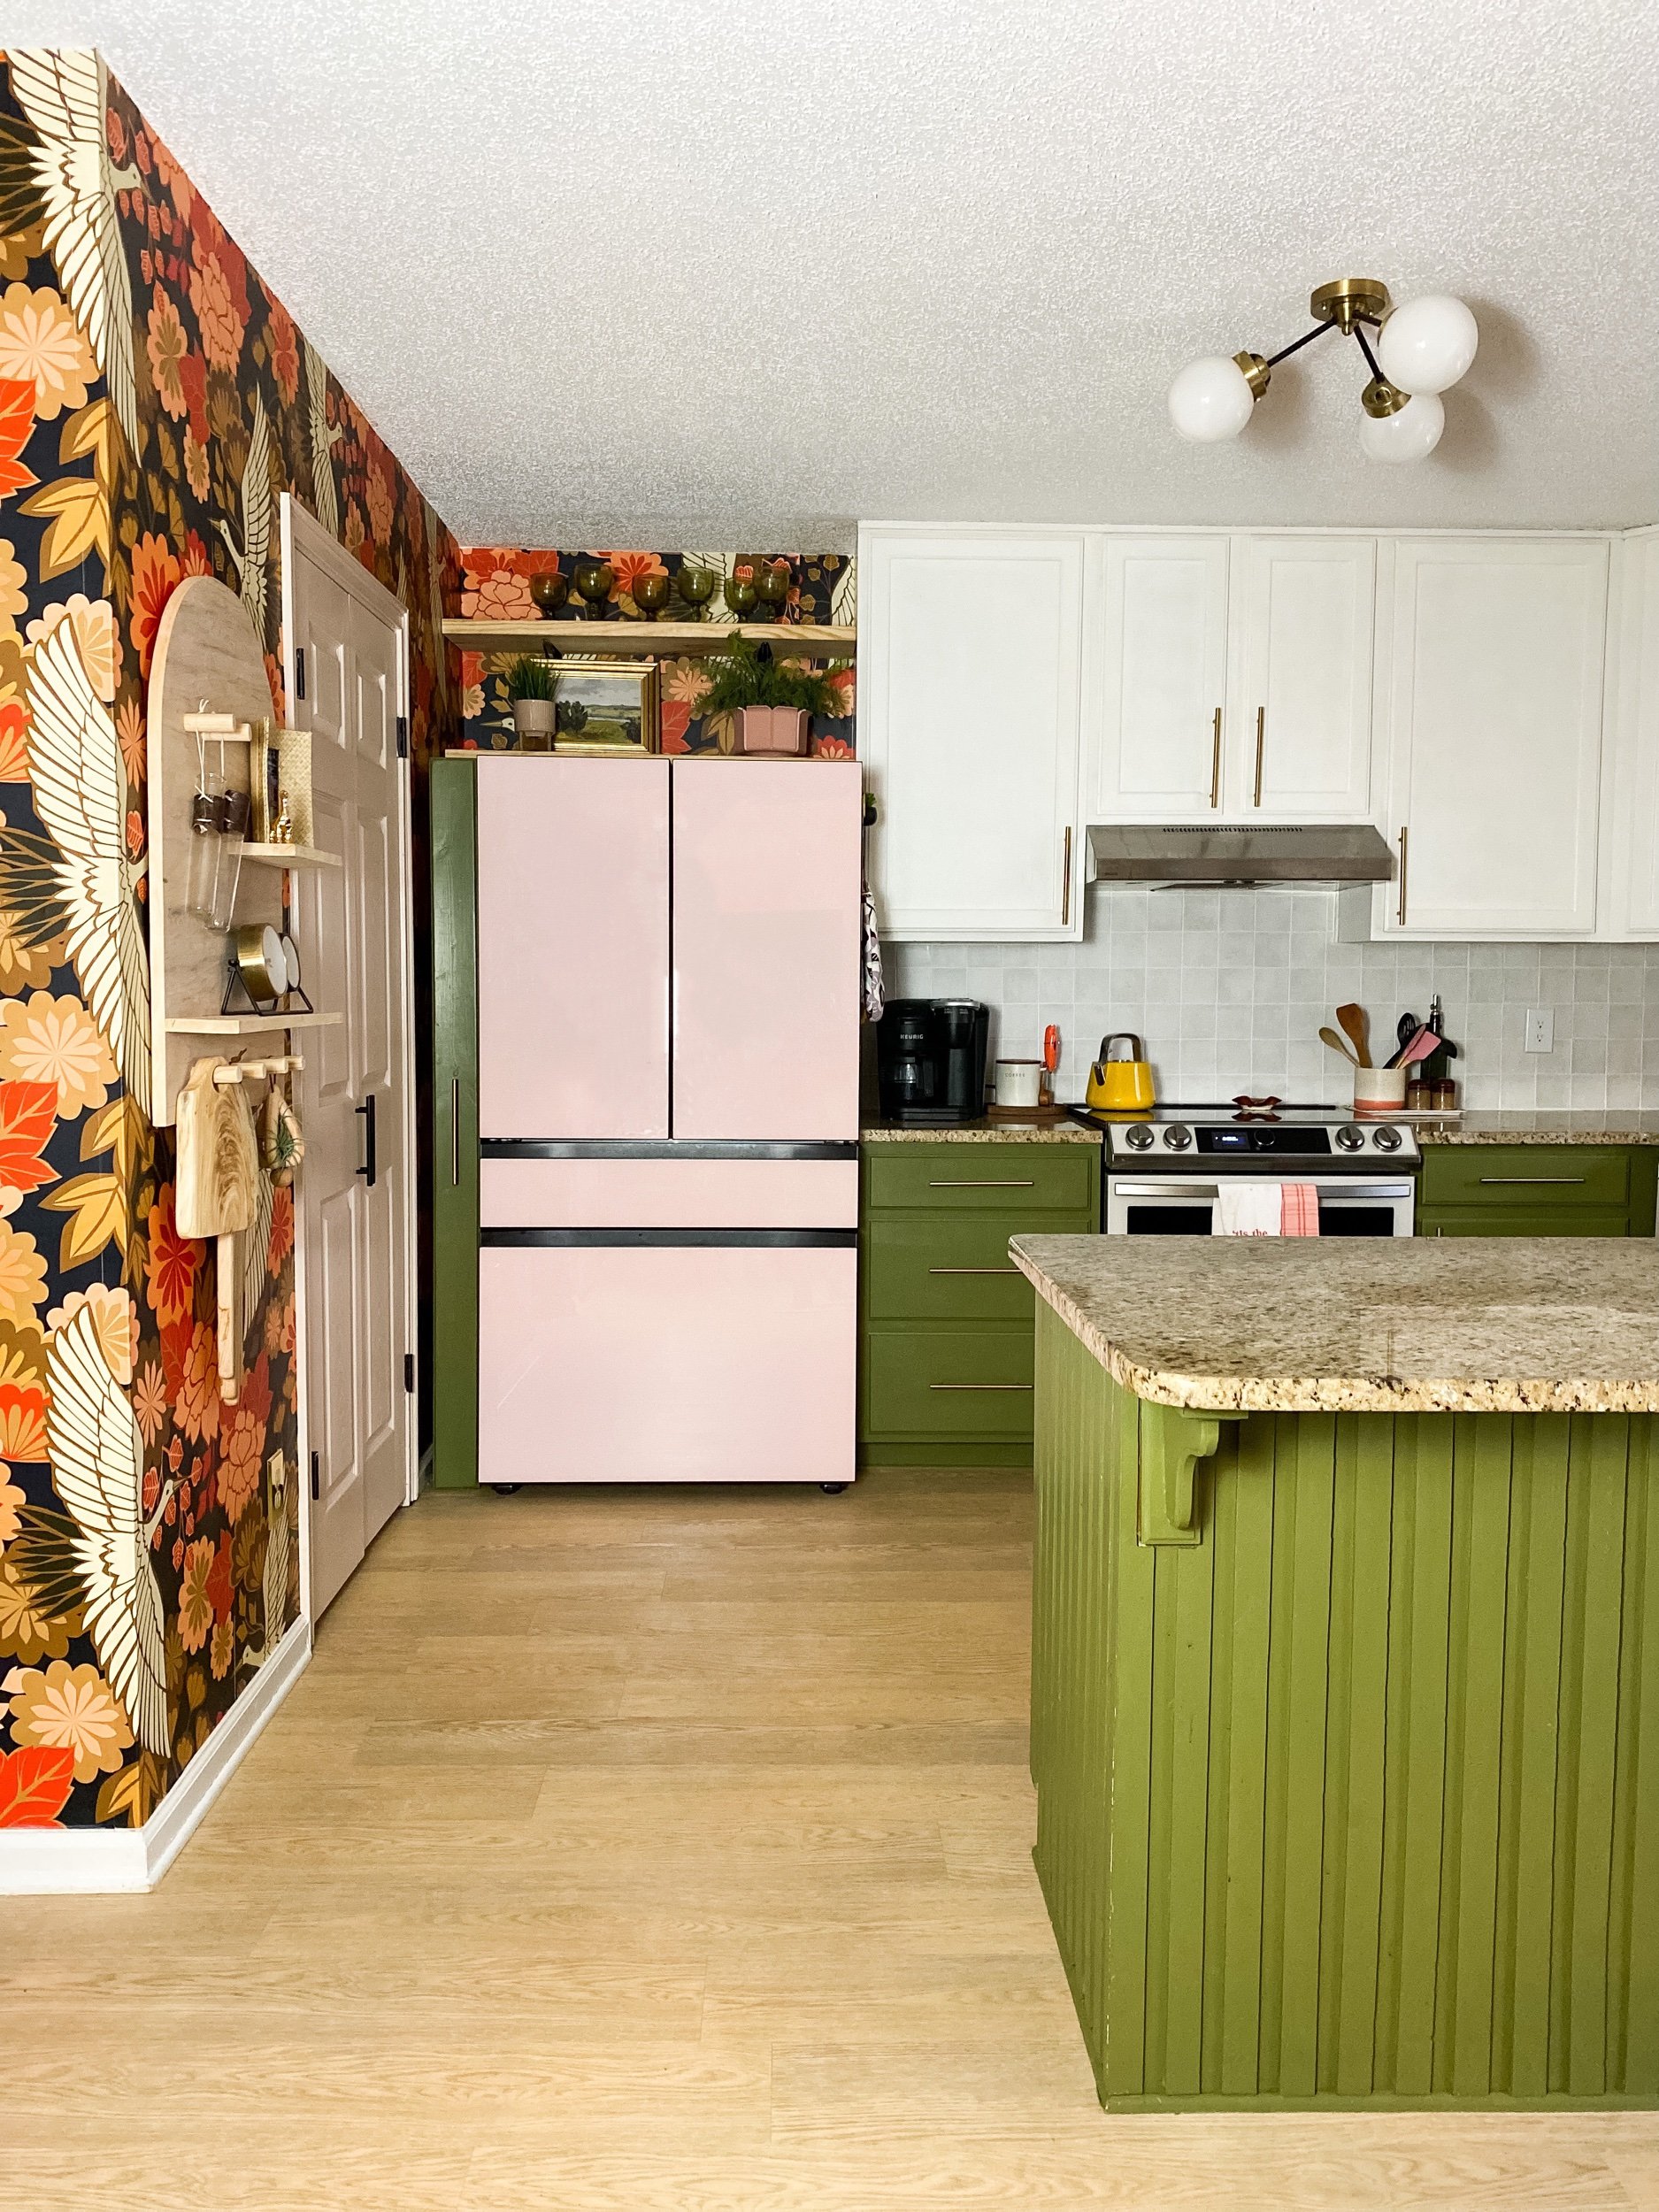
The modern beige tone of the planks seriously goes with EVERYTHING.
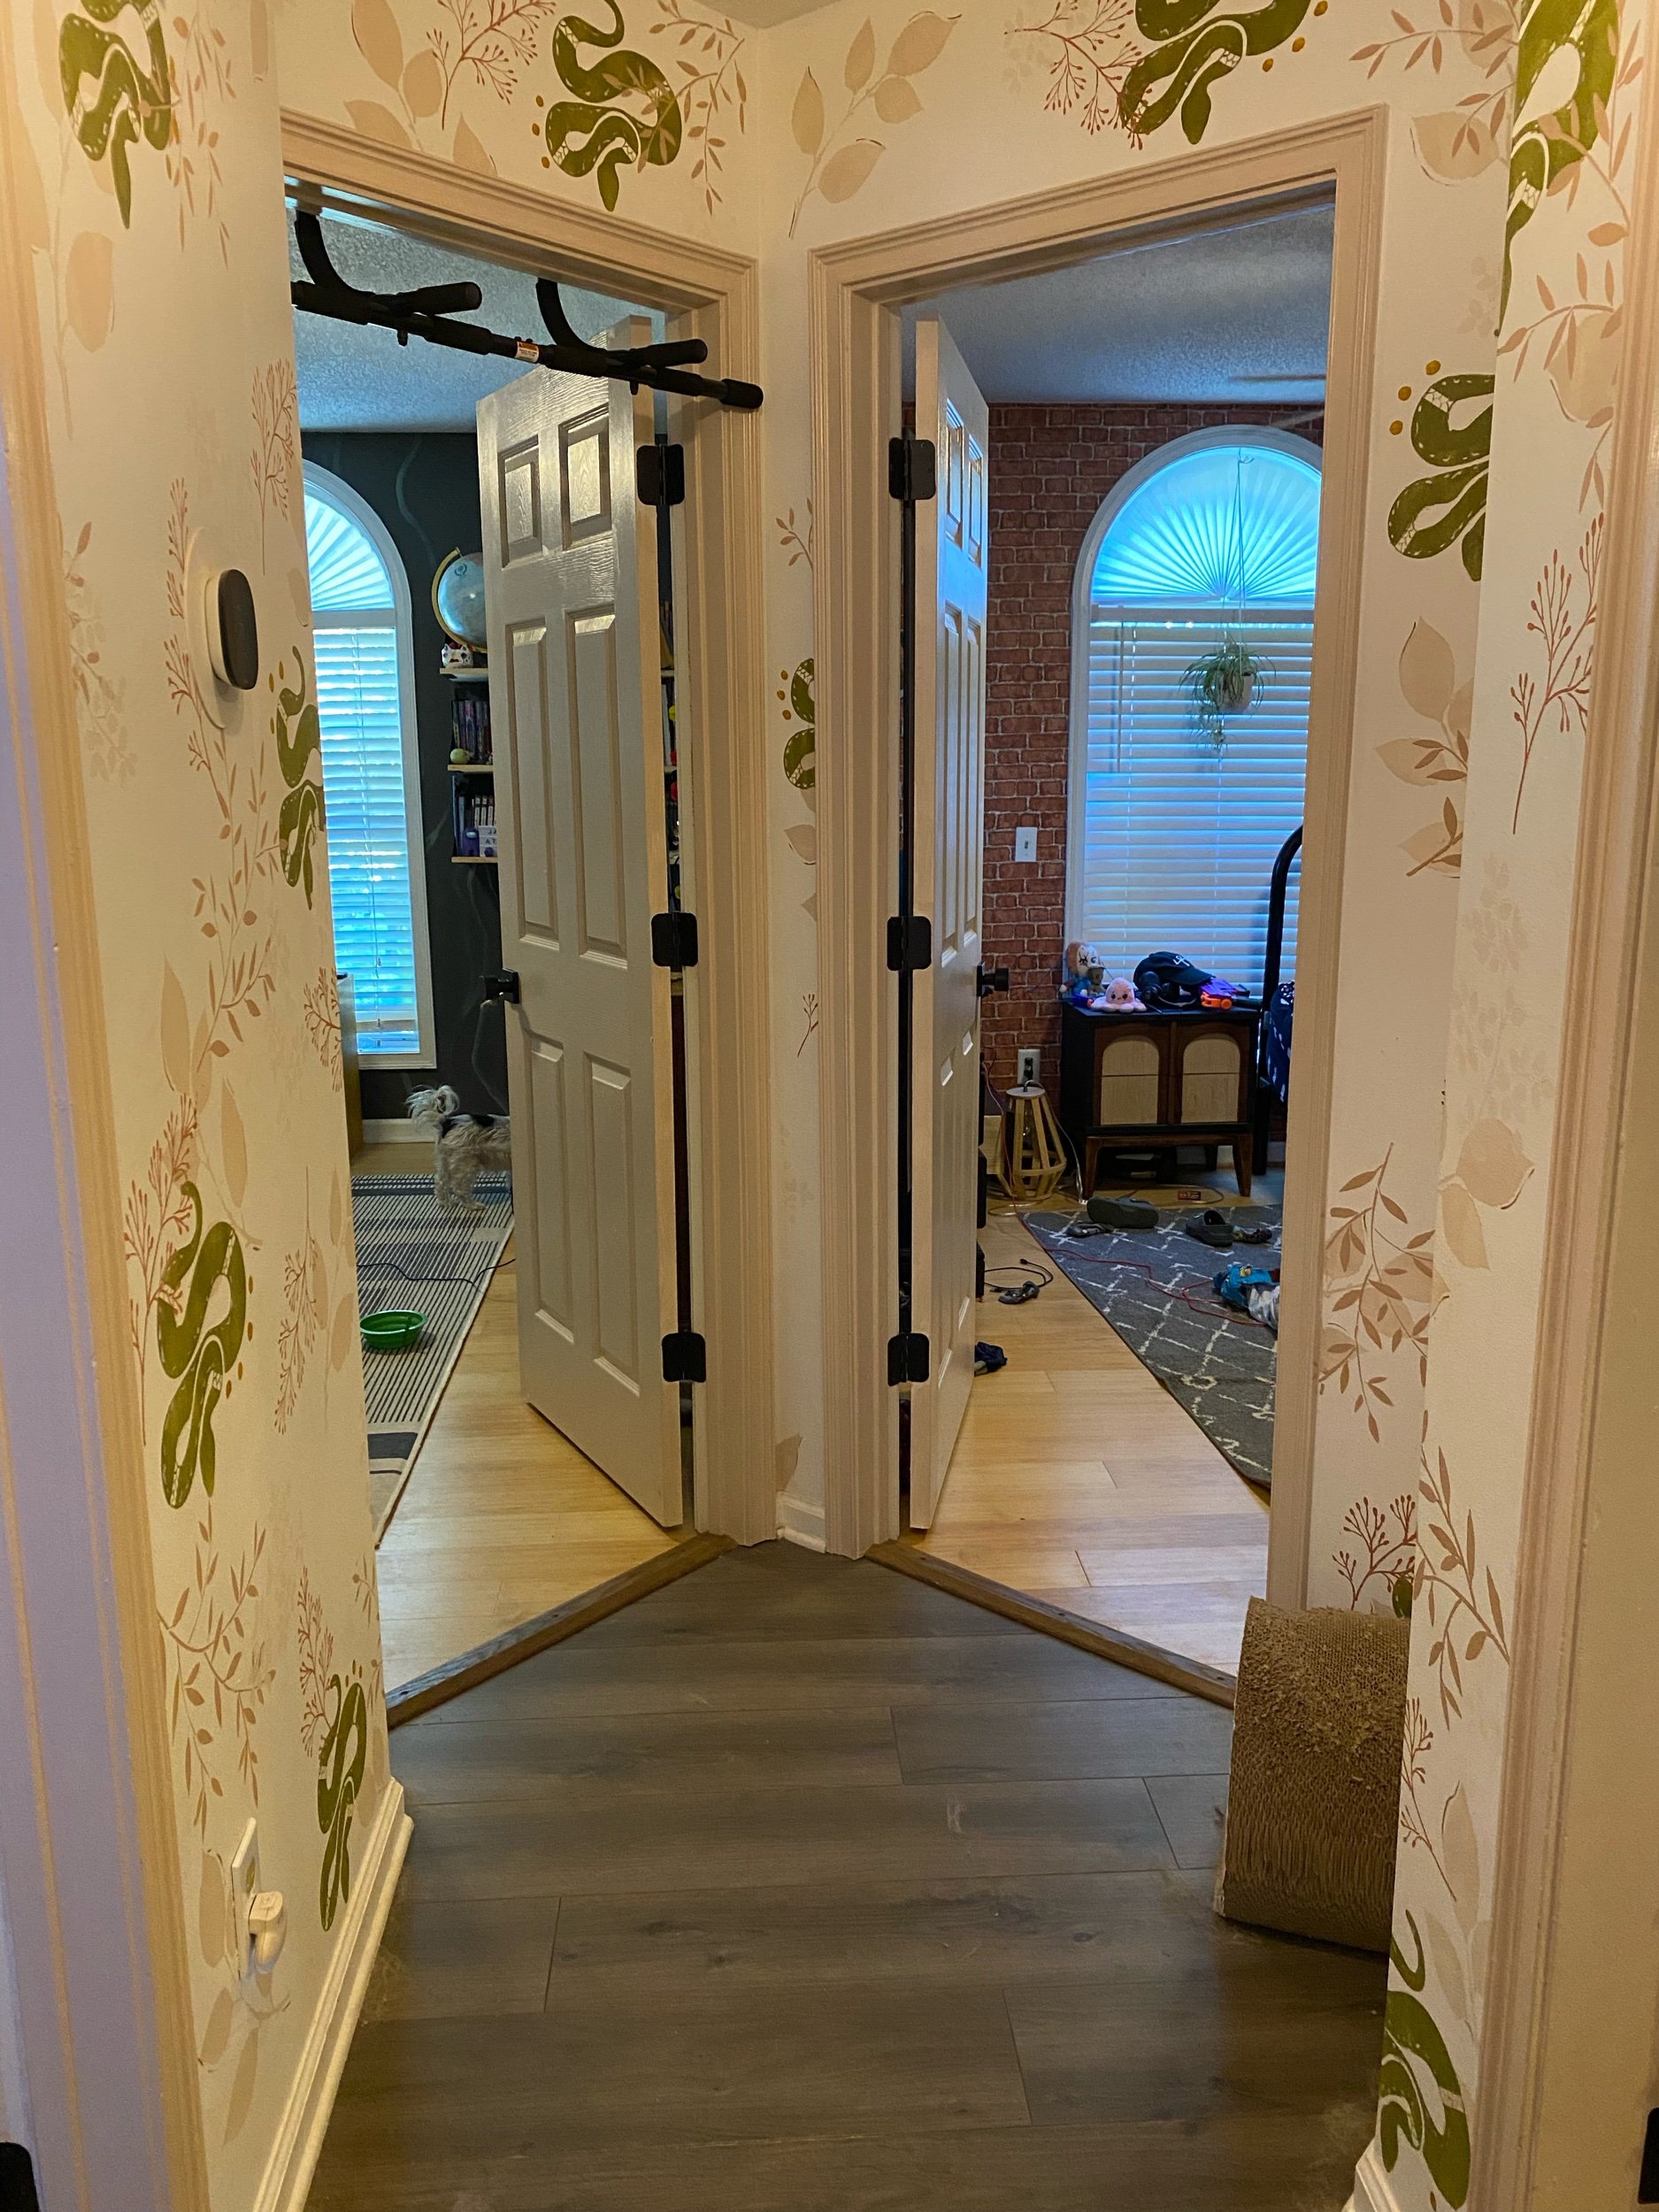
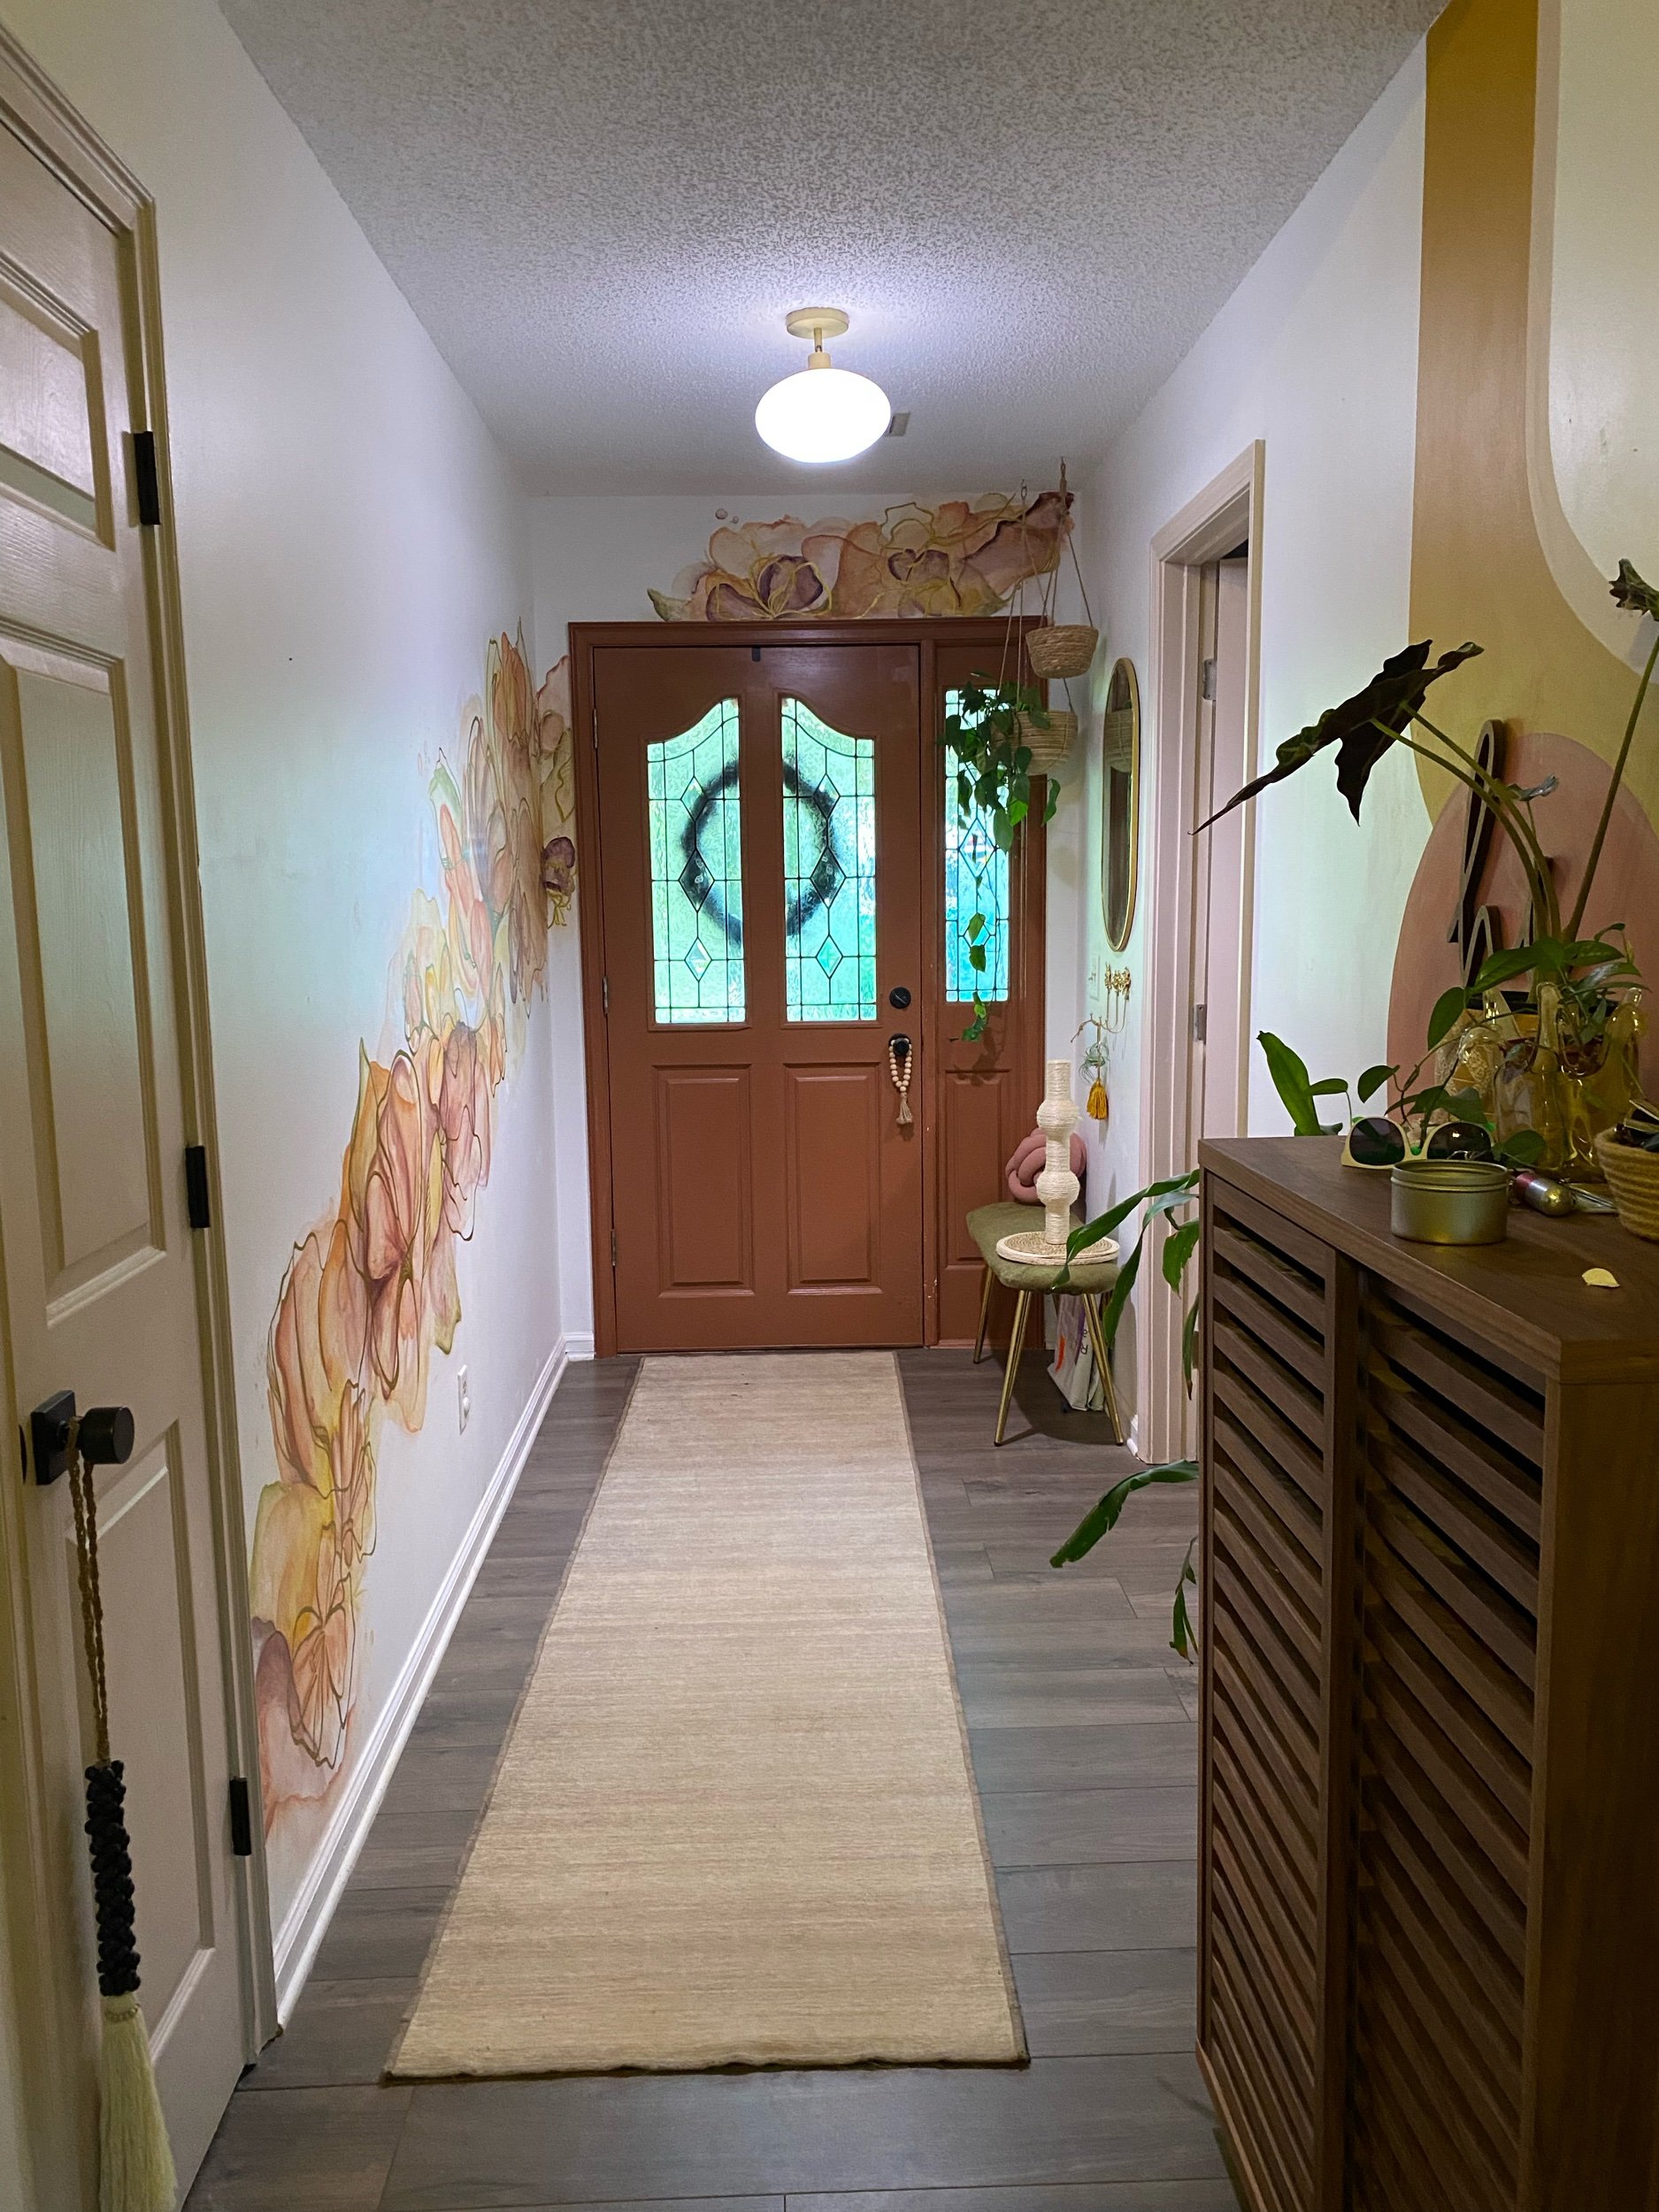
I decided to change the direction the planks ran in from parallel to the entry door to running perpendicular to it to visually lengthen my small space. This allowed a straight line to run from the front door all the way to the back wall of the house which makes my brain ridiculously happy.

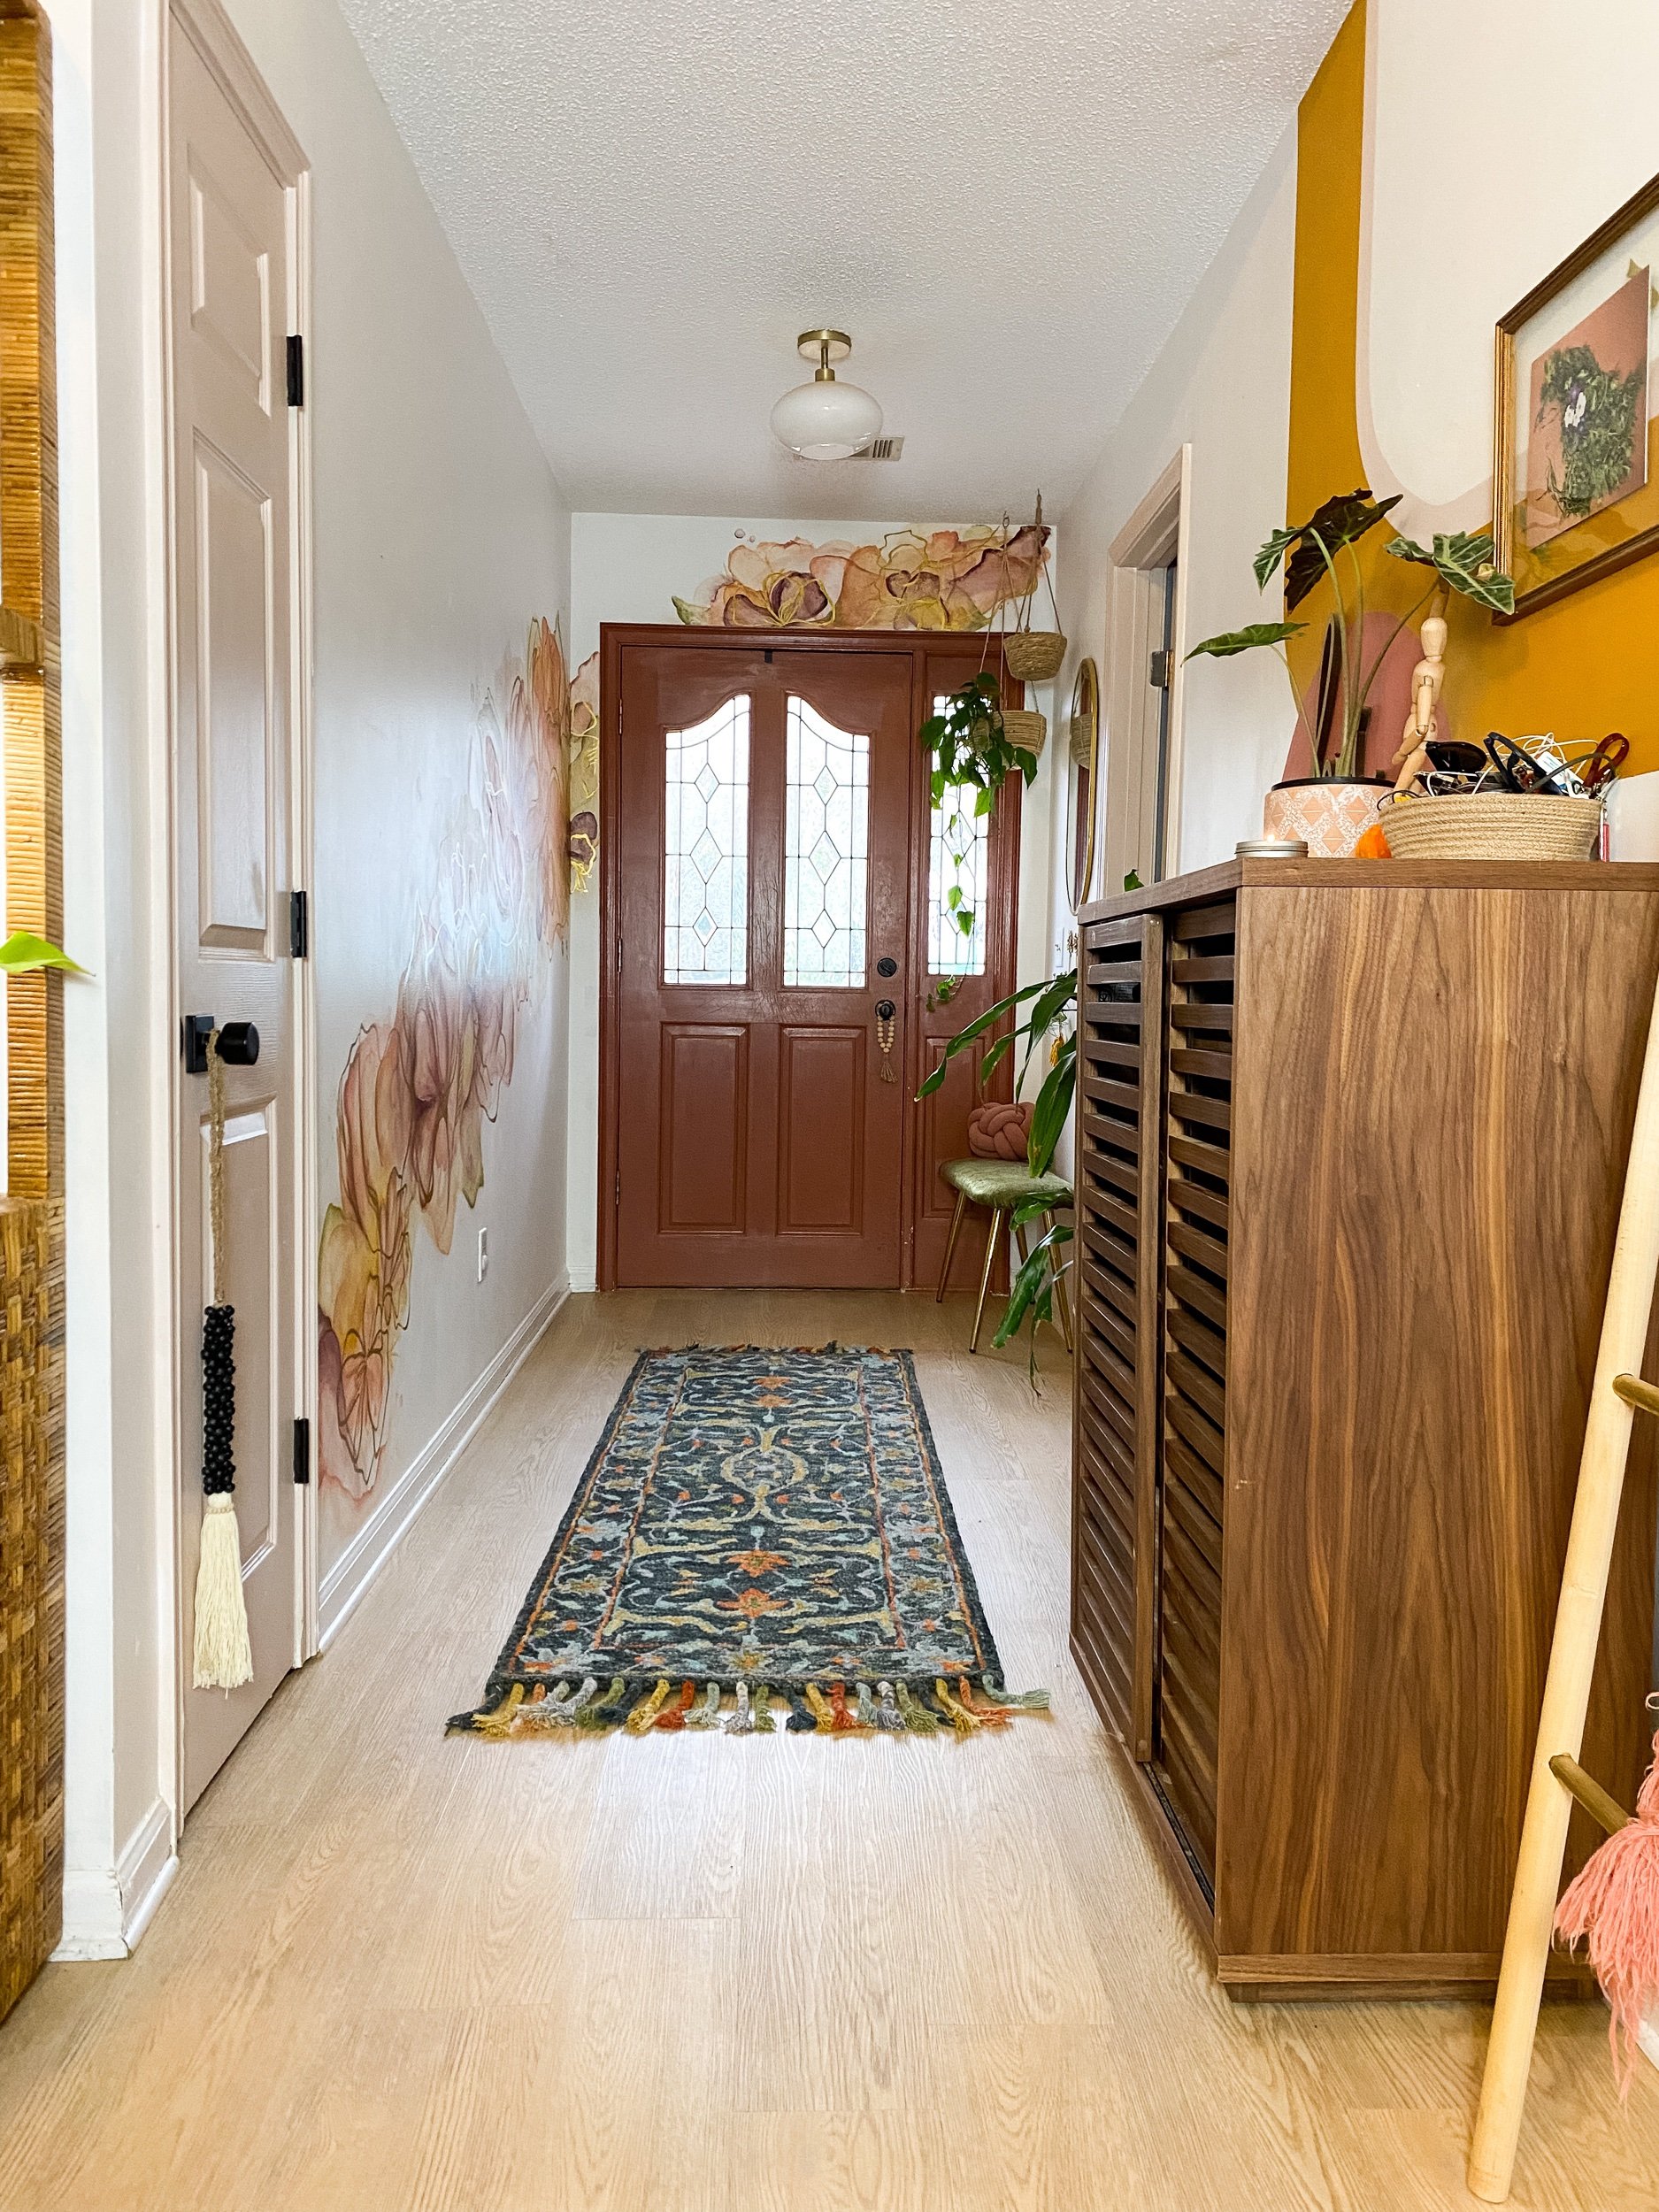
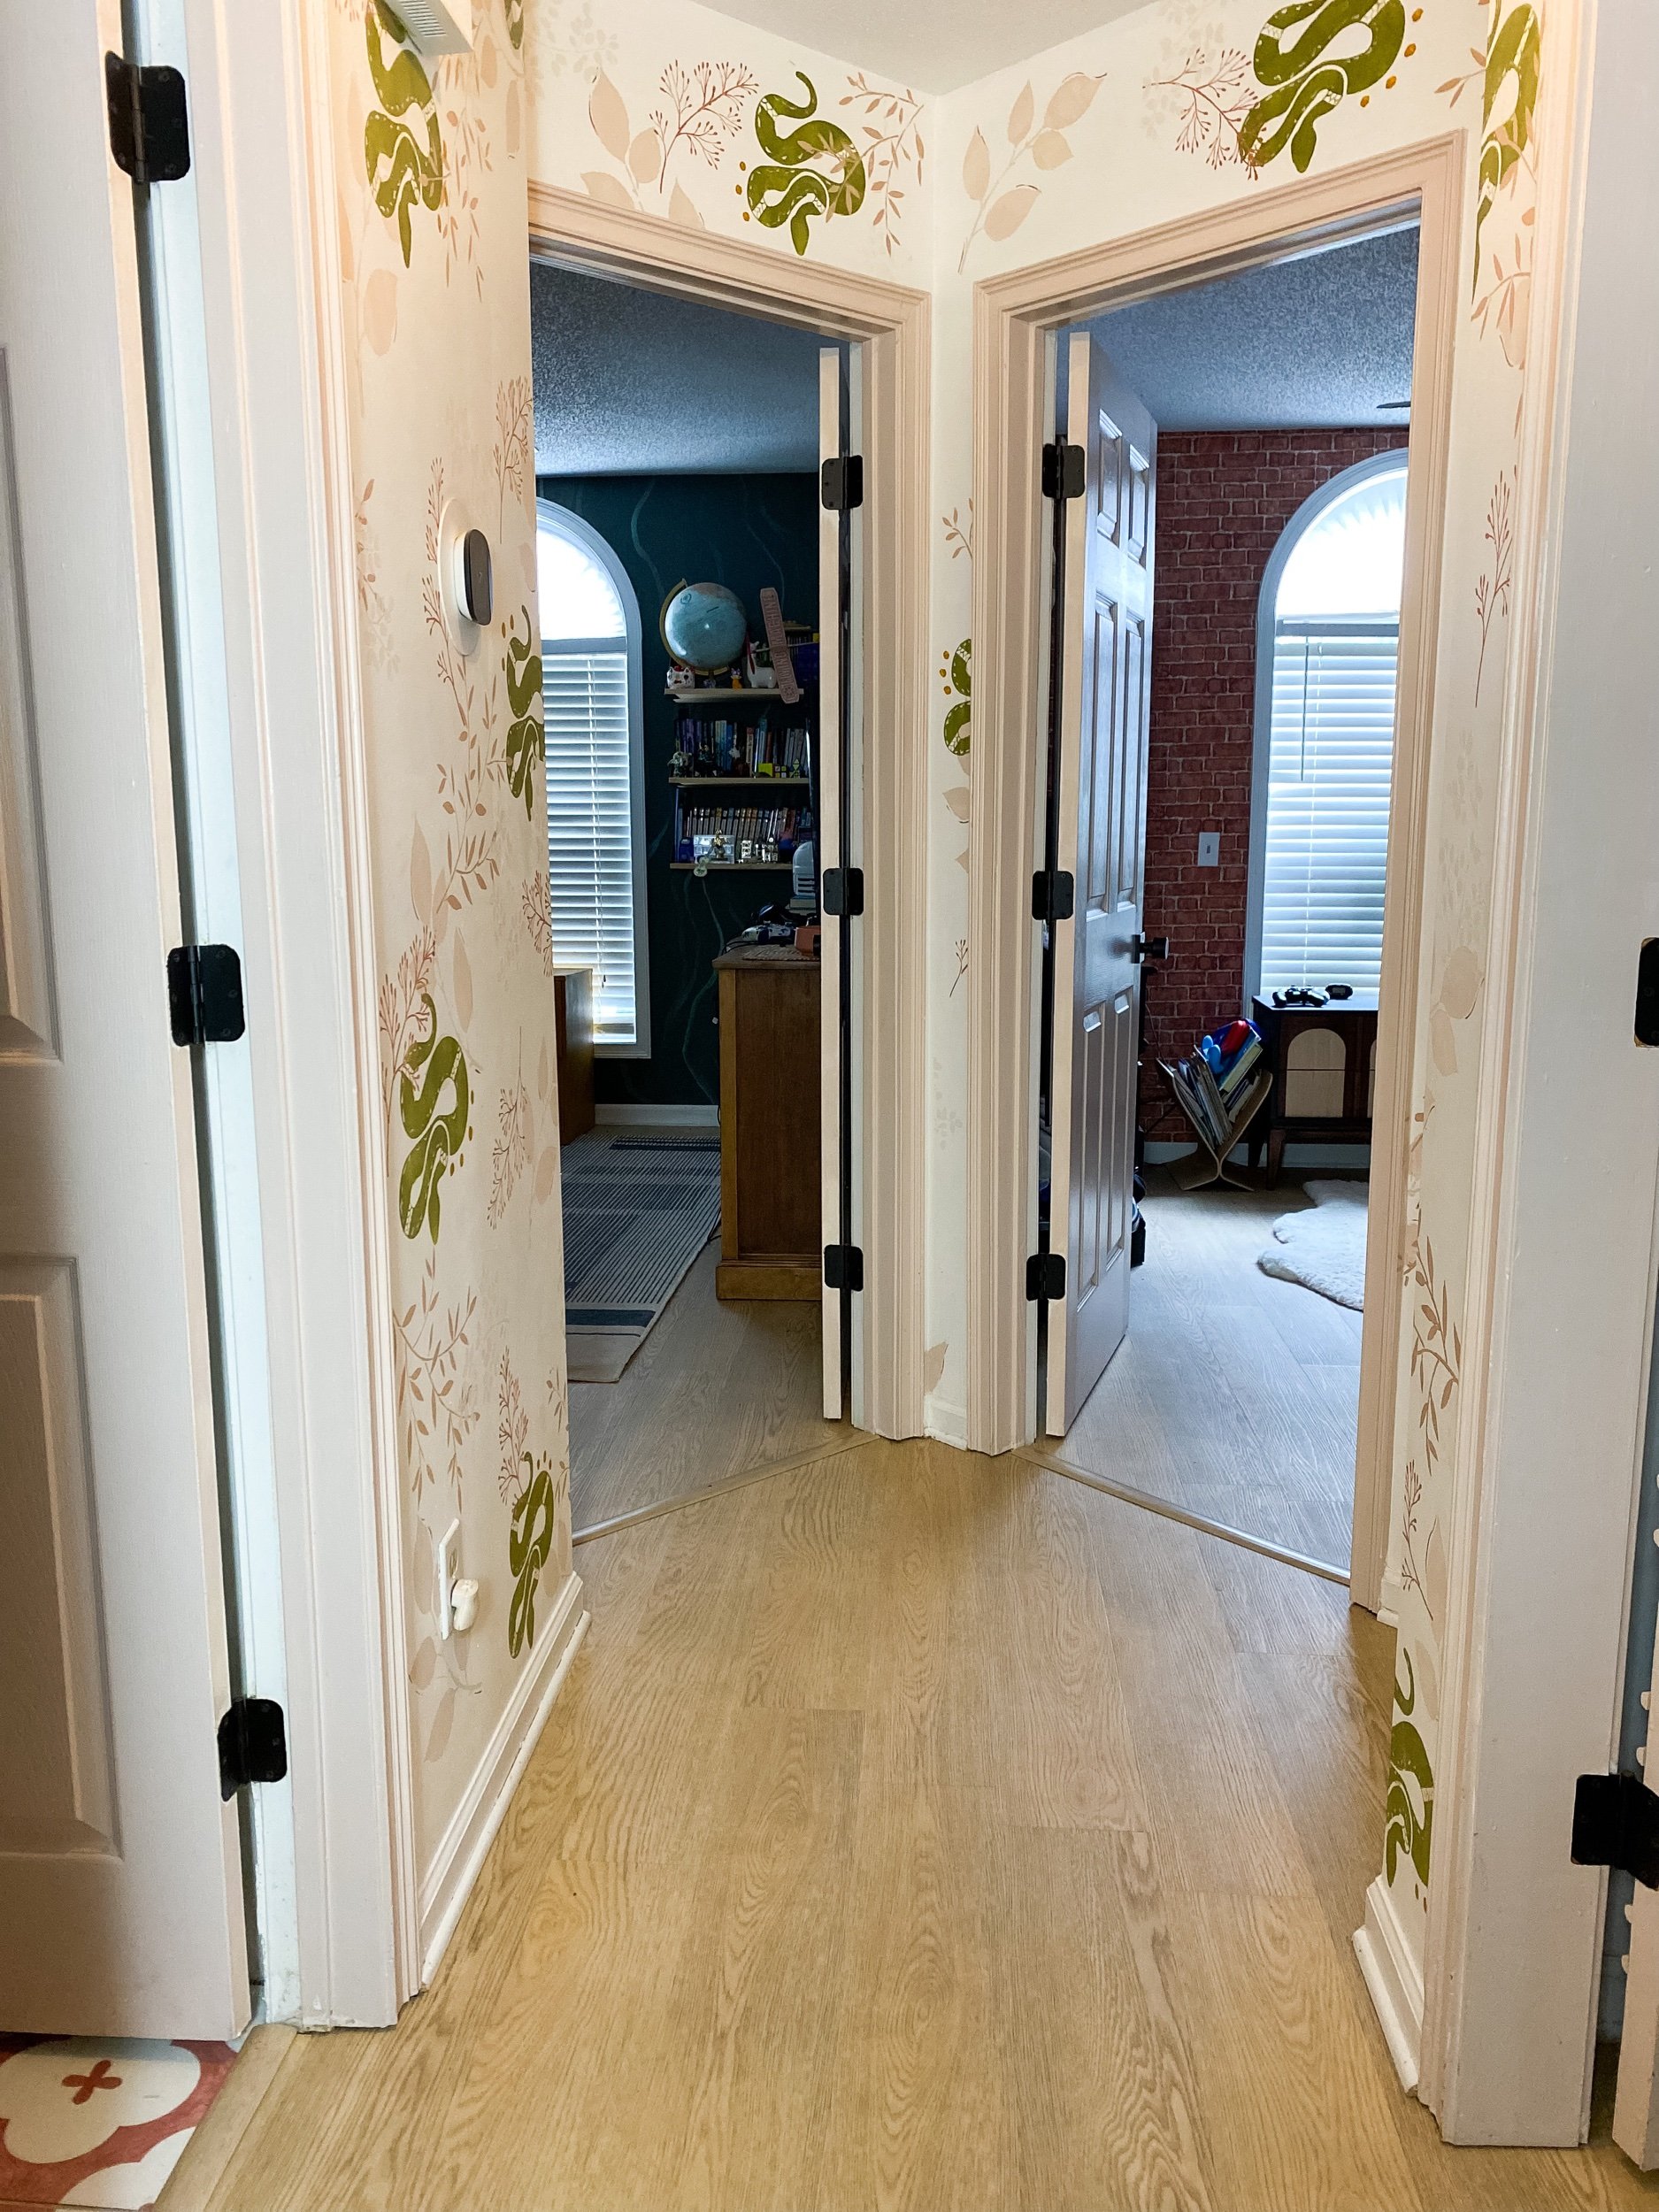
What else makes me ridiculously happy? The fact that all the rooms in the house (minus the bathrooms) now have cohesive flooring. I’ve been on a mission this year to make my open concept space more visually cohesive and this made the biggest difference so far. The flow from room to room now is gorgeous and natural instead of disjointed.
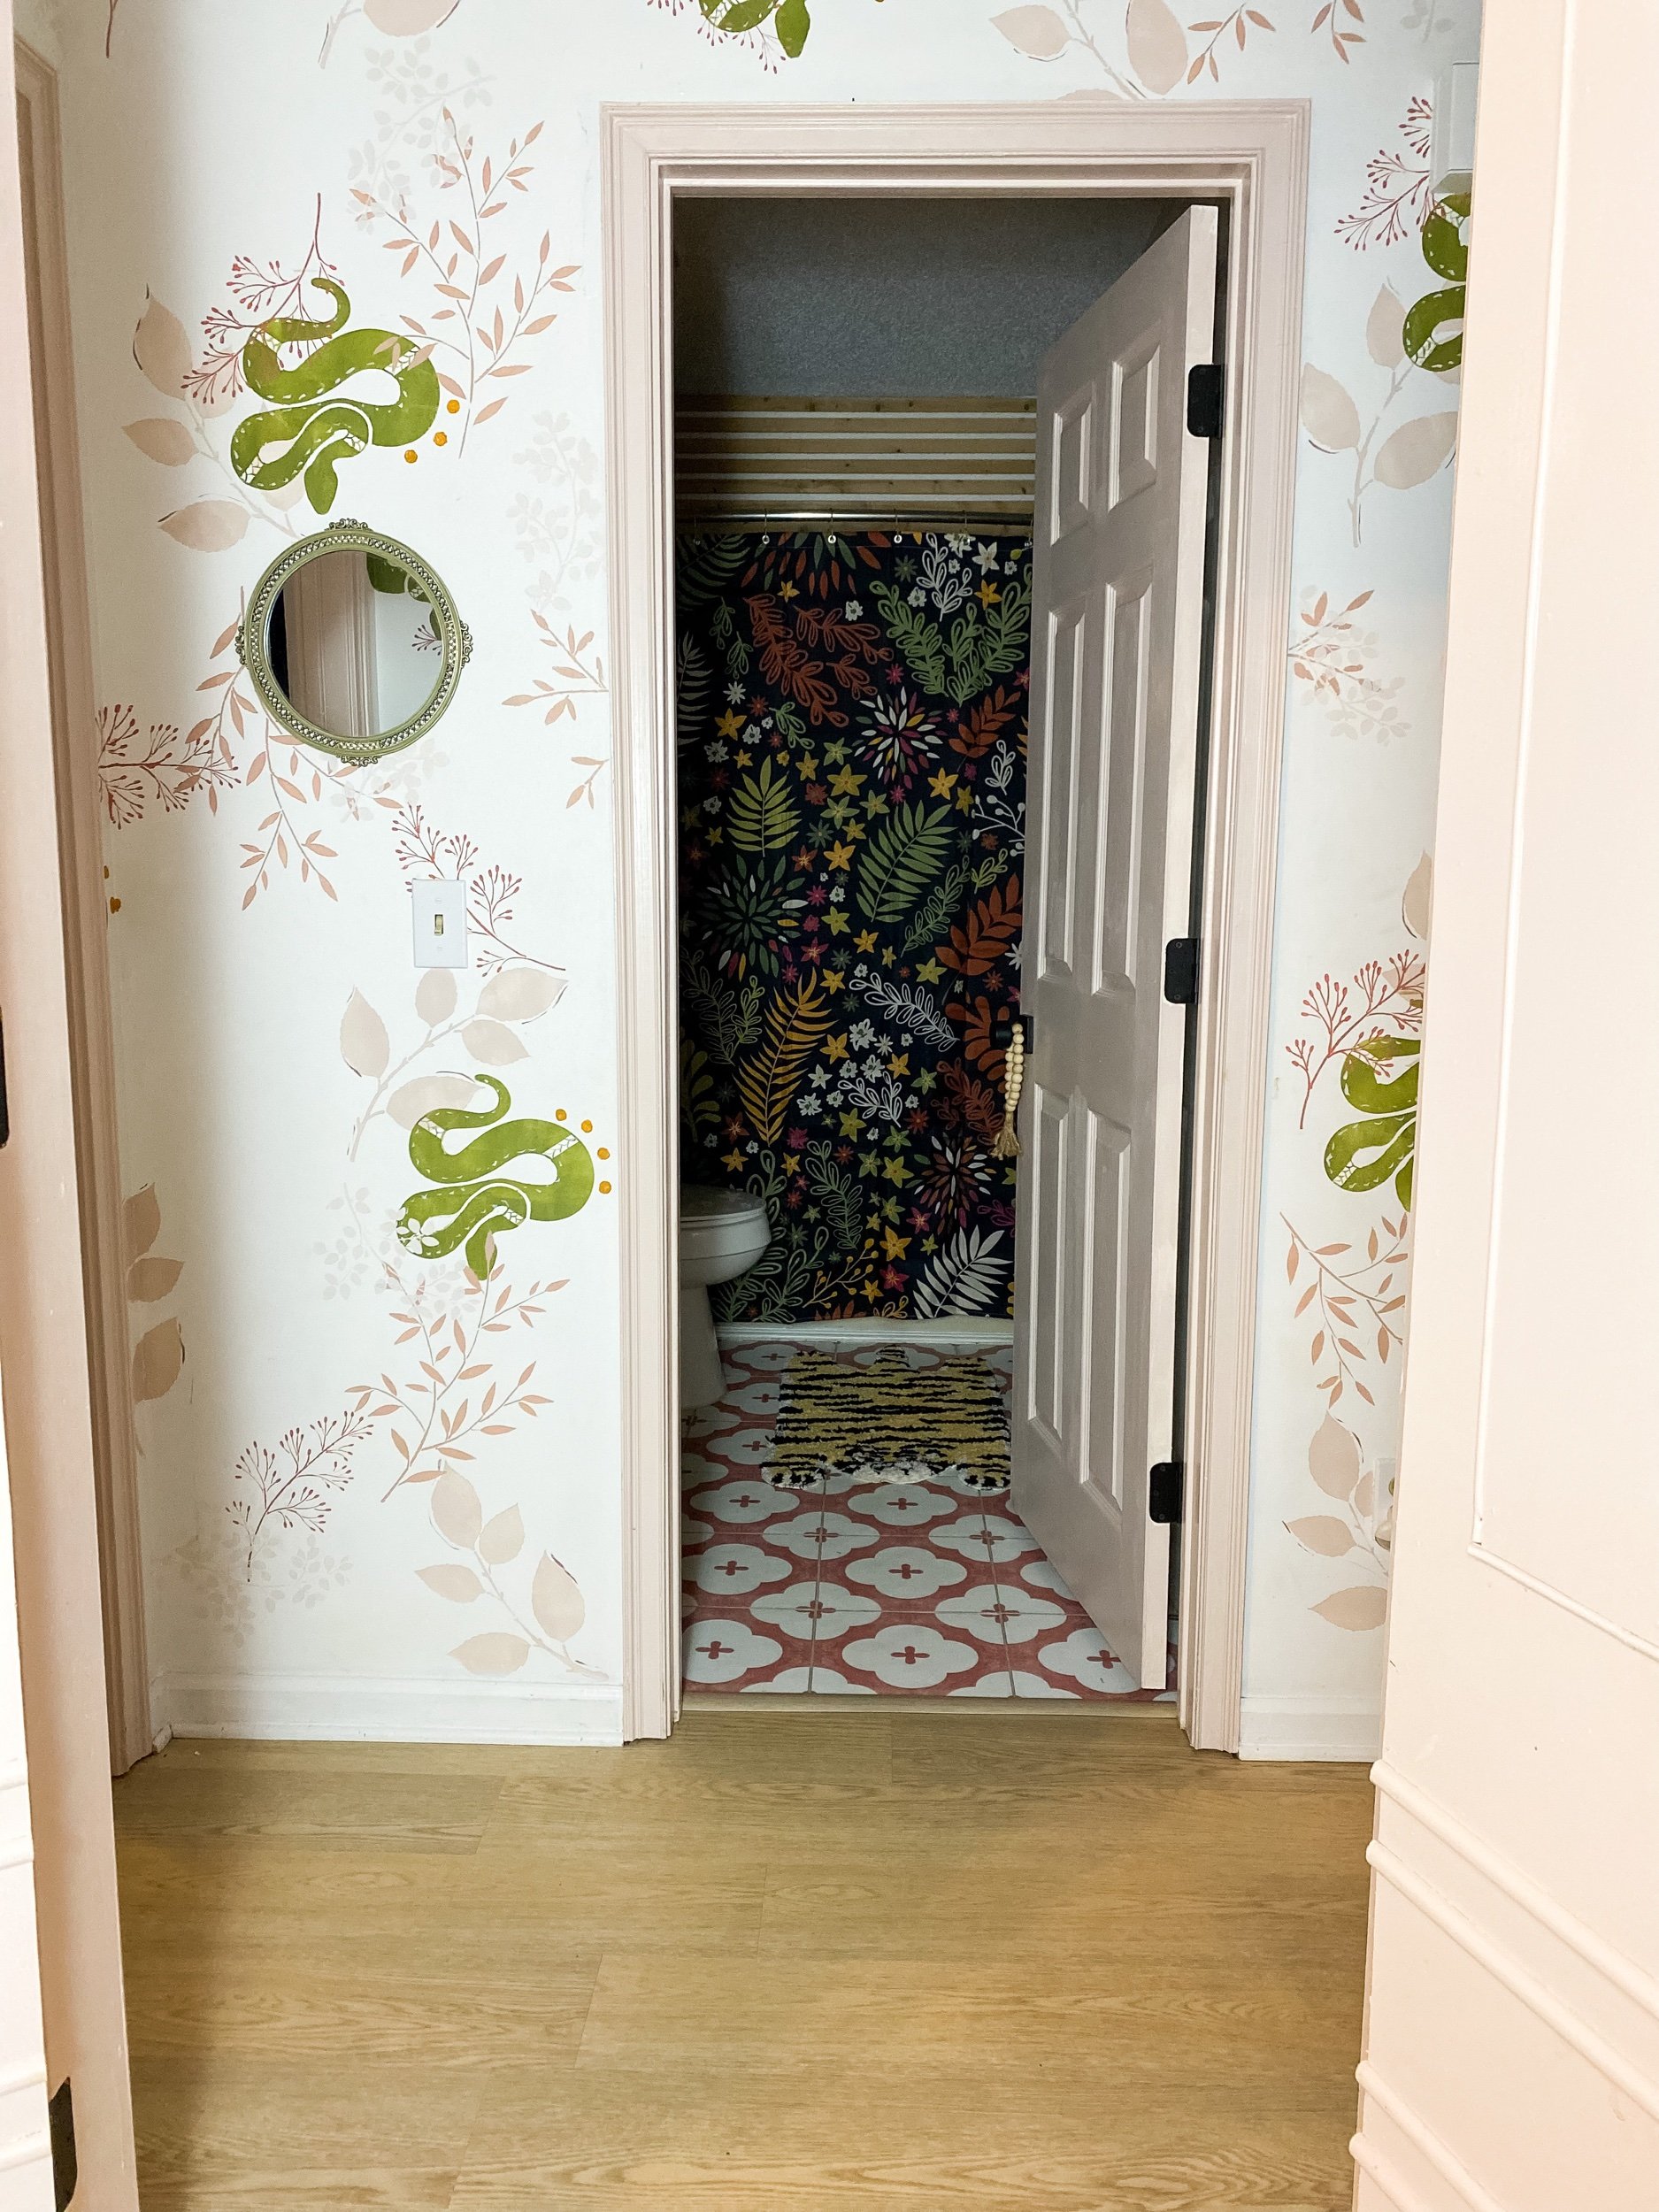
I added 3-n-1 transitions to each bedroom to serve as an added noise barrier. This isn’t necessary but I feel like it helps with light coming under the doors too. I added them to each bathroom as well to transition to the tile flooring.
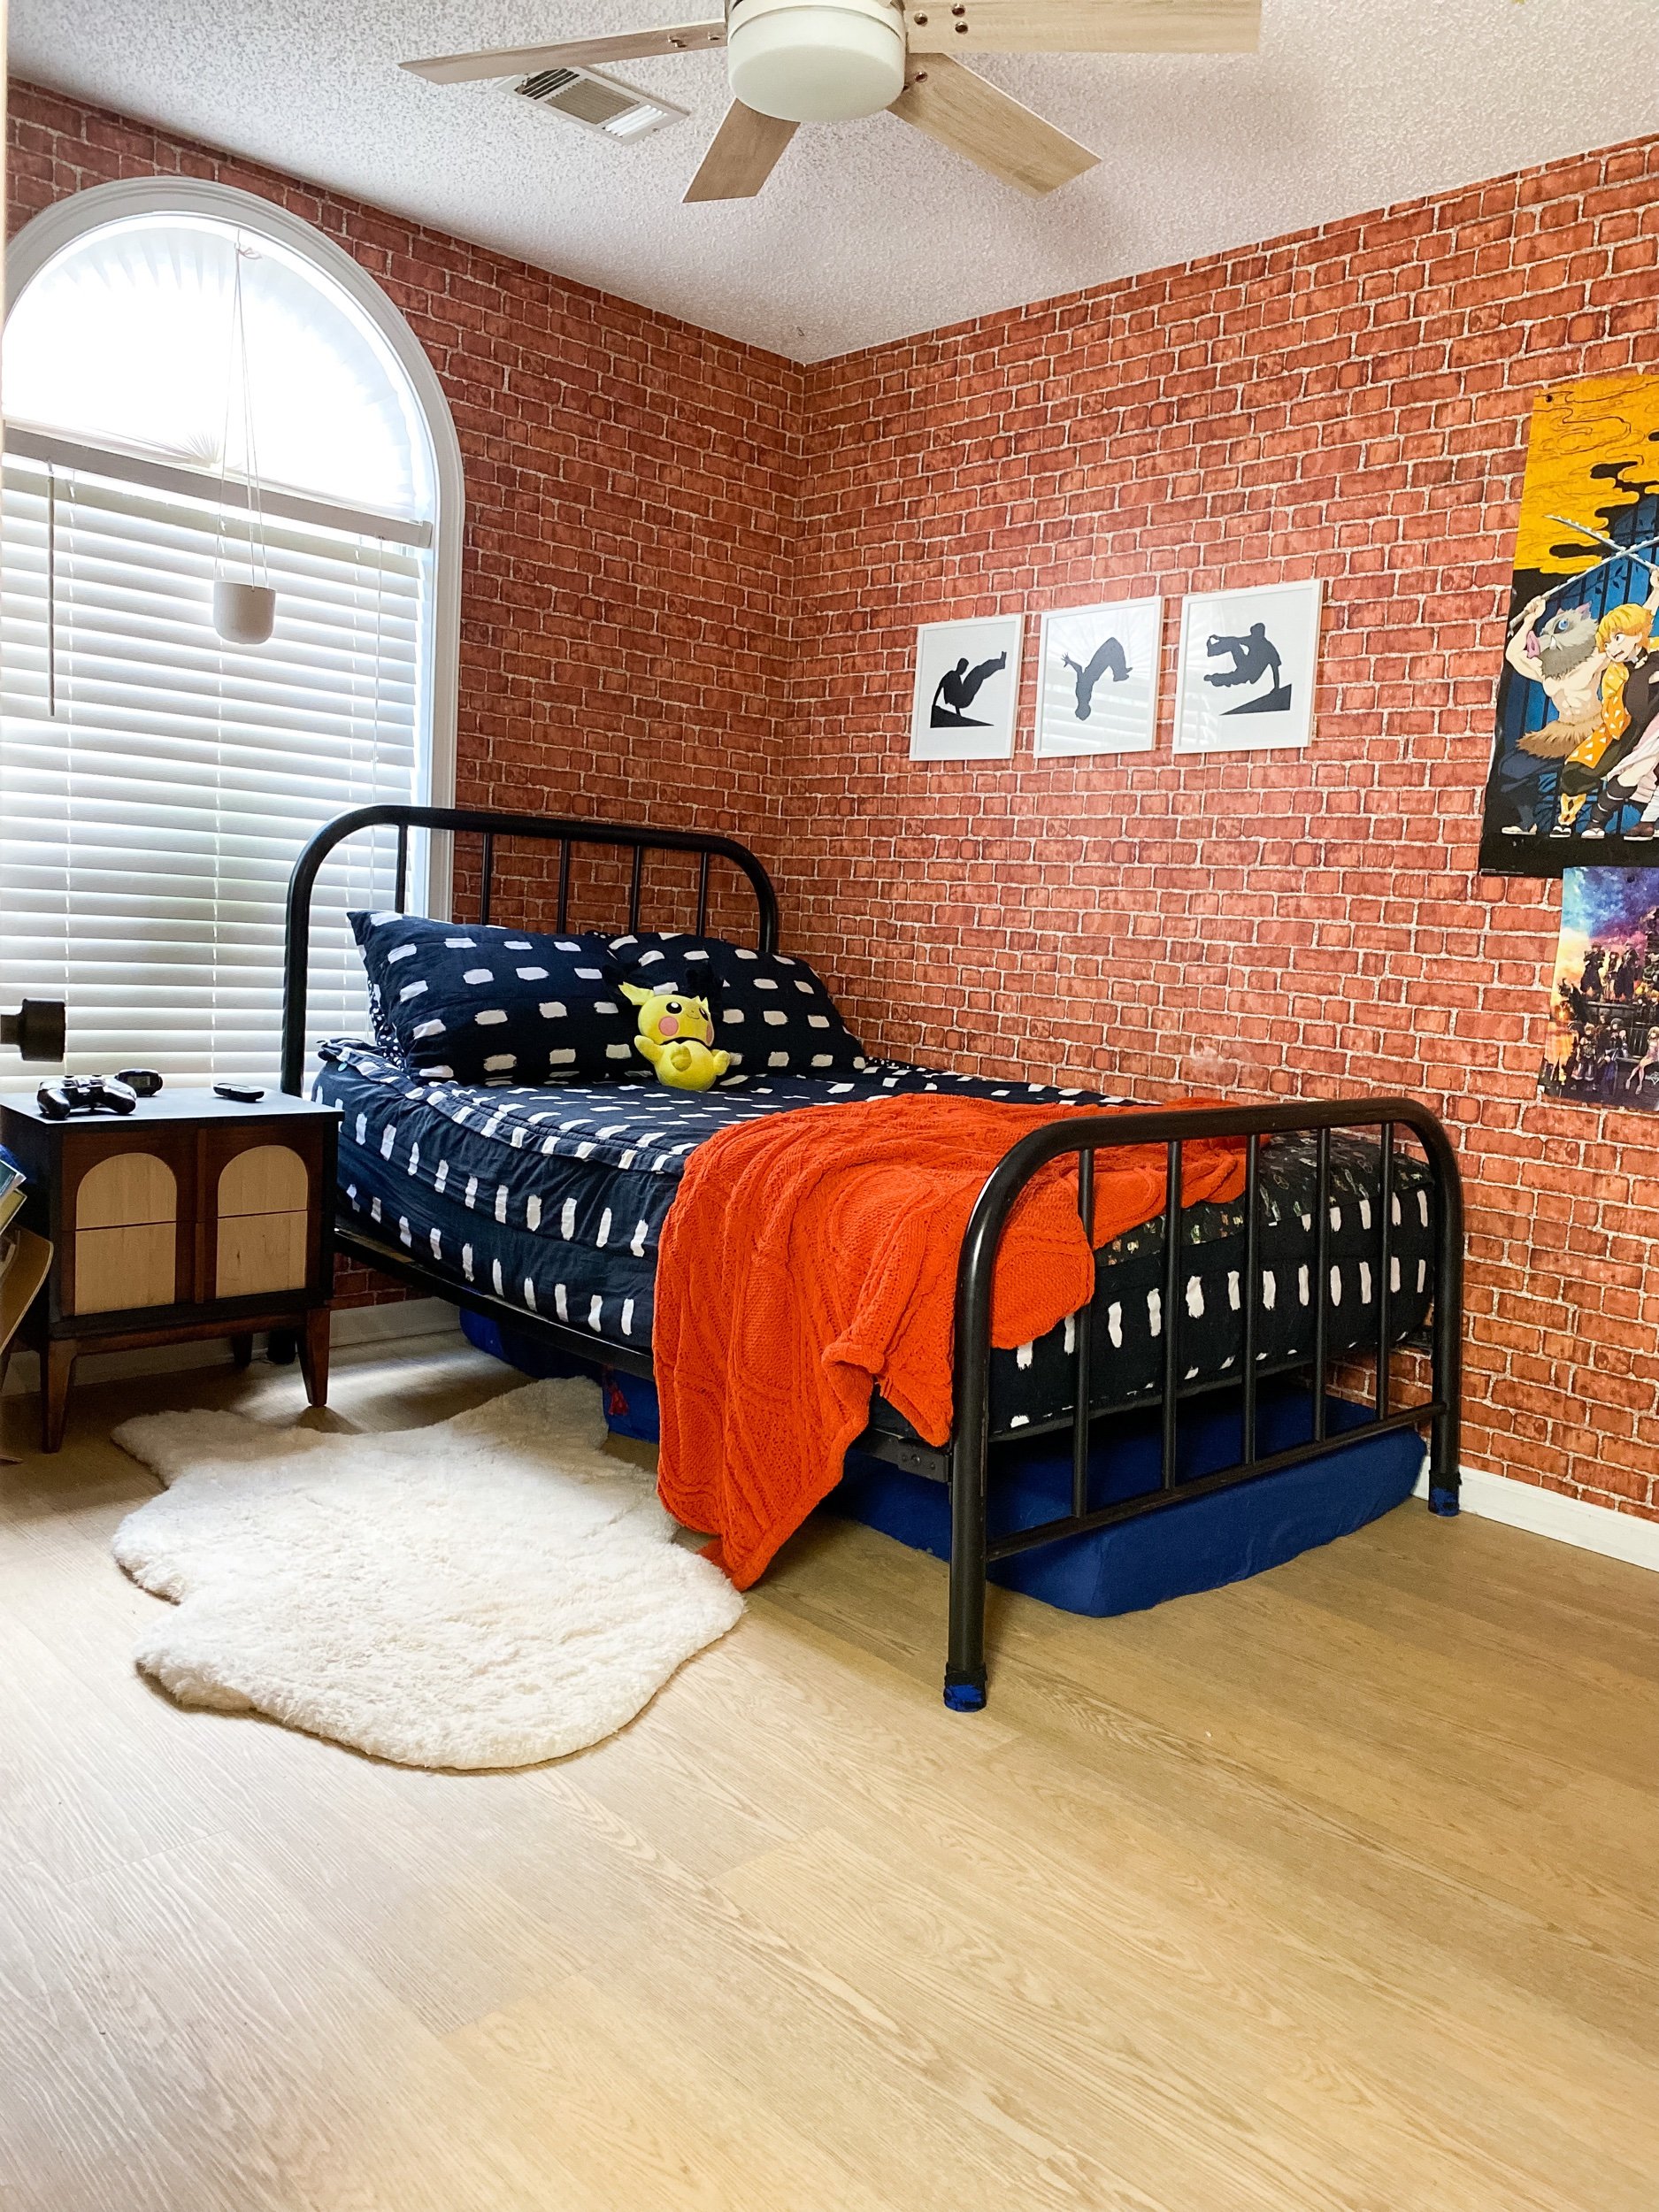
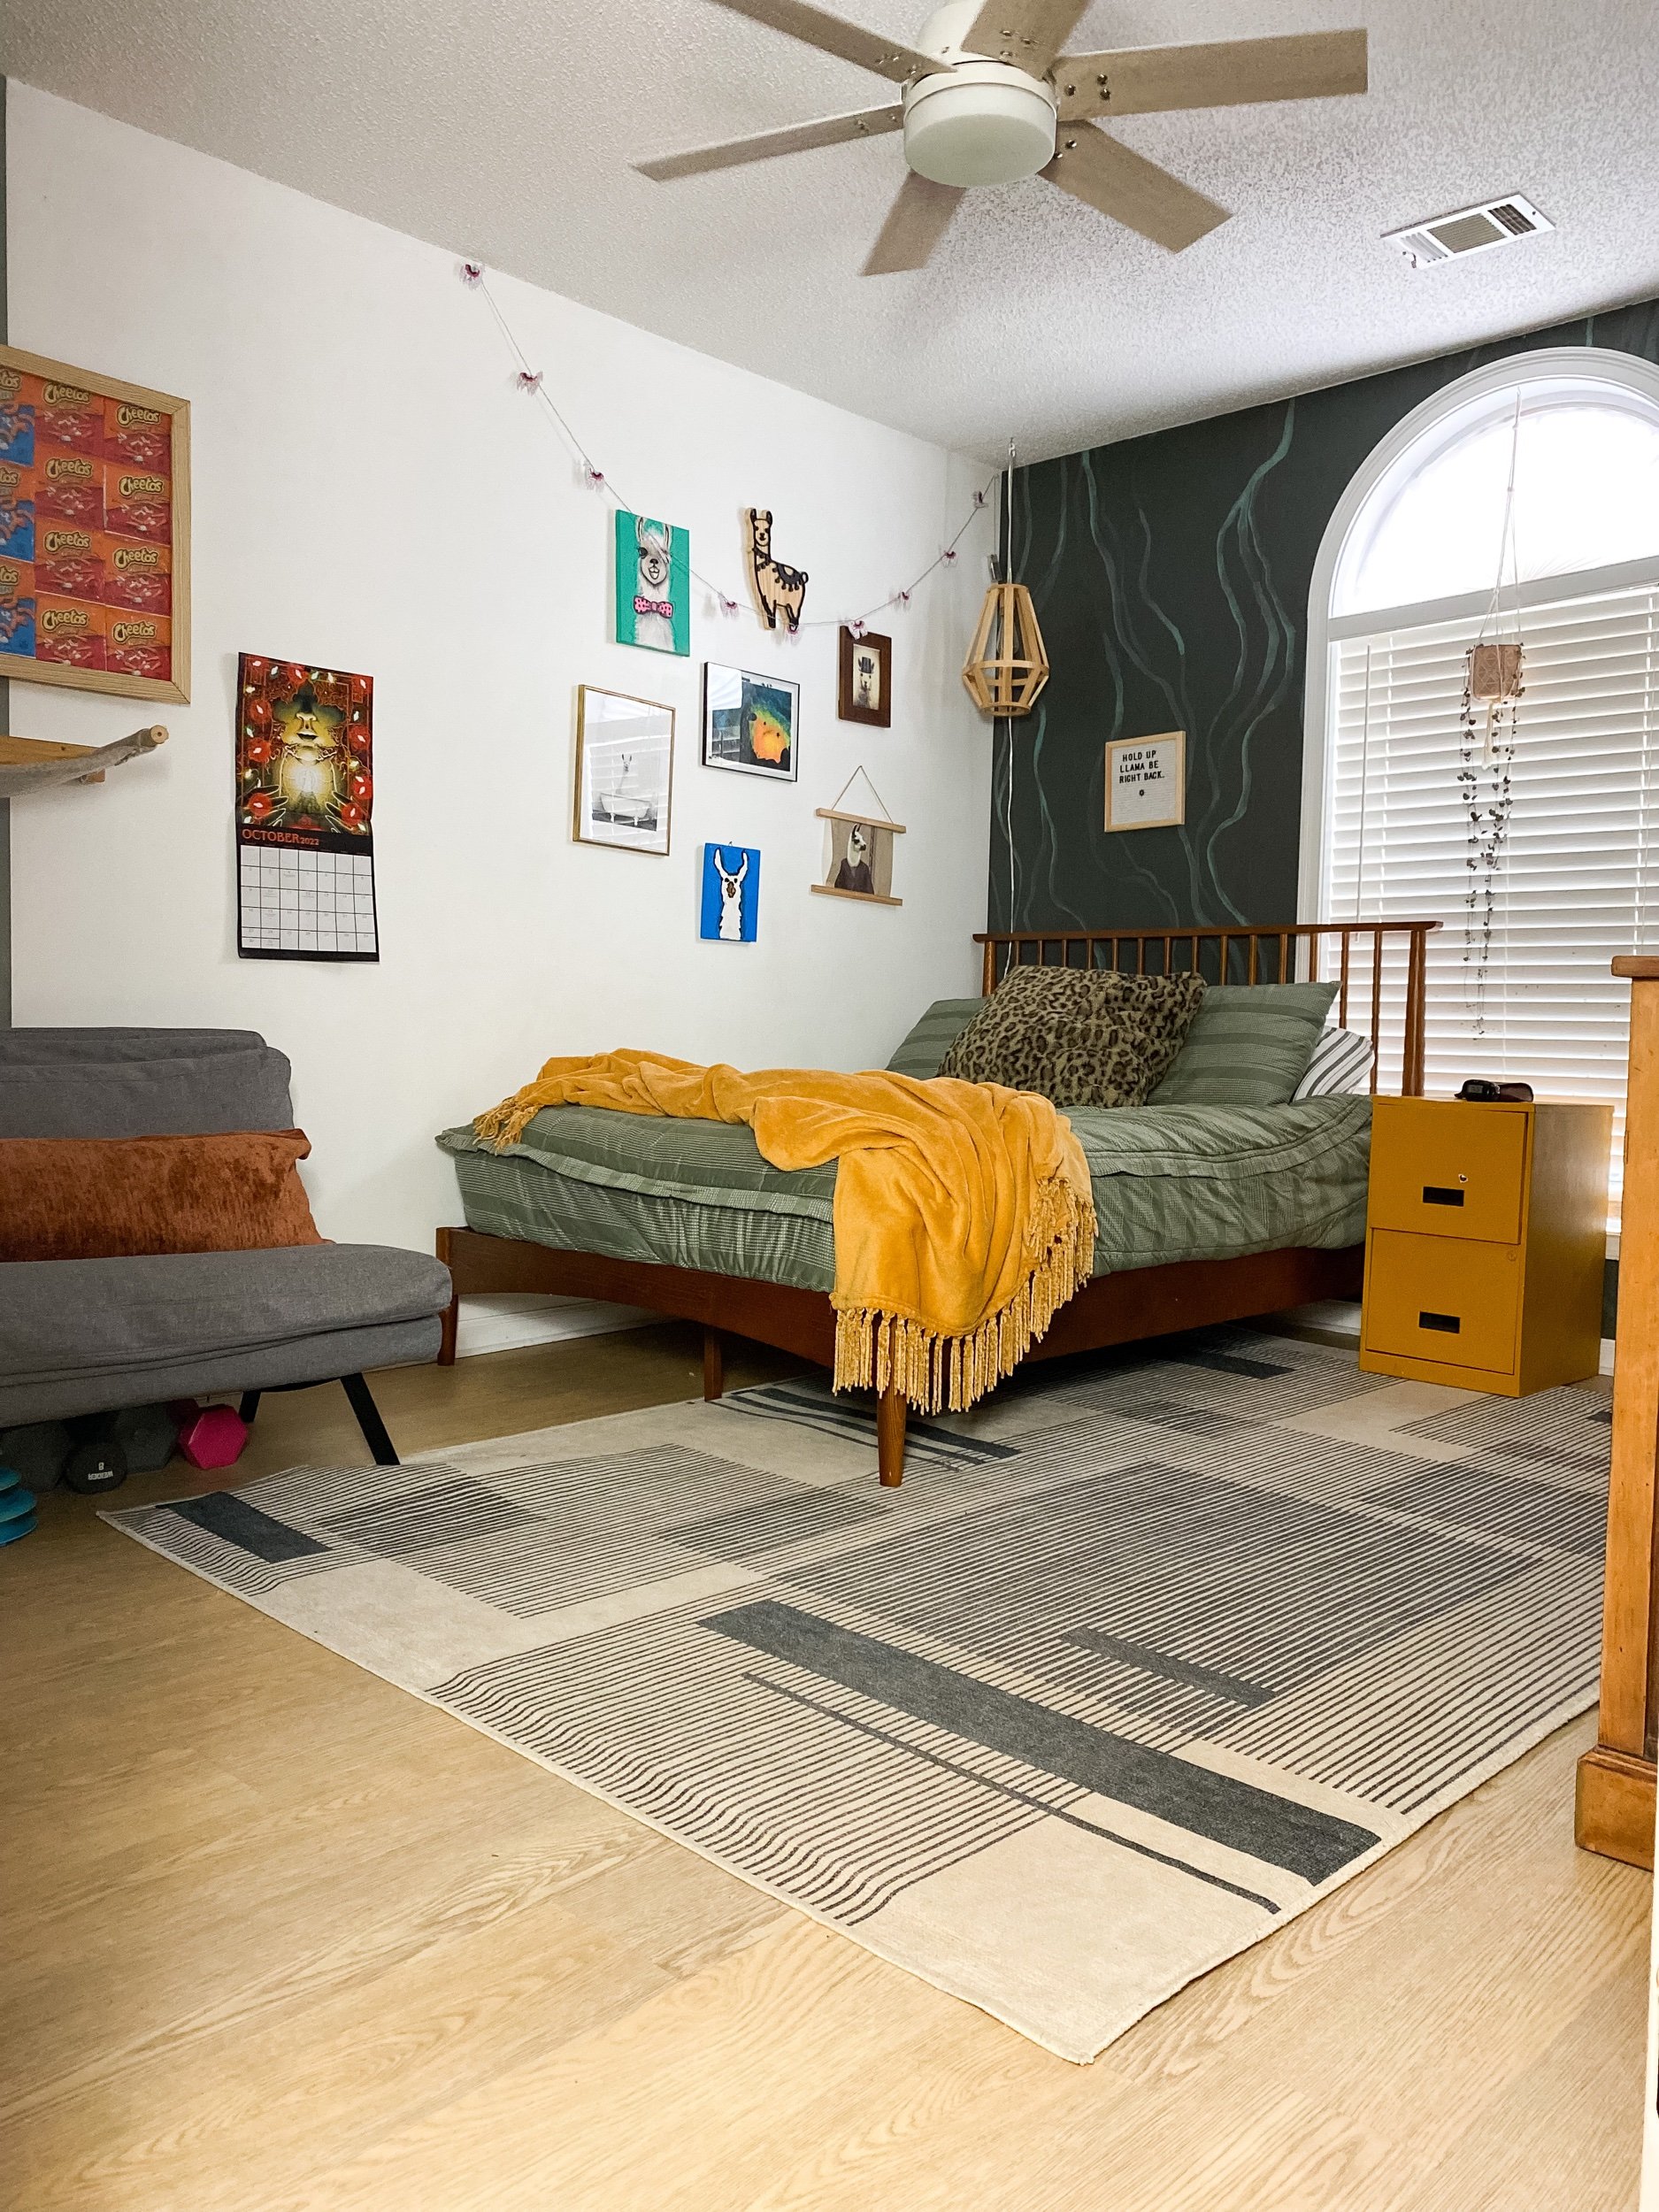


These planks feel completely different underfoot than the flooring that we previously had. Before, the floors were slick and my dogs’ nails clacked so loudly. The Dura Decor planks feel softer, and textured which helps with grip for us and for the pups and their clacking isn’t near as loud. And another great thing? I barely see the dog hair now thanks to the lighter tone of the flooring.
Things that were easier than I thought they would be:
Cutting the planks- it was a breeze as long as the blade was sharp.
The click and lock system was self explanatory and was easy to get the hang of.
The main area install went much faster than I anticipated
Things I struggled with:
I banged my hand with the mallet a couple times. User error 😅
The trickier cuts around doorways took me a few tries.
Installing in the tighter spaces and with all the angles forced me to work backwards a couple times. Not impossible but not the most fun.
This is a WORK OUT. Make sure you stretch.
I’m so so pleased with how the floors look and feel and am beyond proud of myself for tackling this entire house almost completely by myself. If I can do it- YOU CAN DO IT. And if you’re looking to update your flooring, I can’t recommend Dura Decor enough.
Make sure to check out my Instagram to see some demo and install fun and the reveal videos!