
One Room Challenge: Week 6 – Wallpaper Wins/Woes & Trim Triumphs
*This post contains affiliate links. Any clicks are so appreciated*
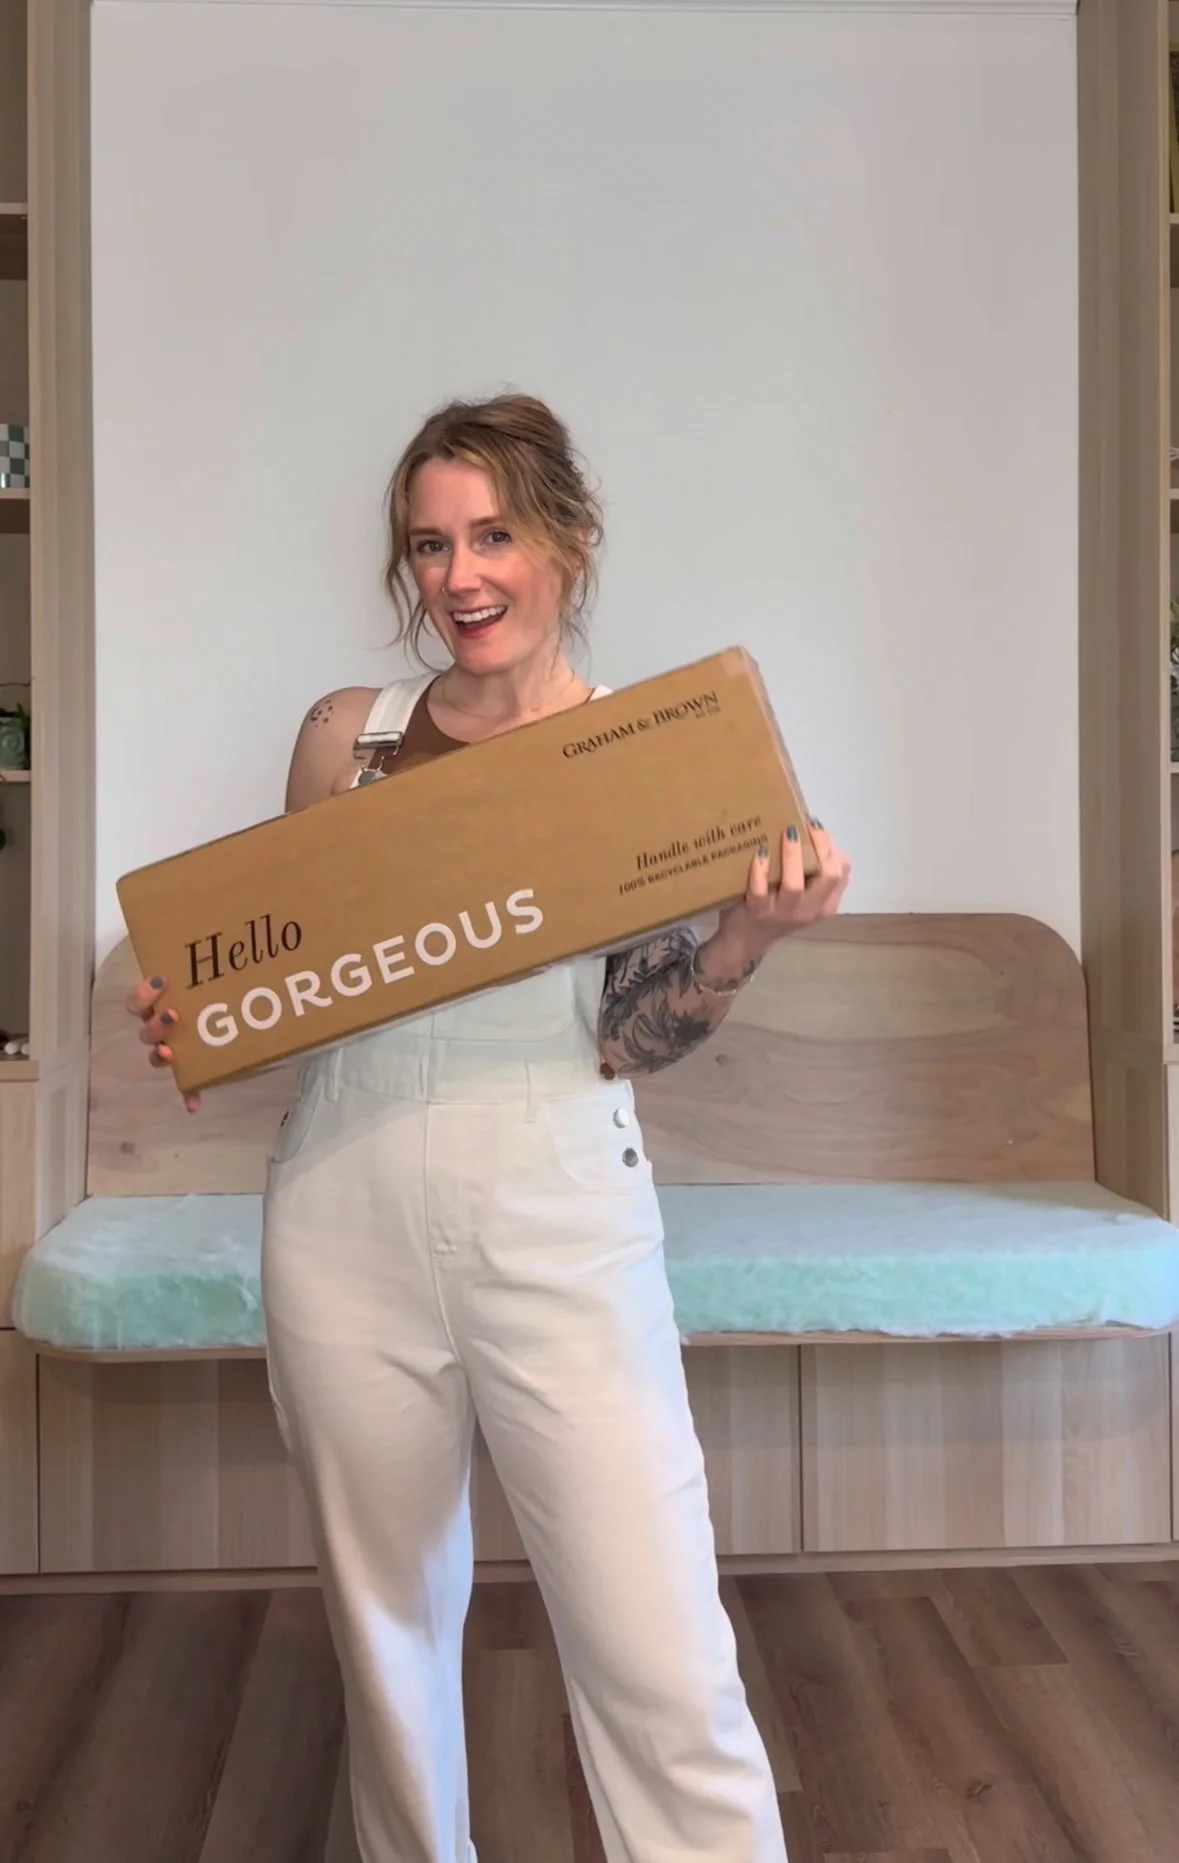
We’ve officially made it to Week 6 of the One Room Challenge x Apartment Therapy and this week things finally started looking finished—or at least headed in that direction. The big focus? Wallpaper. And not just any wallpaper—William Morris’ “Strawberry Thief” in Rich Green from Graham & Brown.
If you need to catch up on previous weeks you can click here.
And to check out all of the other One Room Challenge projects click here.

Wallpaper Drama (Because of Course)
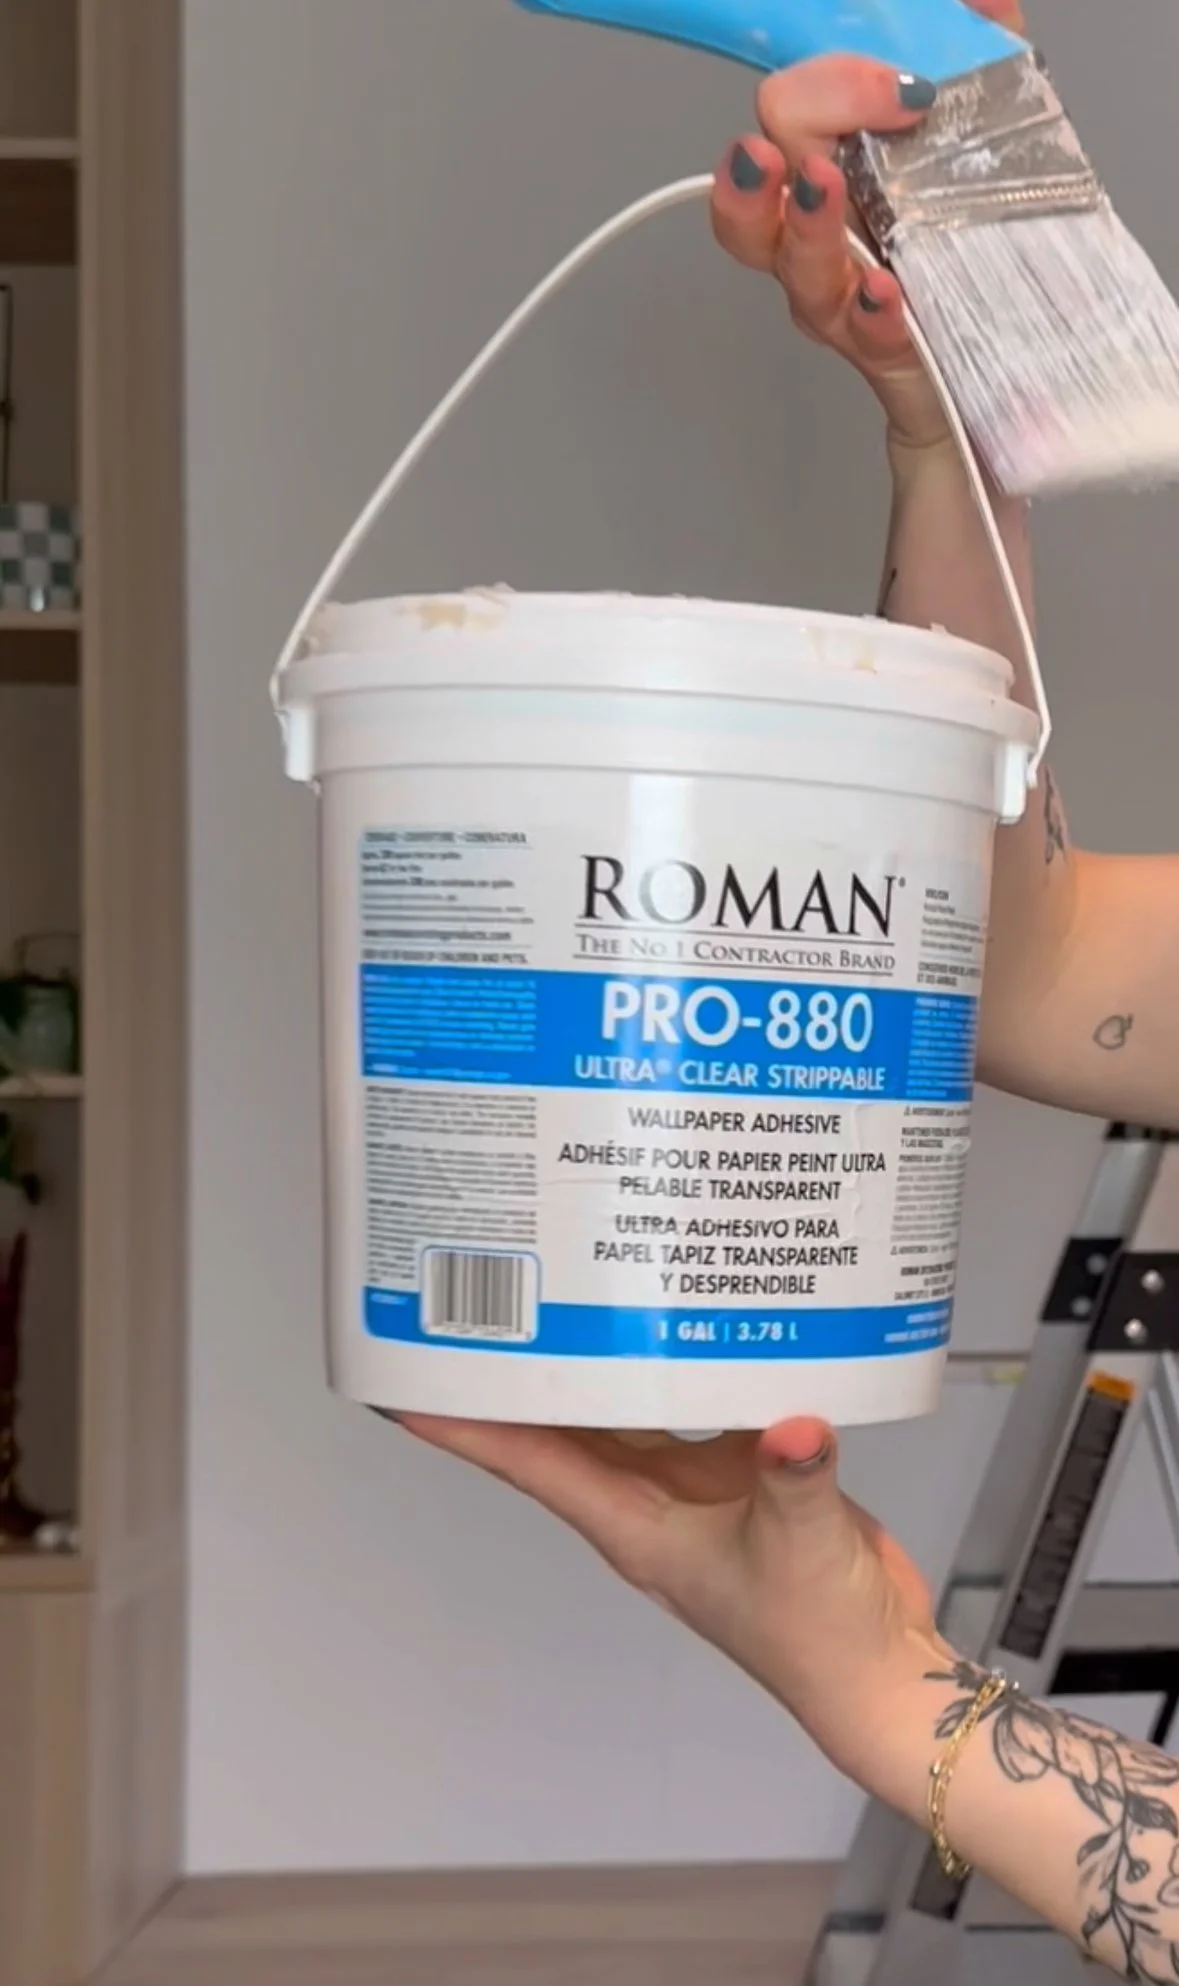
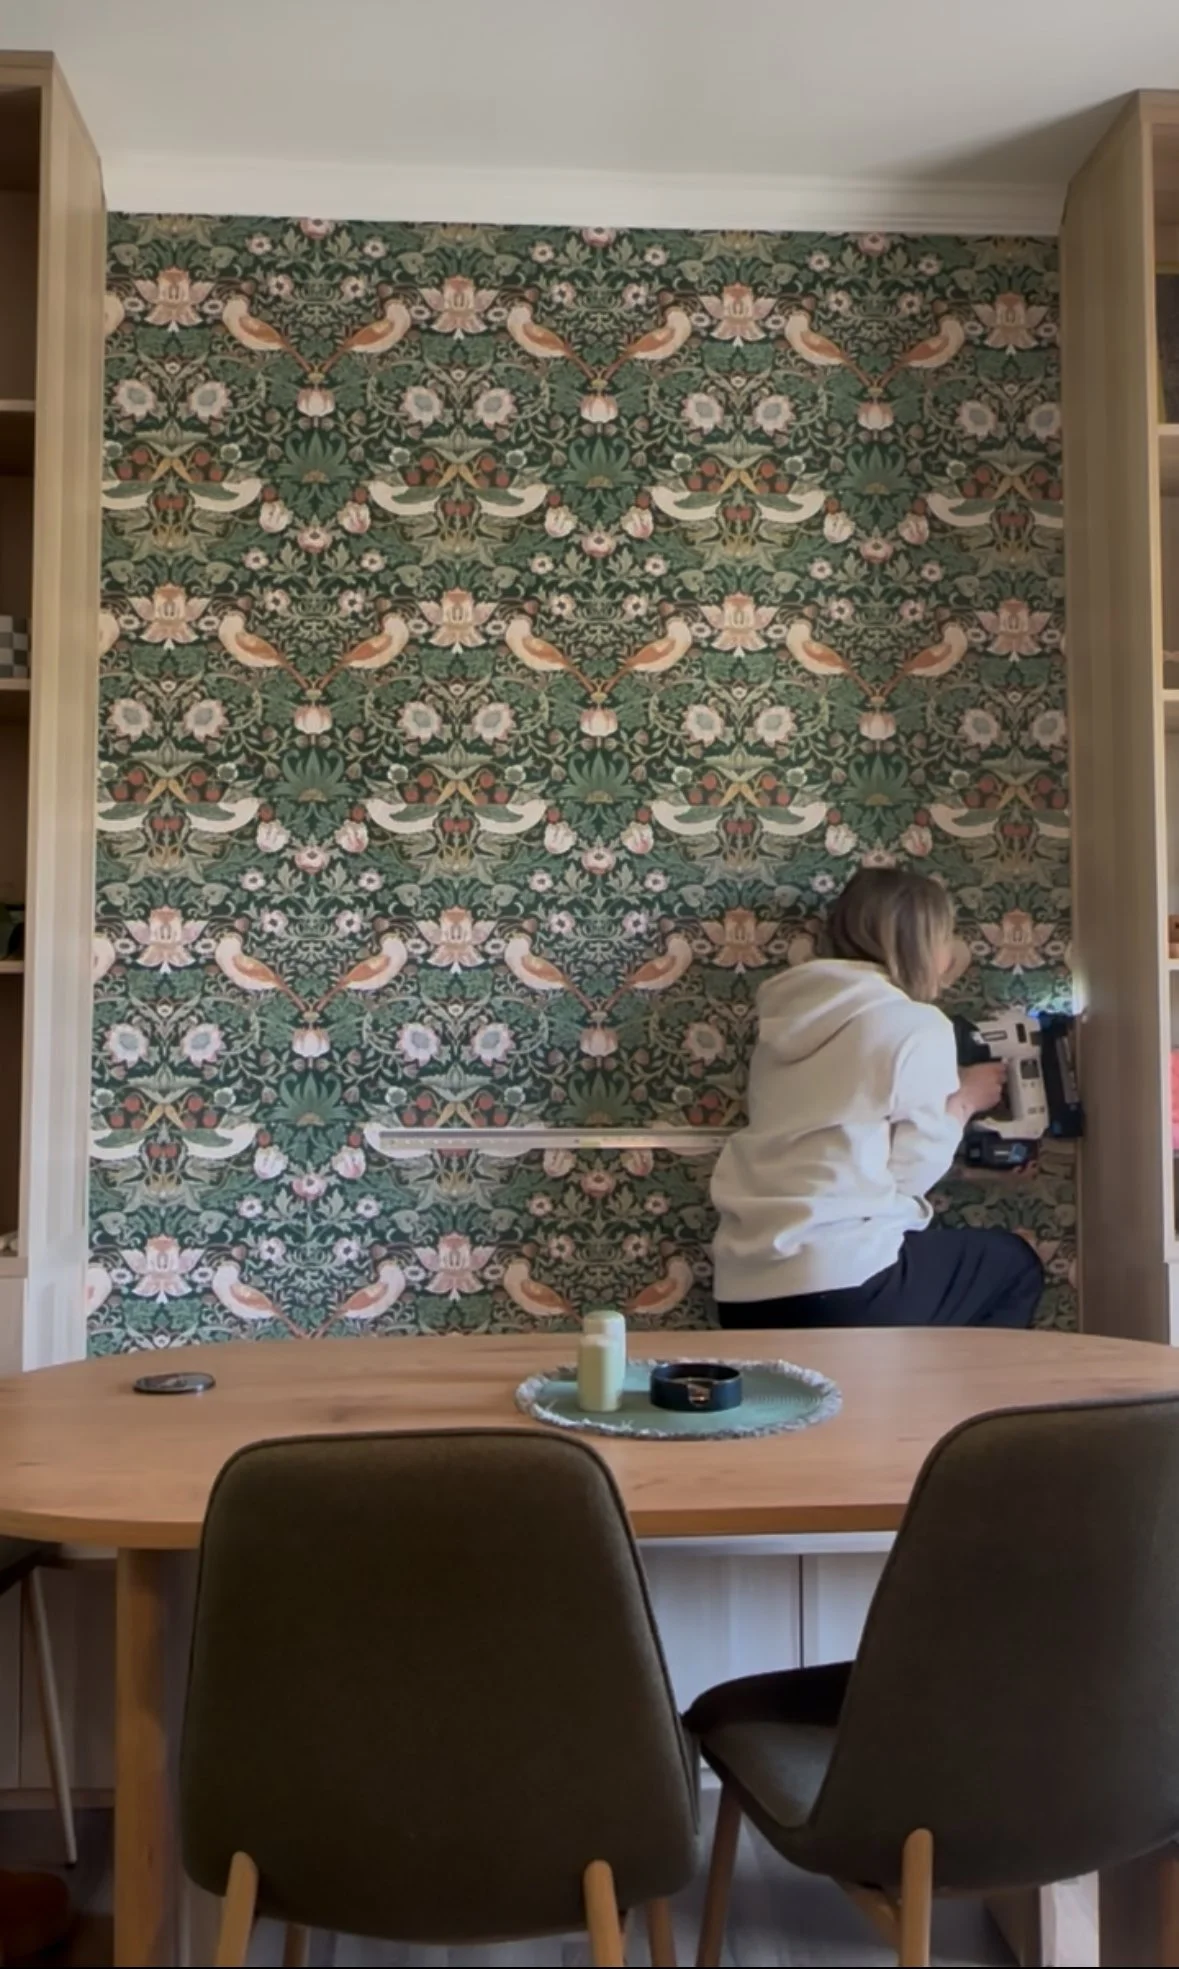
This wallpaper is a traditional paste-the-wall style, and I used my go to- Roman Pro 880 strippable wallpaper paste to make it anxiety-friendly and easy to take down if I ever want to change it. It’s going above the bench, nestled between my two IKEA Besta shelves, and I knew from the start that the pattern needed to feel intentional in such a focal spot.
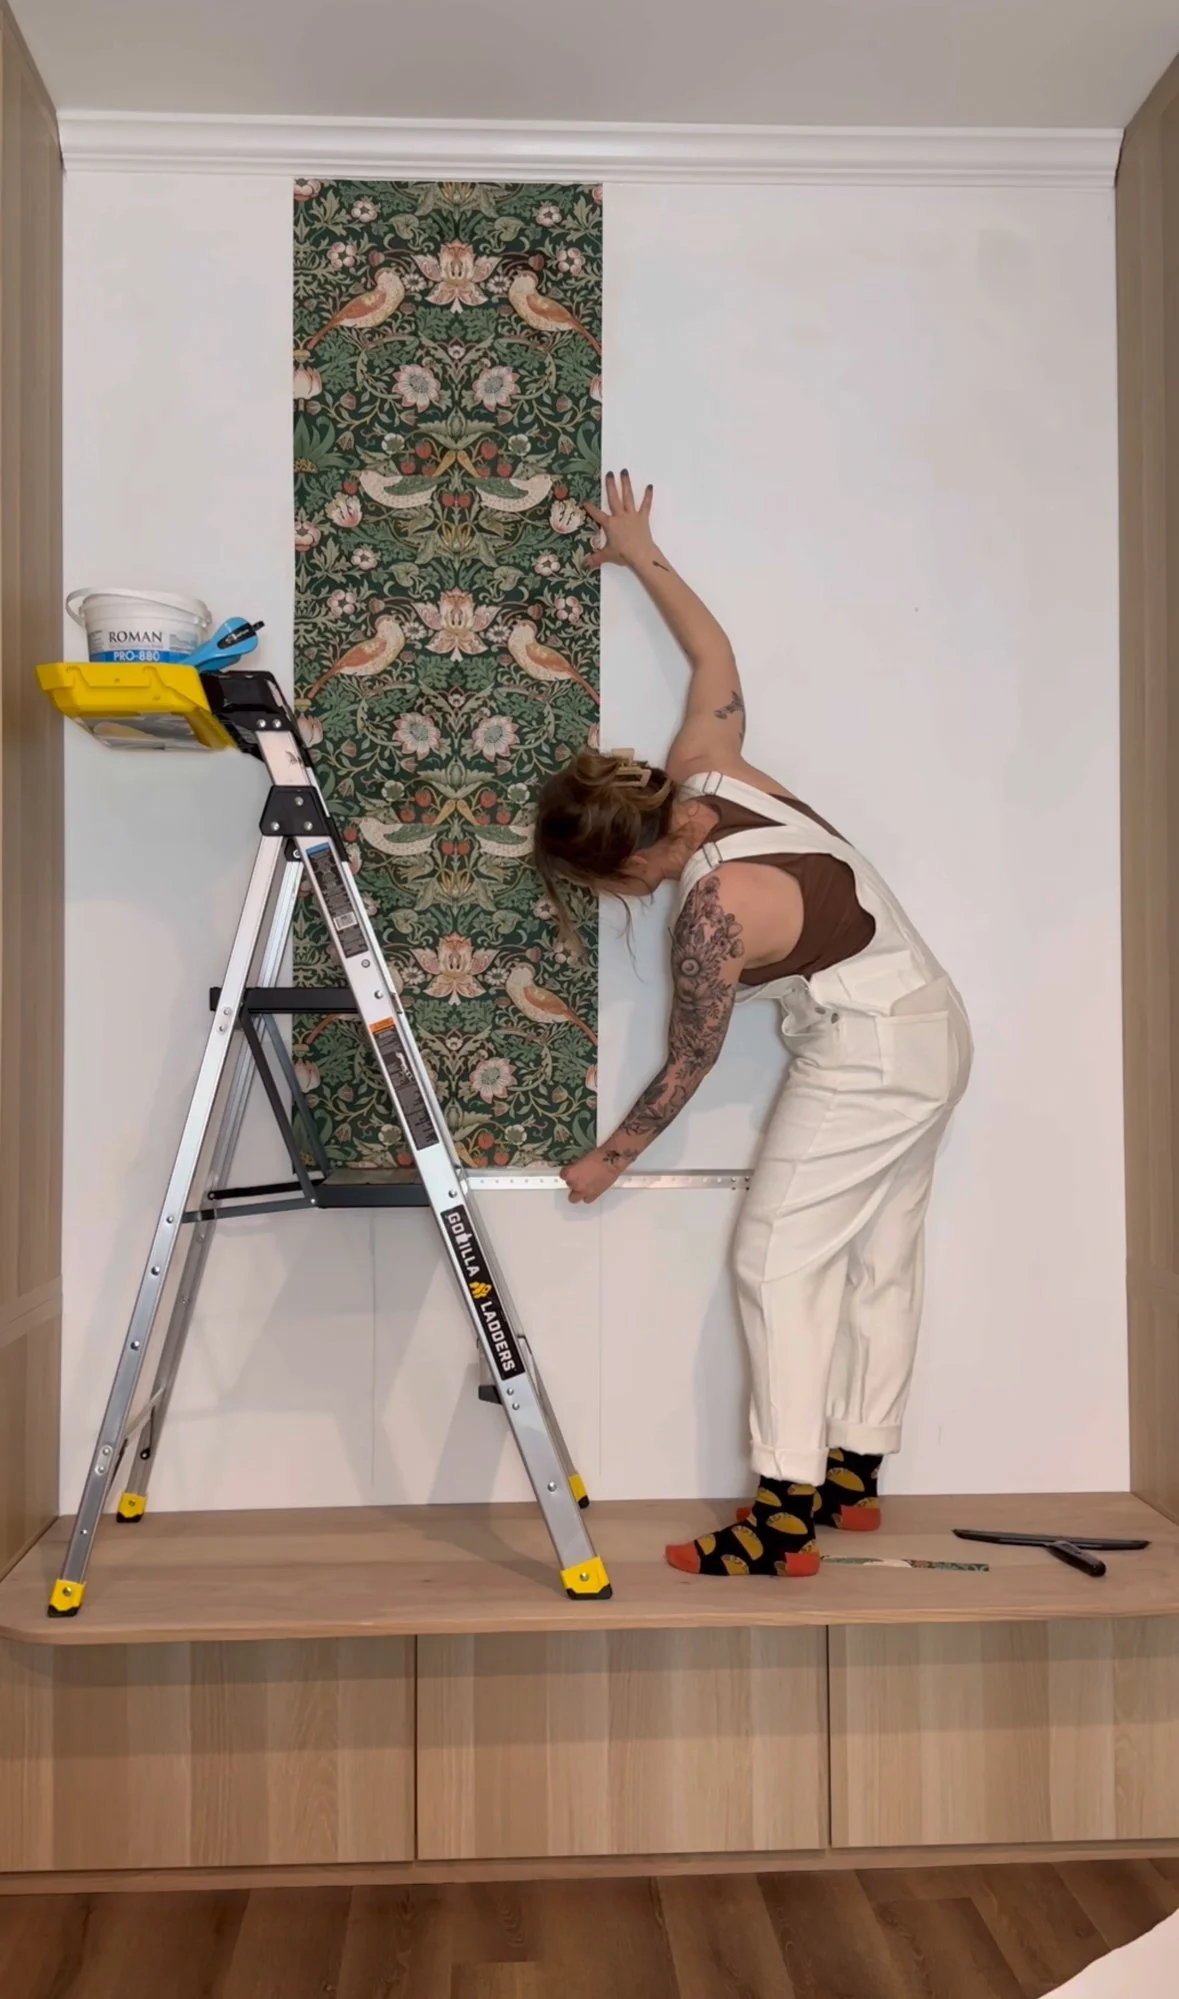
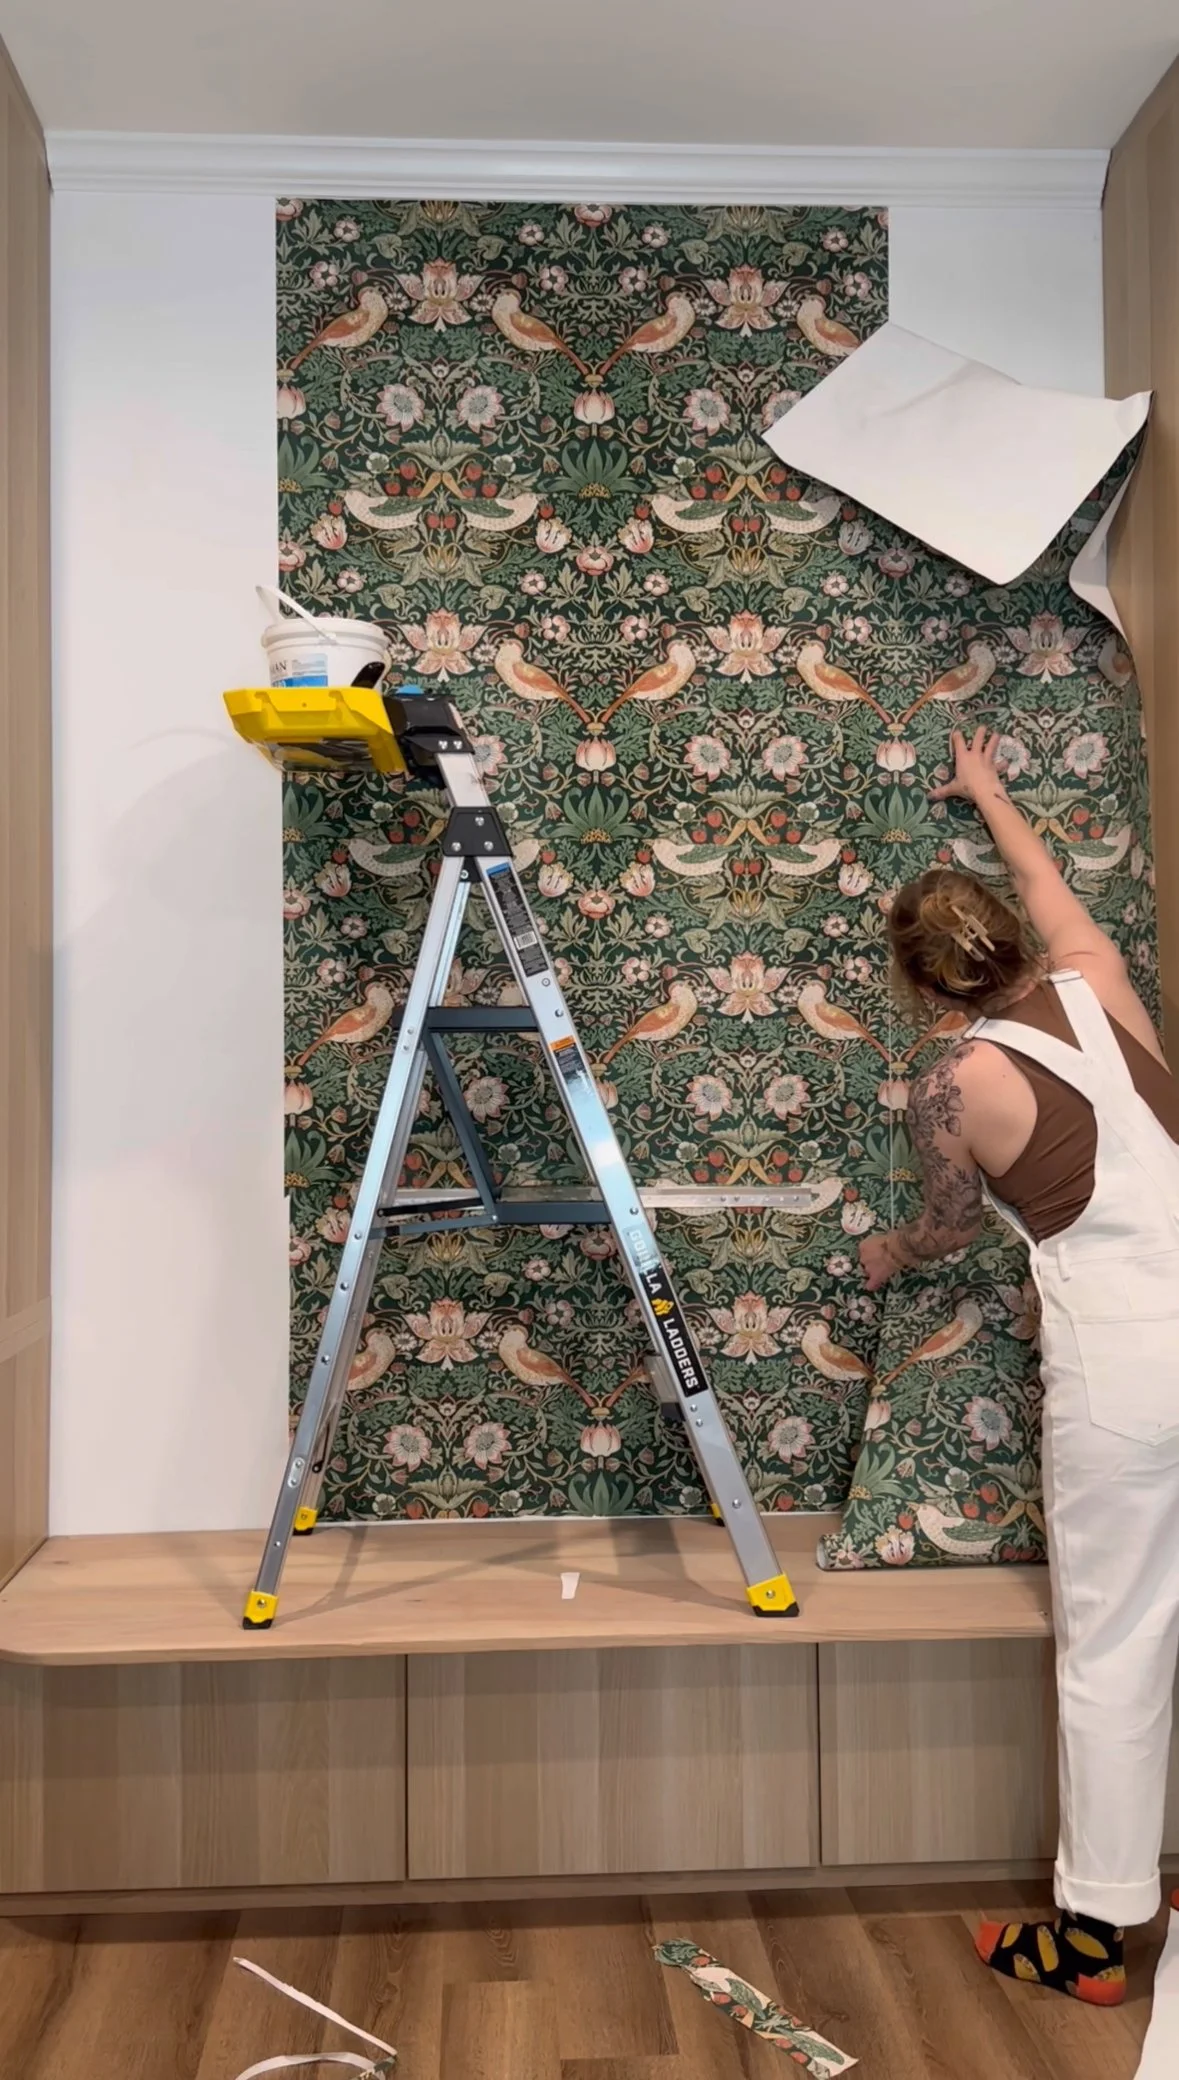
I’ve hung many a wallpaper and working with traditional wallpaper is so easy. It’s easy to apply and reposition so honestly it’s much more beginner friendly than peel and stick in my opinion. I started by doing what all wallpaper instructions tell you to do—draw a straight, level vertical line from the ceiling and line up your first panel. I’ve always started in a corner, just makes it easier to go from right to left in my brain. But after hanging the second panel, I took a step back and realized the pattern wasn’t centered between the shelves—but I hung one more panel because I tend to overthink and in the spirit of trying to overcome my overthinking, I just kept at it. But after that I knew— it was absolutely going to drive me nuts.
Cue the un-hanging.


the face of someone who knows they messed up.
I took all three panels down, found the true center of the space between the shelves, drew a fresh vertical line, and started again. Totally worth it. Centering the pattern made the entire wall feel balanced and deliberate, and I’m so glad I took the extra time (even if it meant reapplying glue and wrestling with wallpaper that really wanted to stick the first time).

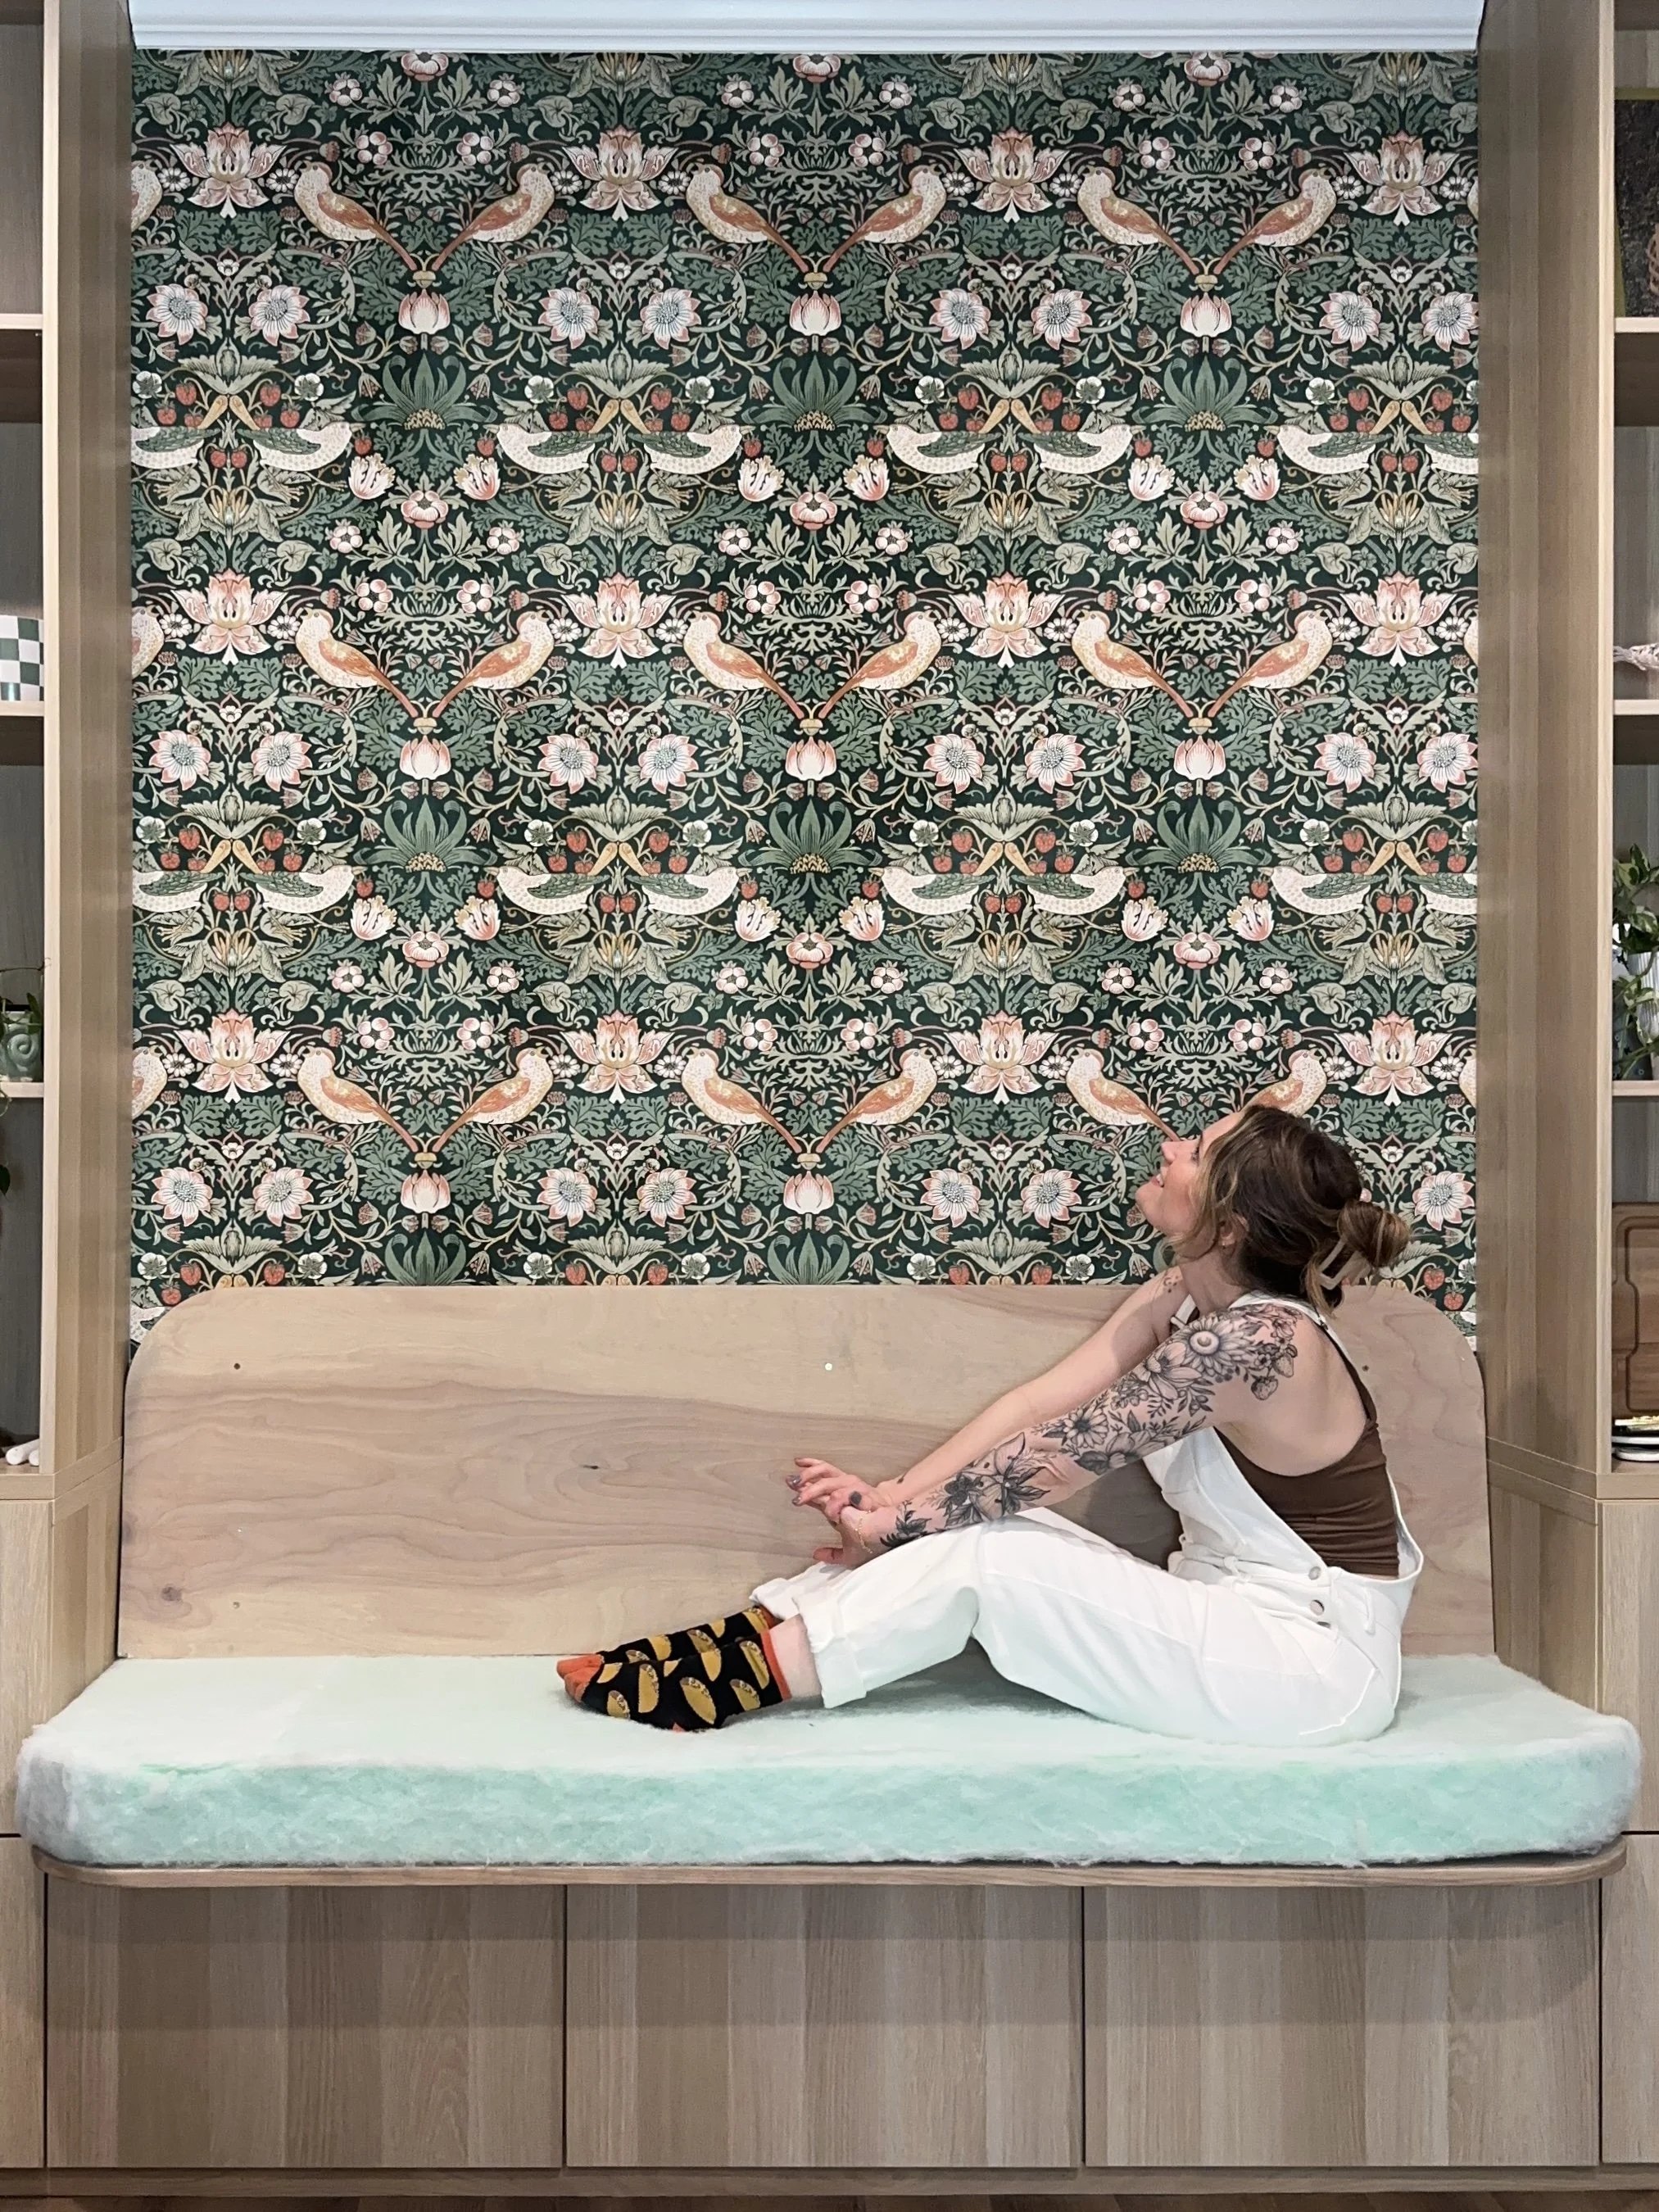
the taco socks
Trimwork Makes the Dream Work
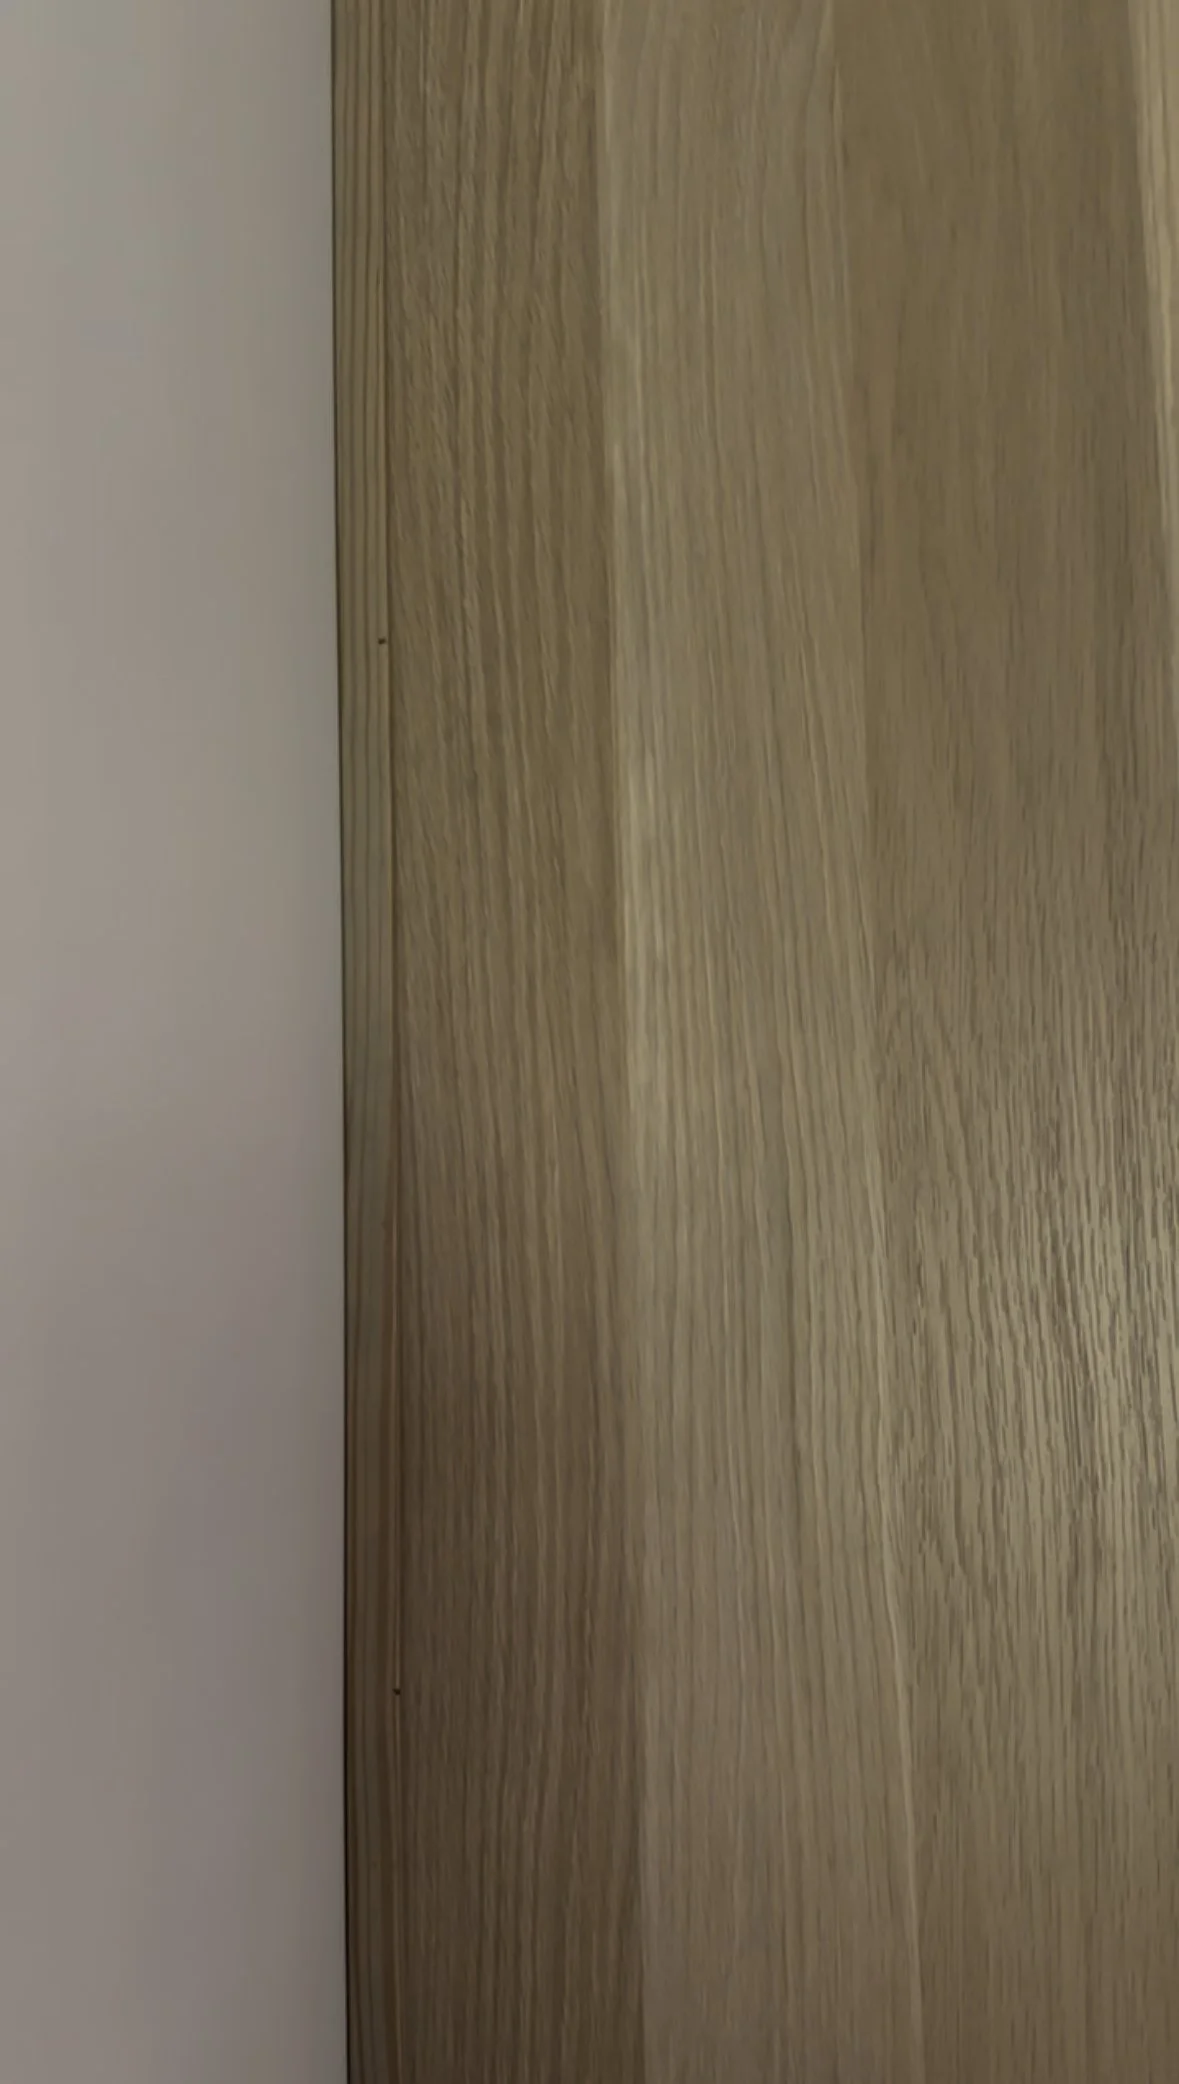
With the wallpaper up and looking perfectly centered, I turned my attention to the built-ins. I got some unfinished pine screen trim, stained them with Varathane Hazelwood and added them to the inside and outside of the Besta shelves, giving them that custom, built-in feel I’ve been dreaming of. And I have to say- this stain matches PERFECTLY to the color of the cabinets.
Then came the caulking—between the crown moulding and the top of the shelves, and all the way down the vertical edges between the wall and my new trim pieces. It’s one of those detail jobs that no one notices when it’s done right, but makes everything look a million times more finished.

garage goblin
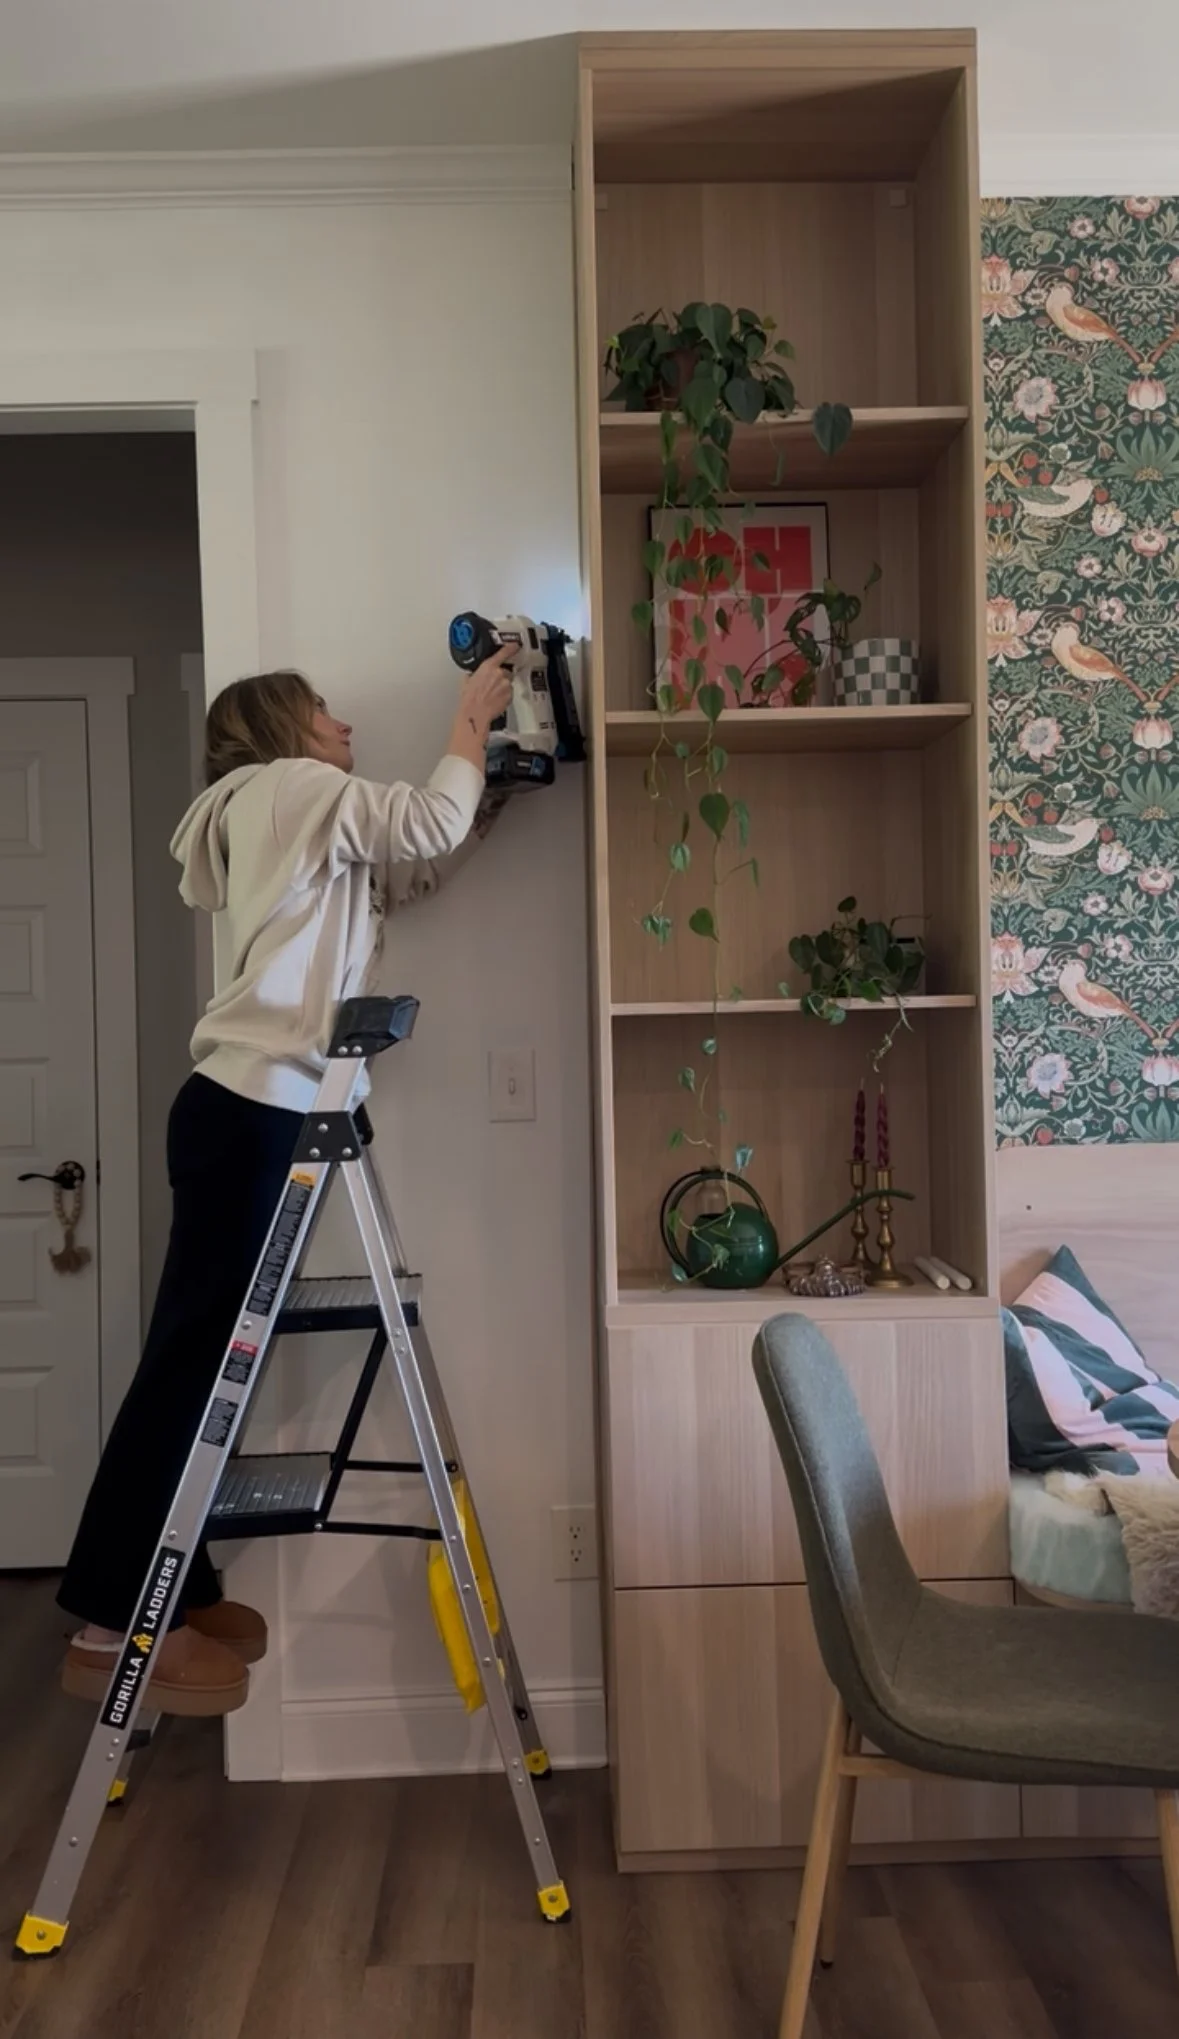
attaching with my brad nailer
such a satisfying match
Up Next…
Next week is all about upholstery: I’ll finally upholster the back of the bench and (fingers crossed) sew the cushion cover for the bottom bench cushion. After the fabric shortage chaos of Week 5, I’m ready for a comeback and I think I’ve found the perfect solution.
Things are finally starting to look like the vision in my head—and I can’t wait to bring this cozy corner all the way to life.
What do you think—are you a fan of bold, classic wallpaper like “Strawberry Thief”?