How To Make Your Own DIY Olive Tree
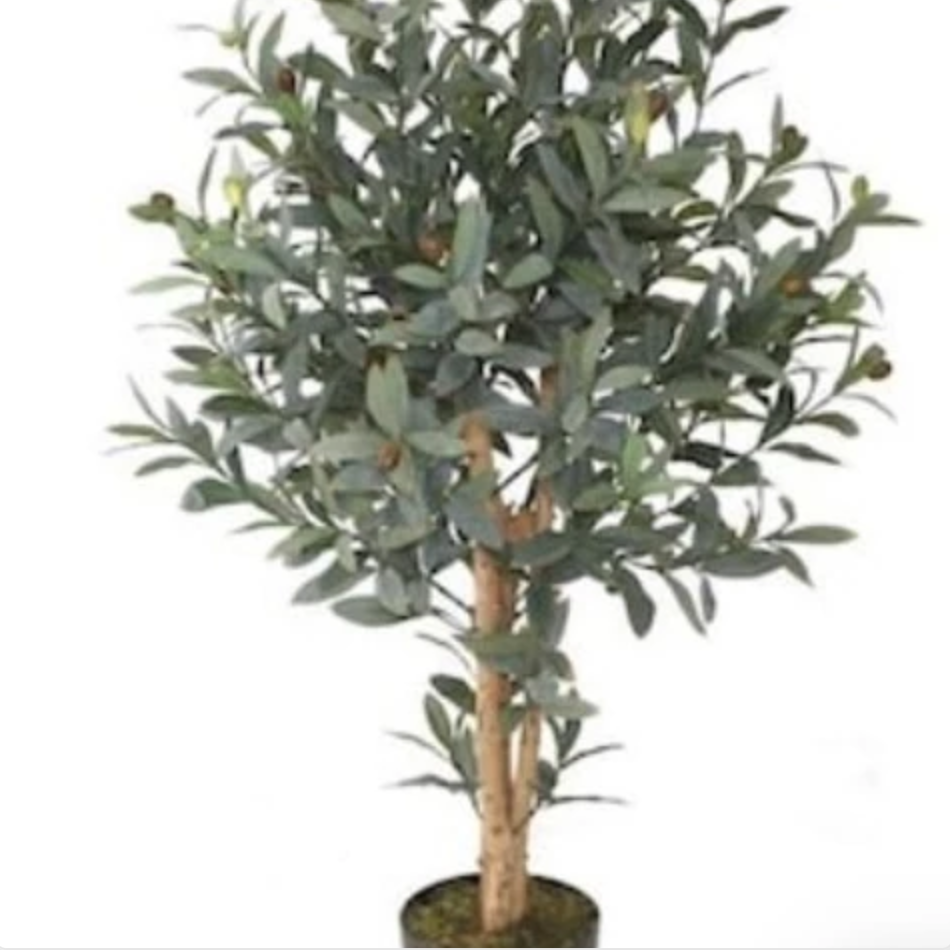
Or this one from Target.

Or THIS ONE from Home Depot.

A few creators on Instagram have recently made their own so I decided to give it a shot myself. My favorite one was this one by Van of @percivalinbloom.

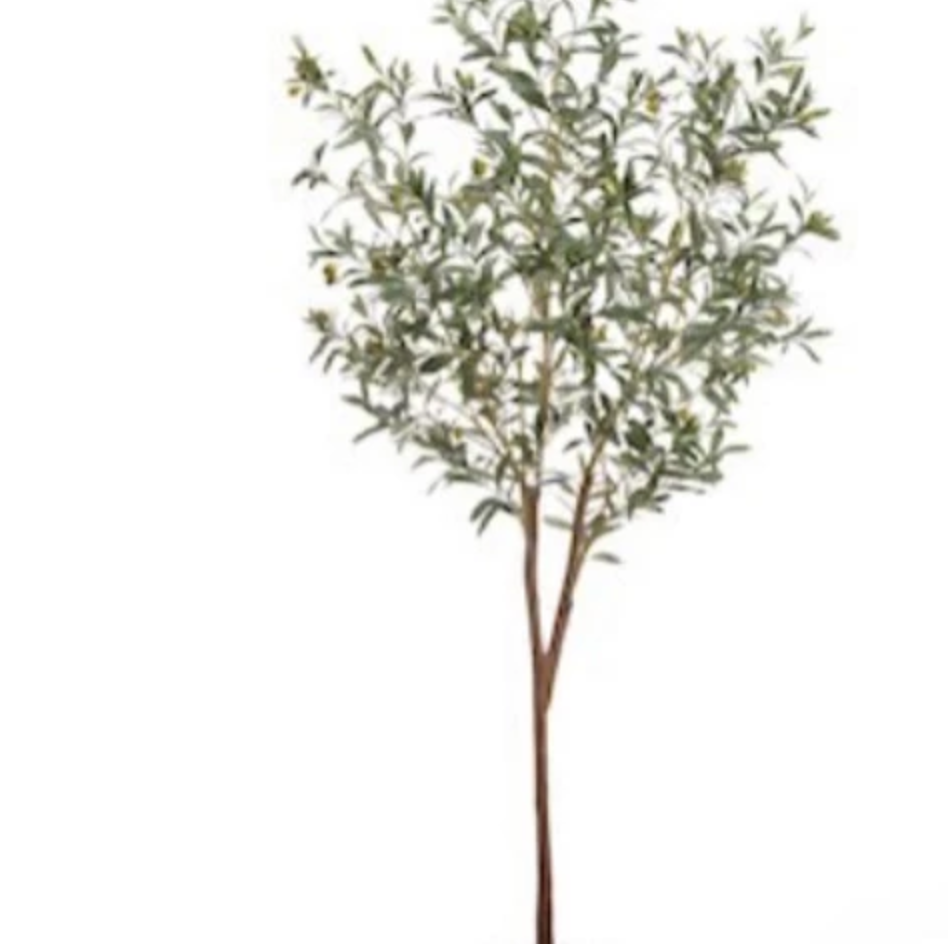
I found this branch in my yard after a storm and thought it would make the perfect faux tree. While it was still wet, I peeled off all the bark and then set it on my covered porch to dry.
In the meantime, I picked out some faux olive branch stems that totaled about $18. Two stems was enough for a sparse tree. If you want a more full tree, you could get a few extra.
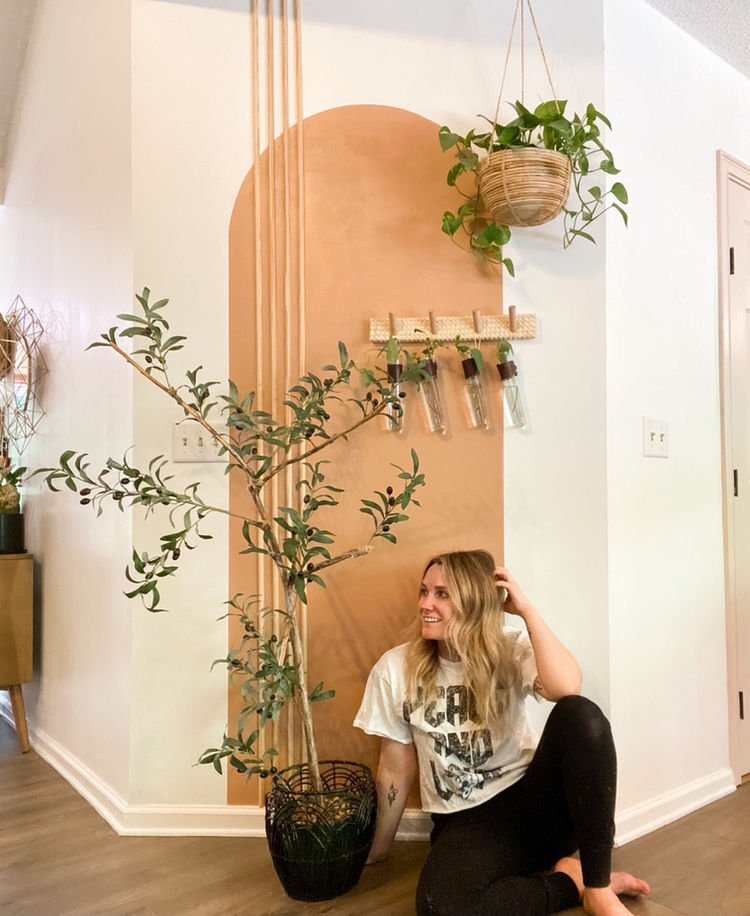
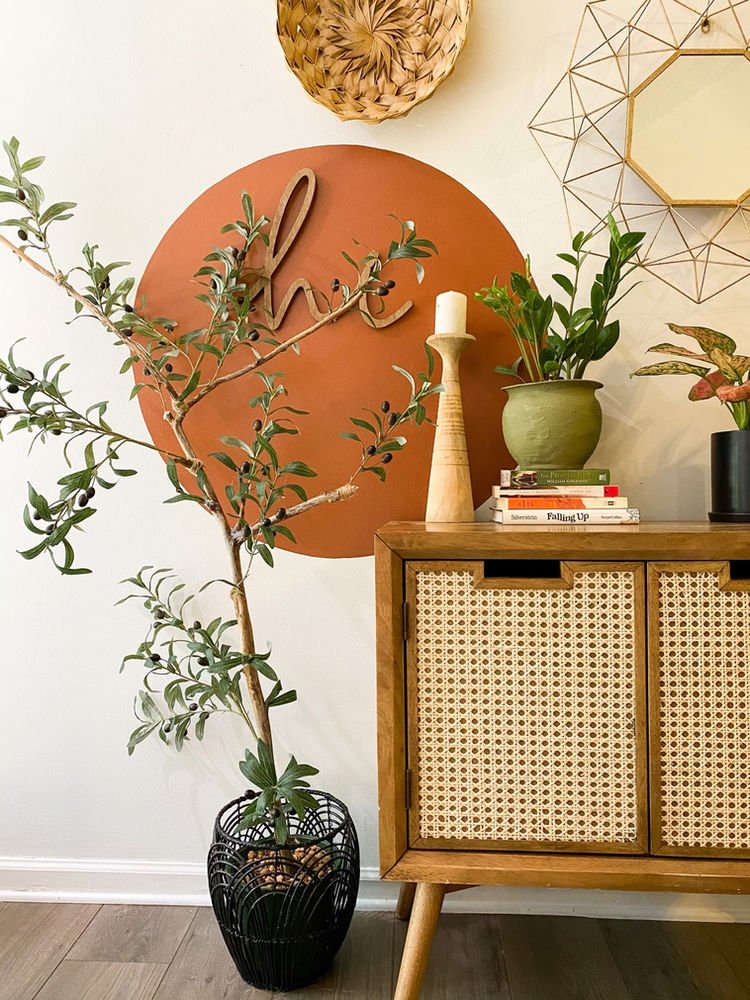
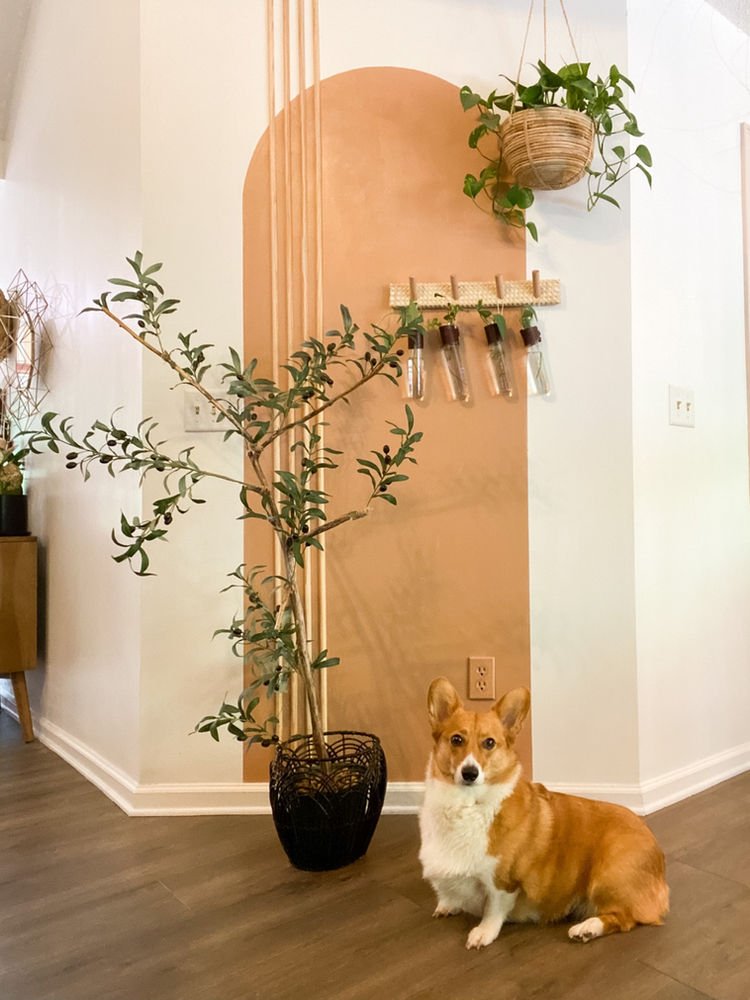
I filled a pot with soil and rocks and inserted my stick. Eventually I will put it in cement or foam or something more stable but I was using what I had on hand and this works for now.

Then I started attaching my branches. I sepa individual pieces from the larger stem and placed them in different areas. I also put just some individual leaves on some spots. Just played around until I liked the look.


The best way to do it would probably be to drill into the branch and then use hot glue and insert the end of the stems, HOWEVER, my drill is currently broken so I made due with just using a hot glue gun and it came out just fine!
My favorite hot glue sticks are Gorilla Glue because they have such a great hold.
I wrapped some jute around a couple of areas for extra stability and that’s it!

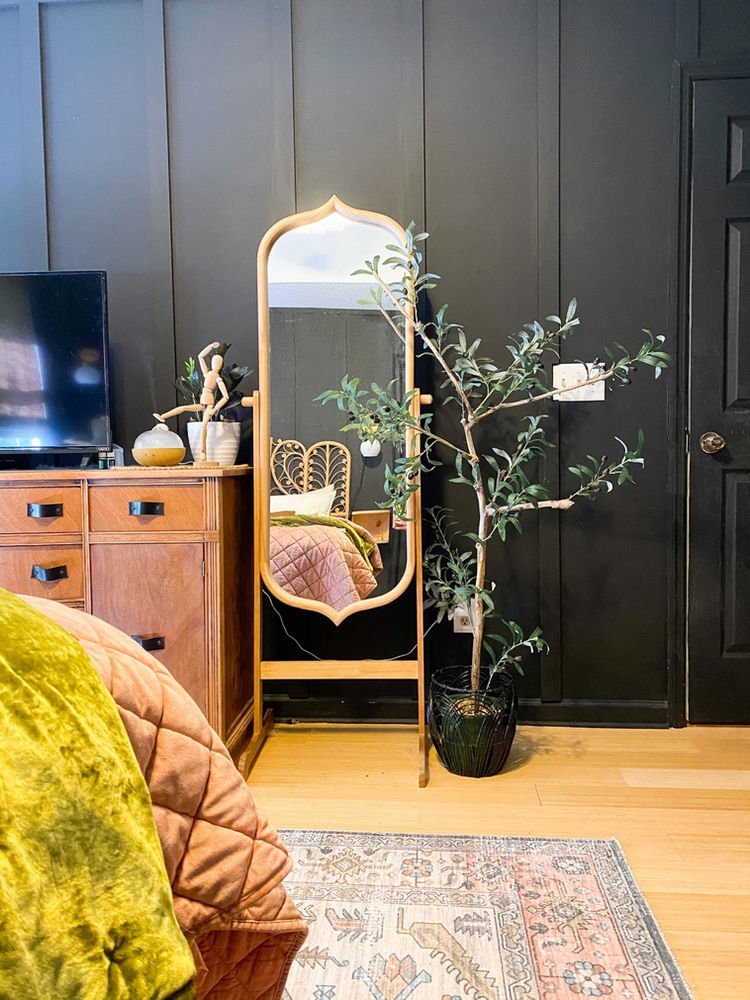
I absolutely love how it turned out. Especially for an $18 tree. The best part is: I can just continuously move it around my house.