
One Room Challenge Week 6: Fan Installation
It's week 6 of the One Room Challenge with Better Homes and Gardens and you can catch up with what everyone is up to HERE. How is there only 2 weeks left? The clock is ticking.
You can catch up on all of the other weeks here:
Week 1: Mood board
Week 2: Closet Organization and Paint- SW color of the year!
Week 3: Wallpaper
Week 4: File Cabinet Upcycle
Week 5: Bed and Bedding
Not gonna lie- I was terrified of this week. TERRIFIED.
While I've done several light fixtures, I've never replaced an entire fan. It just seemed like something I should leave to the pros....
How do I mount it? How will I hold it up and attach it? What are all these pieces? HOW DOES THIS WORK?? BUT! I wanted to do it. I wanted to push past my fear and do this myself and I have to say- Hunter Fan Company made it SO EASY!
Hunter sent me two of their Pacer fans to install in my boys' rooms so that they actually match.

Did I mention that not one of the fans in my house are the same? Not a single one.
The Pacer fan is modern, minimal and remote controlled which means no more standing on the bed to control the fan speed, HOORAY!
Okay, here's how it went:
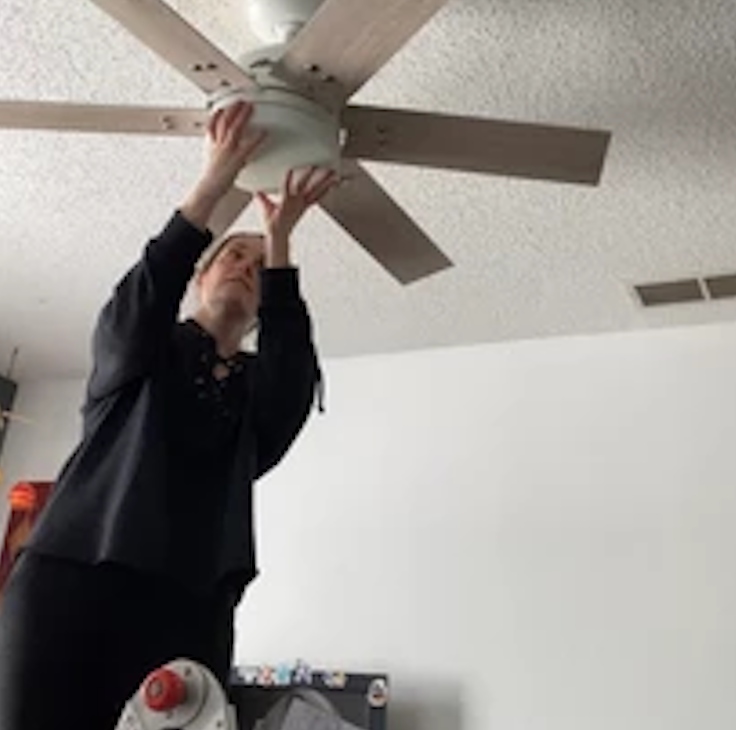
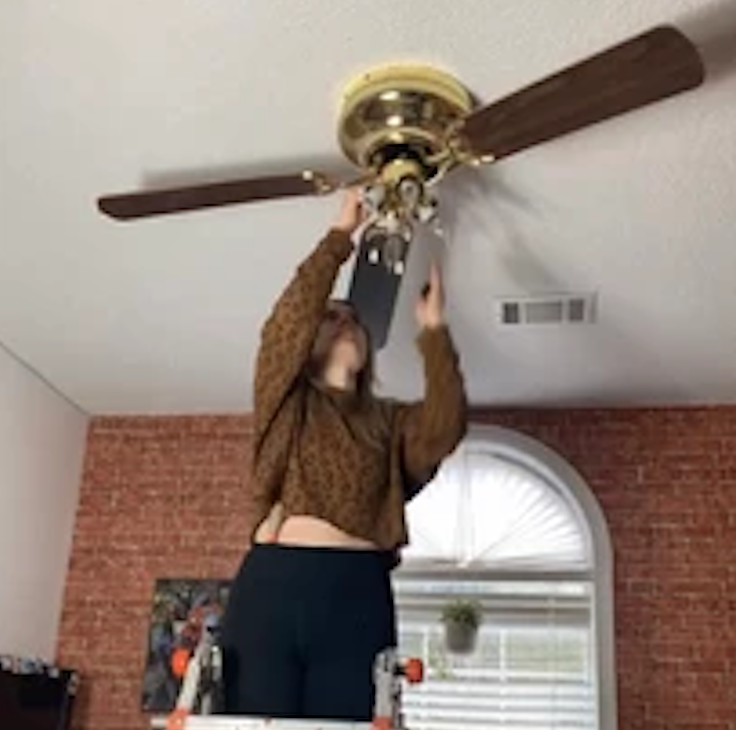
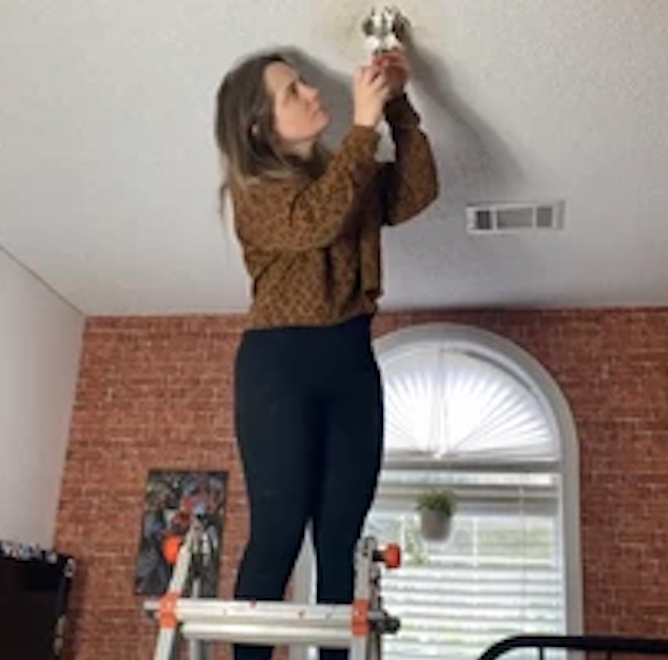
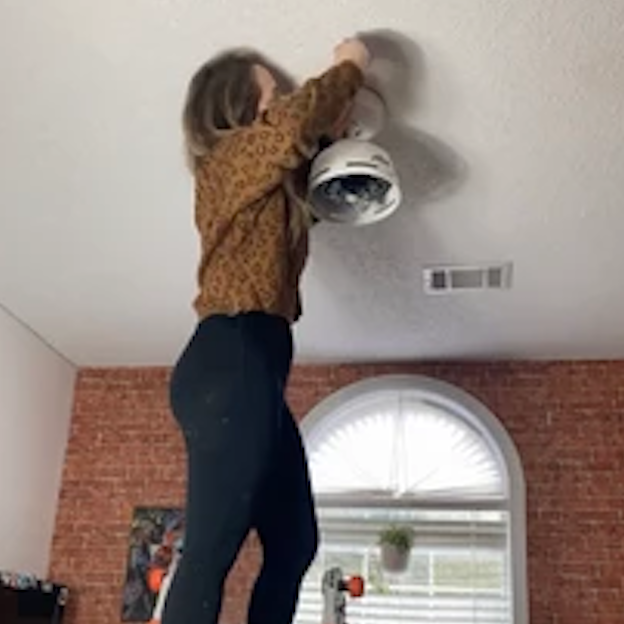
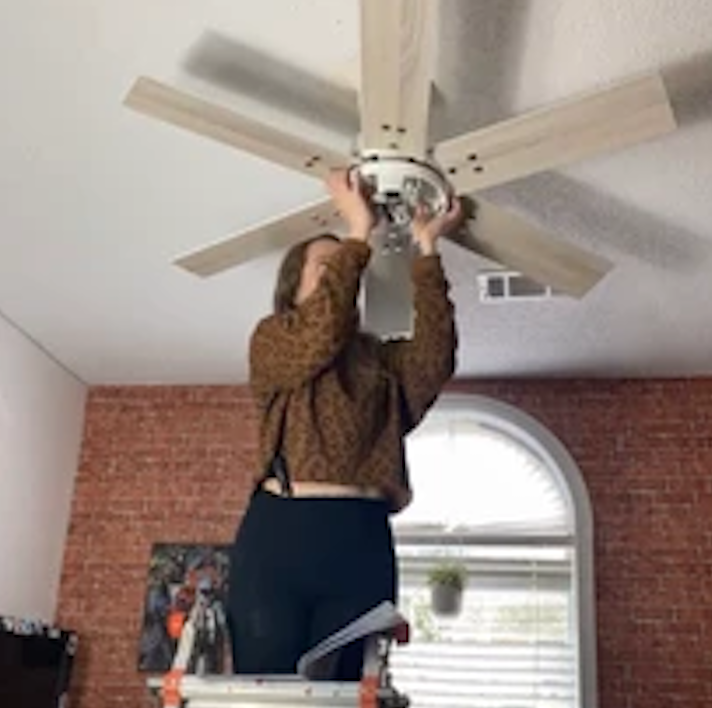
I pulled out the Hunter directions to see what I was up against. I laid out the pieces as suggested and got to work. First, I had to find the correct breaker because the previous owners didn't label any of them. So after about 6 tries, I finally got the right one (and made sure to label it). Once I was sure it was off, I set about removing the old fan. Reminder- I've never done this before so it was a lot of dusty searching for screws. I removed the fan blades first and that made it much easier to handle as a rather small human.
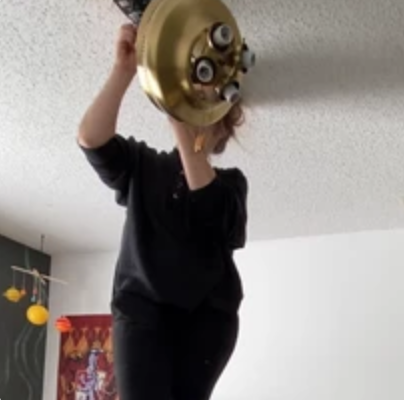
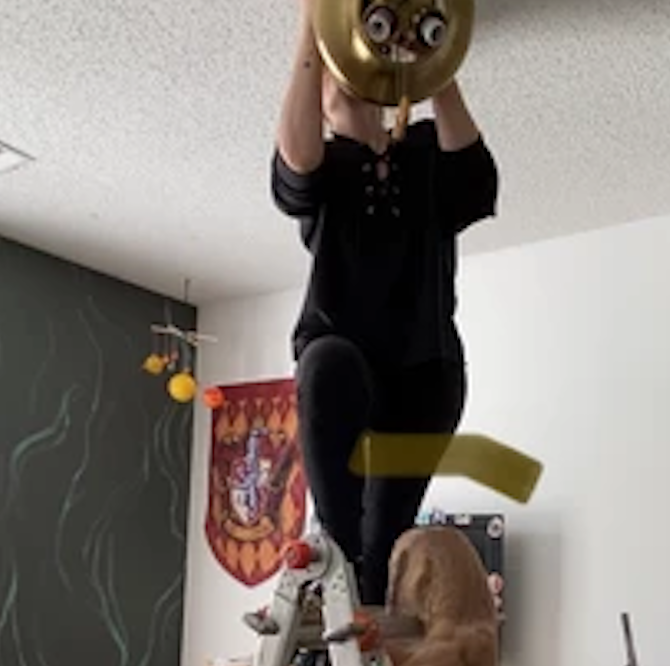
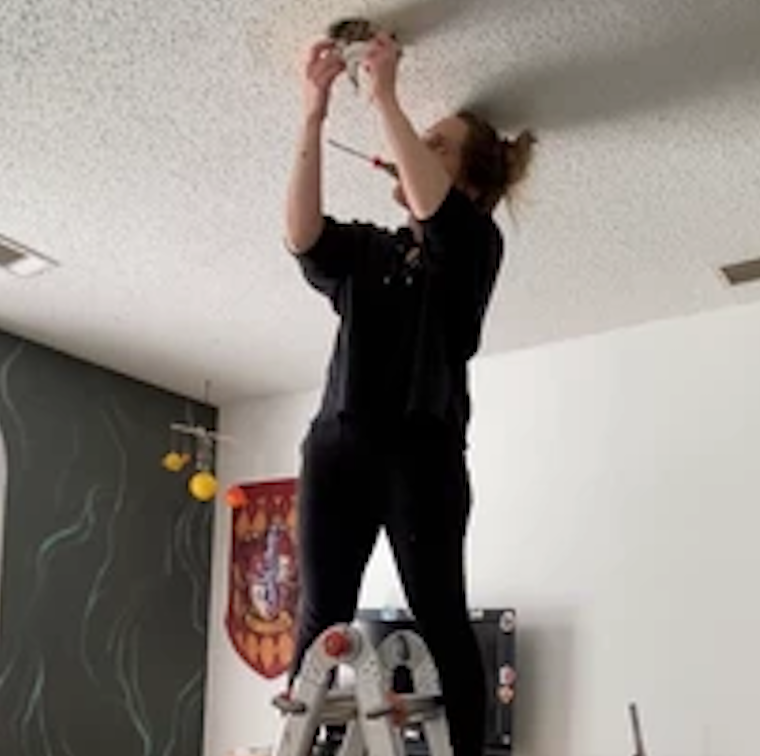
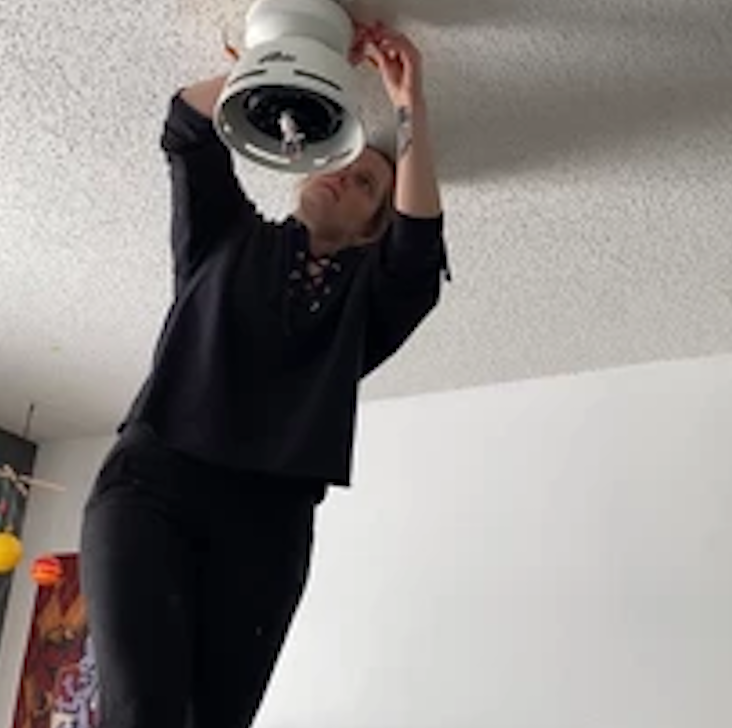
Once the old fan and mounting bracket were disconnected and removed, I was able to get to work on installing the Pacer fan. Included in the box was everything I needed to get the new fan up and running, including a new mounting bracket that was easily installed. The directions for wiring and connecting everything were incredibly easy to follow and I was able to connect all the wires successfully, including the receiver box for the remote. I attached all the fan blades and then installed the light fixture. I love that the fan included light bulbs so I didn't have to go searching through my cabinets or buy them separately.

Moment of Truth

I turned the breaker back on and flipped the switch and VOILA! Everything worked! Testing out the remote was super fun and I love that my son can control his fan speed whenever he wants!
Putting up the second fan went much faster since I had a better idea of what I was doing, minus breaking a bulb off of the old fan because it was stuck in the socket.

Hunter made it so ridiculously easy to replace my outdated fans and I couldn't be happier with how sleek and modern the Pacer looks in my boys' rooms. I seriously cannot believe the difference that switching out a couple of fans made! Not only that, but the cooling power is incredible and they are so so quiet! No more wobbly, buzzing fans for them! It's easy to see why Hunter Fan Company is celebrating 135 years.

They really are a game changer. Now I just need to switch out the ugly fan in my own bedroom.
Week 6 so far has been my absolute favorite. I faced my fears and tried something completely new and the difference it made is astounding. To say I'm proud of myself is an understatement. A year ago I wouldn't have touched anything electrical and now I've switched out light fixtures and fans. Insane.

Next week, I'll be tackling the shelving situation in my son's room. I'm hoping to be able to build him some bookshelves as well as get started on the cat shelves which we are MOST excited about. Cheeto is excited too, I'm sure.
love,
meg