
Slide Out Spice/Pantry Cabinet

** affiliate links included. Any and all clicks are much appreciated**
A couple of months ago, I decided to put this gorgeous sleek pink fridge in my retro meets modern kitchen. But, because the fridge was snuggled right up against the wall, there was no way the door on that side would open all the way. So, I needed to make more room. I started by replacing my 30” cabinets with 24” cabinets (more details on that in a later post) and once that was done, I could scoot the fridge over and open the door enough to access the drawers and everything inside the fridge. And I was rewarded with a glorious 6” of open space between the wall and the fridge. (8” before the new fridge arrived.)
My house is roughly 1500 sq feet and open concept which means- not a ton of storage so wasted space in here is a no no.
I decided to make use of that 6” by building a slide out storage cabinet for spices and smaller staple pantry items.
I drew out my dimensions first and tweaked it as I went along.
Here are the final measurements:

MATERIALS:
2: 1x5x8
2: 1x4x8
6: 1/4” dowels
4: 2” fixed casters
Primer and paint OR stain.
TOOLS:
1/4 drill bit
Screws
CUT LIST:
• Cut both 1x5x8s to 70” and the leftover parts to 20”
• Cut all 1x4x8s to 20”
• Cut dowels to 22”


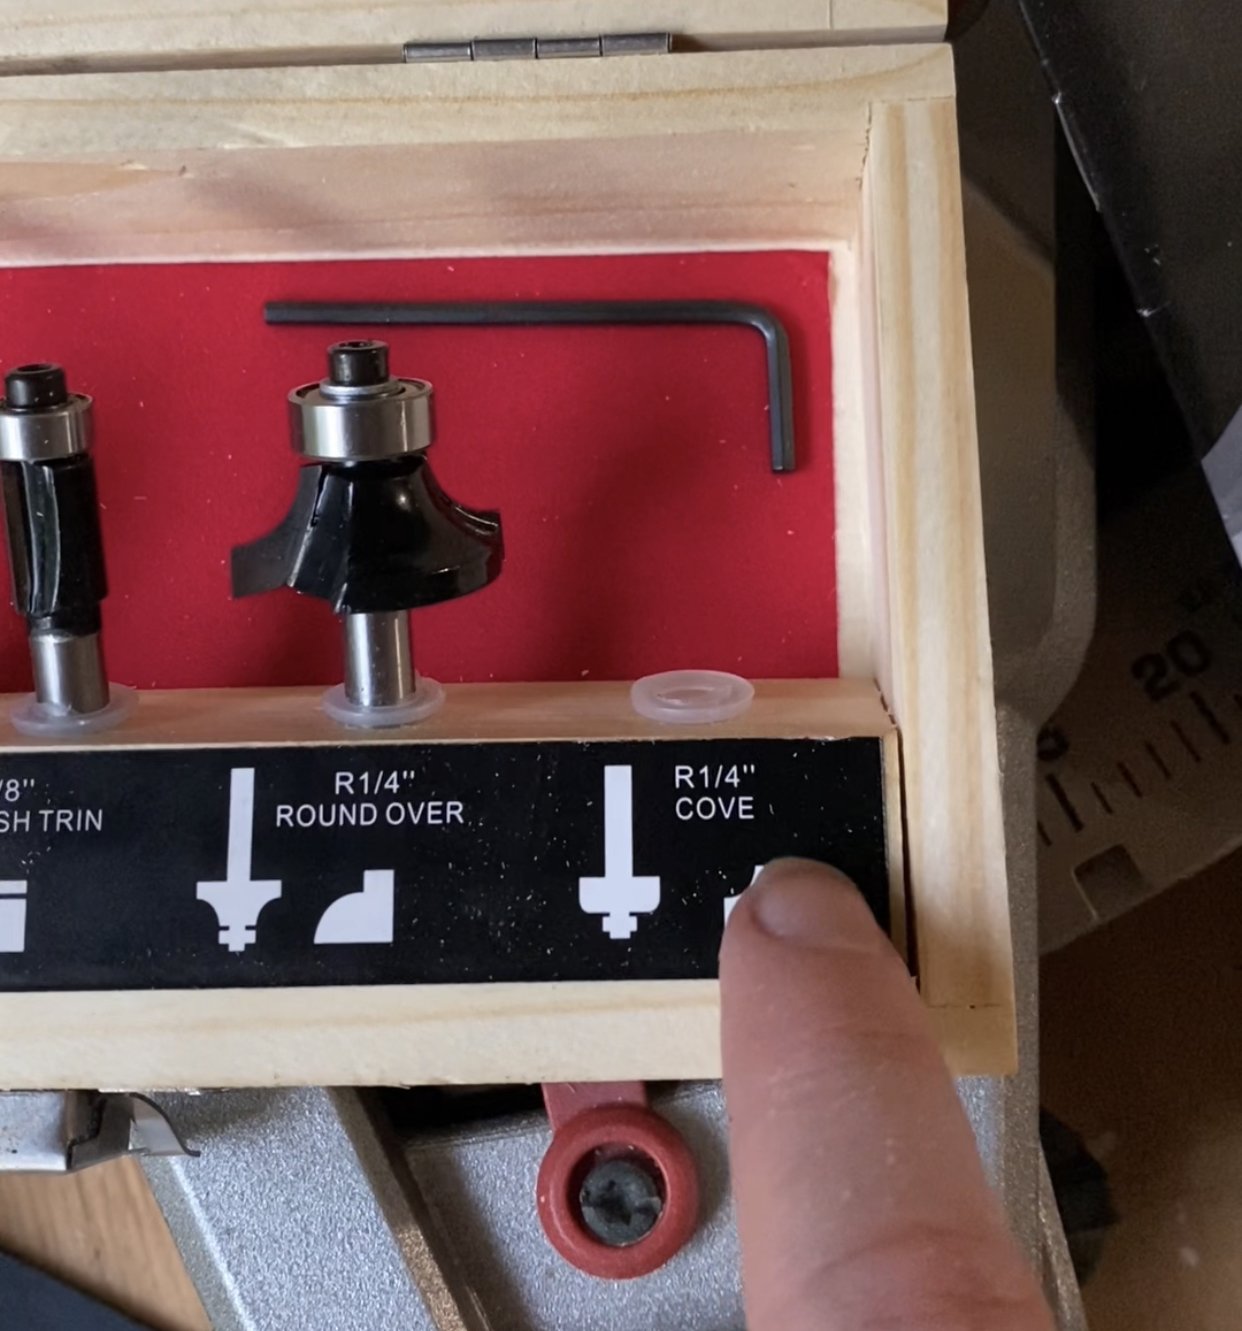
Once all your cuts are made, at this point I would go ahead and route out the front facing 1x5 with whatever router bit you choose. I chose to use use the R1/4’ Cove bit because it matched the rest of my cabinet doors.
I waited till the very end to route out the front because I am intimidated by the router so I put it off but I do think it would be easier to route it before attaching everything together.


Then, I sanded it all and drilled pocket holes on both sides of each of the 20” pieces. I used Krazy Glue Fast Dry Wood Glue on each piece along with the screws for the pocket holes. This glue dries to a super strong hold in 10 minutes so the waiting is minimal.


Once it was all glued and screwed, I attached the castors to the bottom, and made sure it was able to stand up on its own. SUCCESS!
I laid it back up on the sawhorses and drilled 1/4” holes all the way through the back facing piece (2 holes for each shelf) and then drilled holes about halfway through the back of the front facing piece. You can absolutely use wood glue to keep these secure but I chose not to in case I want to remove them easily at some point for whatever reason. You can also cut off any excess dowel that’s sticking out the back.


After priming with Bullseye 123 and painting with Behr Cabinet and Trim enamel in Truly Olive, I attached my handle and that’s it! It fits my smaller pantry items perfectly.
Obviously, if you have more space, you could make this wider to fit more things and you could even put a solid hard board or plywood panel on the back side to attach hooks for brooms and dustpans!

If you want to watch the full build, mistakes and all, I’ve got it saved to a highlight on my Instagram!
And you can also see links for all of the kitchen in this post: